
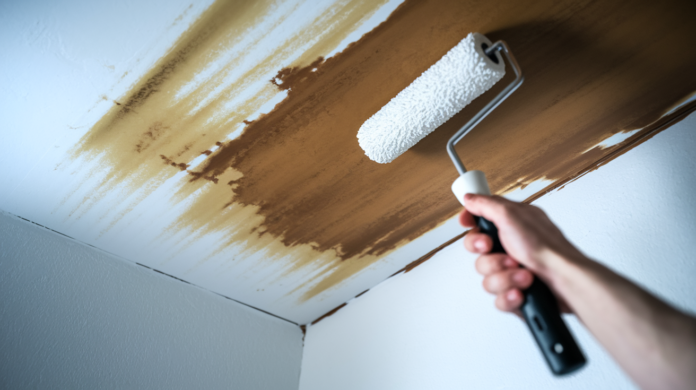
Here’s your intro paragraph:
Think you can slap paint over that water stain and call it fixed? You’ll be back at the paint store in six months when the brown bleeds through again. Priming water stained drywall the right way means matching primer strength to stain severity, prepping the surface so primer actually sticks, and knowing when damaged drywall needs replacement before you waste time and money on products that can’t save it. Get the primer selection and prep work right, and your repair disappears for good.
Damage Assessment and Primer Selection Guide for Water Stained Drywall
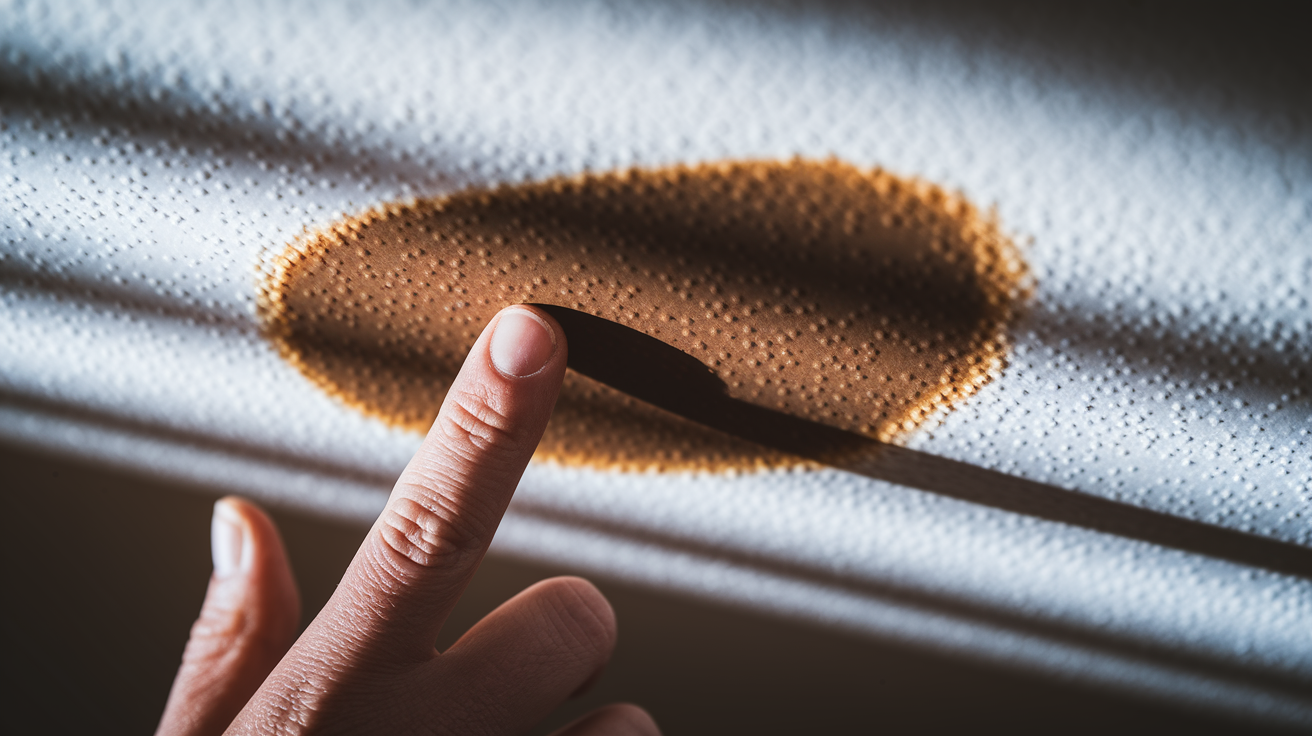
Look up at that brown ring on your ceiling or the yellow mark spreading across your wall. Your first decision? Whether that drywall can be saved with primer alone or if it needs replacement before you even touch a paintbrush.
For minor water damage where the drywall’s still intact and the existing paint is solid, you can apply stain blocker directly over the stain without ripping anything out. Press on the stained area. Does it feel firm? Paint stuck down tight? Only surface discoloration visible, no soft spots or sagging? Primer will handle it. These surface stains happen from small leaks that dried quickly, leaving behind mineral deposits and tannin marks but no structural damage.
You need to remove loose or damaged drywall material, including peeling paint or crumbling sections, before any repair work. Signs that drywall needs replacement: soft spots when you press on them, sections that sag or bulge downward, areas where paint and paper face peel away, visible mold growth showing up as black or green patches, and a musty odor that won’t go away even after surface cleaning. Crumbling material means water saturated the gypsum core. No amount of primer fixes structural failure. For extensive damage or repeated leaks, inspect and repair the water source before painting. Otherwise you’re just setting yourself up for round two.
Two recommended stain blocking primers: KILZ (trusted primer with strong stain blocking properties) and BIN (professional grade containing shellac for superior coverage). Quick primer type selection: shellac based sealer for severe tannin bleed and fastest results with 30 minute dry time, oil based formula for moderate to severe stains with 2 to 4 hour dry time, latex for minor stains only. Match primer strength to stain severity. A small coffee colored ring from a slow drip might need only latex. A dark brown tannin bleed spreading wider than the original leak spot? That demands shellac based sealer.
Stop right there if you haven’t fixed the water source yet. Roof leak, plumbing issue, condensation problem, whatever it is, find it and repair it first. Priming over an active leak wastes time and money, and the stain will reappear within weeks.
Preparation and Application Process for Stain-Blocking Primer
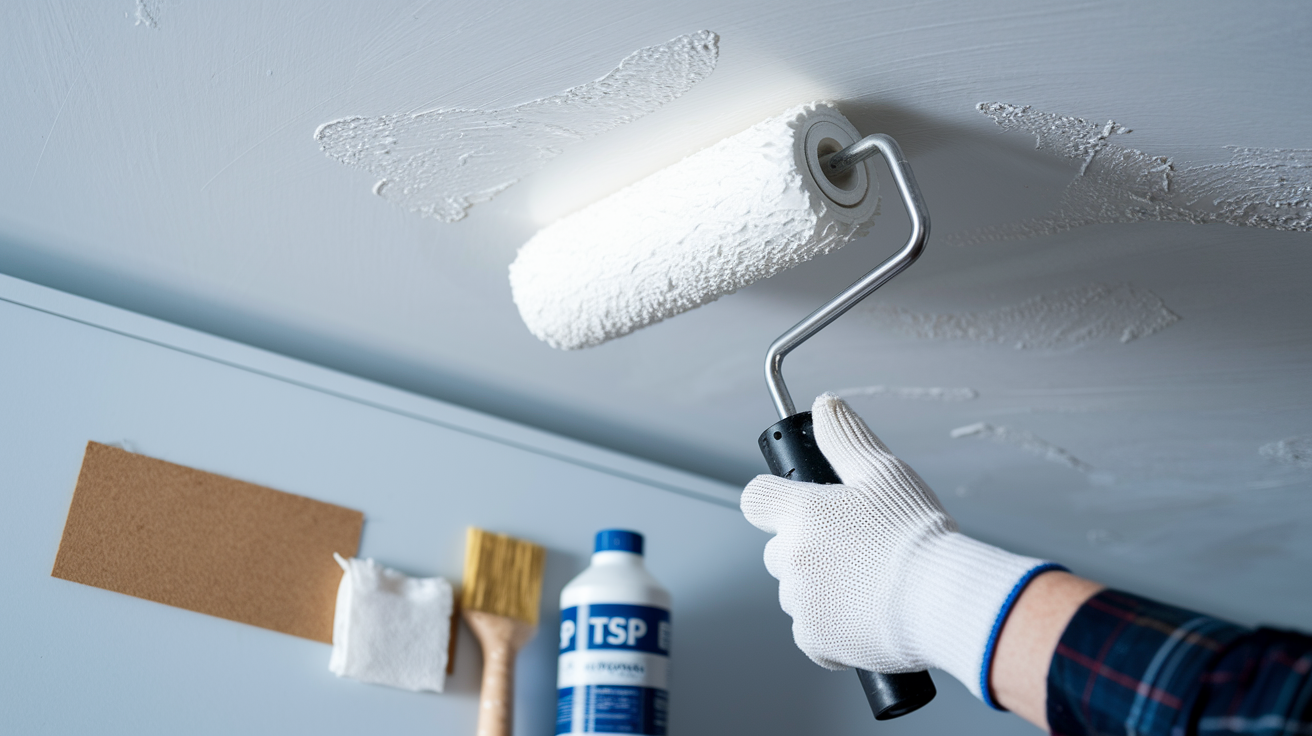
Surface preparation makes the difference between primer that lasts and primer that fails. Skip the cleaning or rush the sanding, and you’ll see peeling paint within months.
- Clean the stained area with TSP cleaner or mild detergent solution to remove dirt, dust, and mildew
- Allow surface to dry completely before you do anything else
- Lightly sand the area with 120 grit sandpaper to create adhesion texture
- Remove all dust with tack cloth or damp sponge
- Fill any cracks or holes with joint compound and allow to dry
- Sand patched areas smooth and feather edges into surrounding surface
- Apply primer extending 2 to 3 inches beyond visible stain boundaries using roller or brush
- Feather primer edges to blend with existing surface
Roller versus brush application: rollers for large flat areas provide faster coverage, brushes for edges and detail work, spray application for extensive ceiling areas requires more masking but gives you fastest coverage. A 3/8 inch nap roller handles most drywall textures. Use an angled brush for corners where the ceiling meets walls and around fixtures. For whole ceiling jobs covering multiple stains, airless spray cuts application time in half but you’ll need to do careful masking of walls, floors, and anything you don’t want coated in primer mist.
A second coat is necessary when persistent dark stains or tannin bleed through show visible after first coat dries completely. Let that first coat dry all the way (check the can for exact times), then look at the stain under good light. Still see brown or yellow showing through? Apply another coat. Consequences of skipping prep steps? Future peeling and stain reappearance turn a one time job into repeated repairs. TSP cleaner removes the oils and residue that cause adhesion failure. Sanding creates tiny scratches that give primer something to grip. Joint compound fills damage that would telegraph through your finish coats.
Choosing the Right Primer Type for Water Stained Drywall
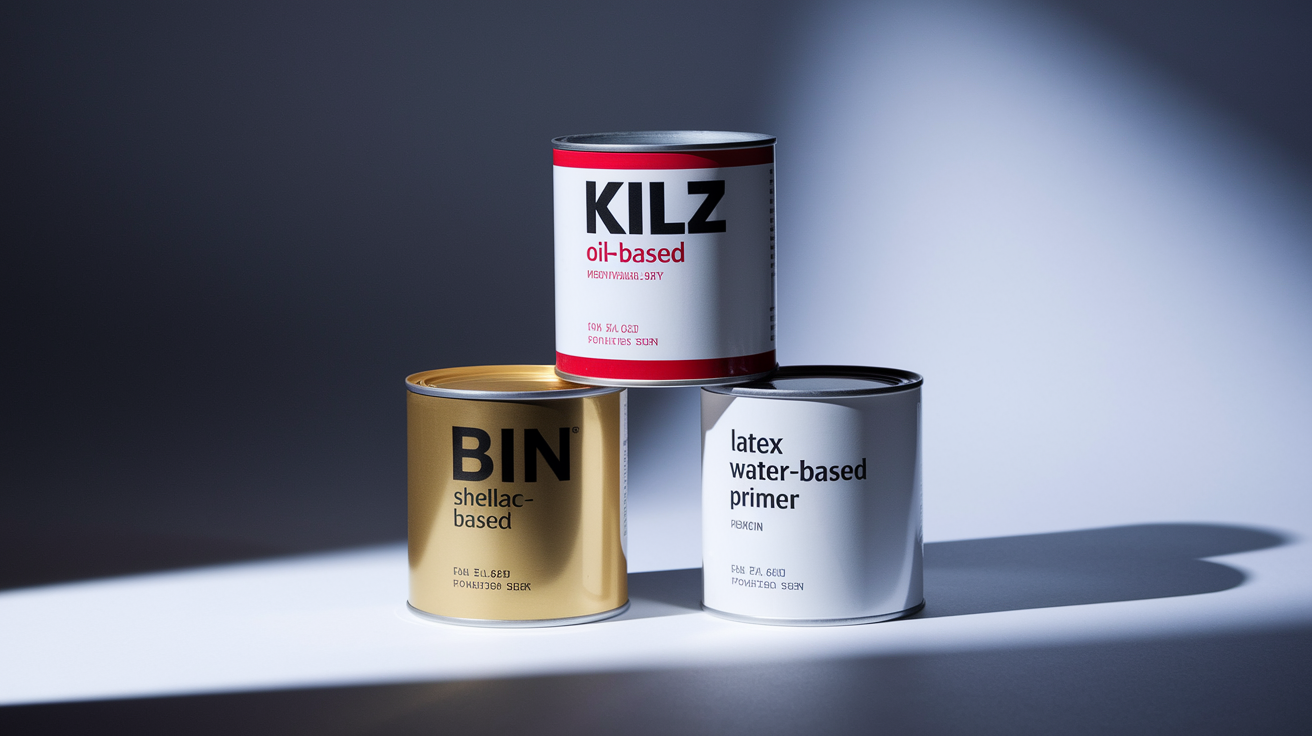
The three main primer categories for water stain blocking work differently and cost differently. Selection depends on stain severity and how fast you need the job done.
Shellac-Based Primers
BIN by Zinsser remains the gold standard for severe tannin bleed and brown spots that come from prolonged water exposure. Superior stain blocking handles the worst cases, including nicotine stains and smoke damage if you’re tackling multiple issues at once. Fastest drying at 30 minutes dry and 45 minutes recoat means you can prime and topcoat in a single afternoon. Strongest odor requires serious ventilation. Open every window and run fans. Requires denatured alcohol cleanup, not water, so keep a separate brush for shellac work. Highest cost at $40 to $60 per gallon, but one coat usually does what inferior primers can’t do in three.
Oil-Based Stain Blocking Primers
KILZ Original and Zinsser Cover Stain offer excellent sealing properties for moderate to severe stains without shellac’s intense fumes. 2 to 4 hour dry time is slower but still manageable for most schedules. Good for the common water stains from roof leaks and plumbing failures that left tan or light brown marks. Solvent cleanup required with mineral spirits or paint thinner. Moderate odor needs ventilation but won’t drive you out of the house like shellac. Mid range pricing at $25 to $40 per gallon makes these primers the practical choice for typical water damage.
Specialty Latex Primers
Water based stain blockers offer easier cleanup with soap and water, lower odor that won’t bother sensitive household members, and simpler disposal. Suitable for minor stains only where water contact was brief and marks are pale yellow or tan. Multiple coats often needed, which eliminates the convenience advantage. Least effective for tannin bleed. You’ll see persistent brown spots bleeding through even after several coats on problem stains. Save latex primers for small surface discolorations, not substantial water damage.
| Primer Type | Dry Time | Recoat Time | Best For | Cleanup | Odor Level |
|---|---|---|---|---|---|
| Shellac-Based (BIN) | 30 minutes | 45 minutes | Severe tannin bleed, brown spots | Denatured alcohol | Strong |
| Oil-Based (KILZ, Cover Stain) | 2-4 hours | 4-6 hours | Moderate to severe stains | Mineral spirits | Moderate |
| Latex Water-Based | 1-2 hours | 2-4 hours | Minor stains only | Soap and water | Low |
Topcoat Application After Priming Water Stained Drywall
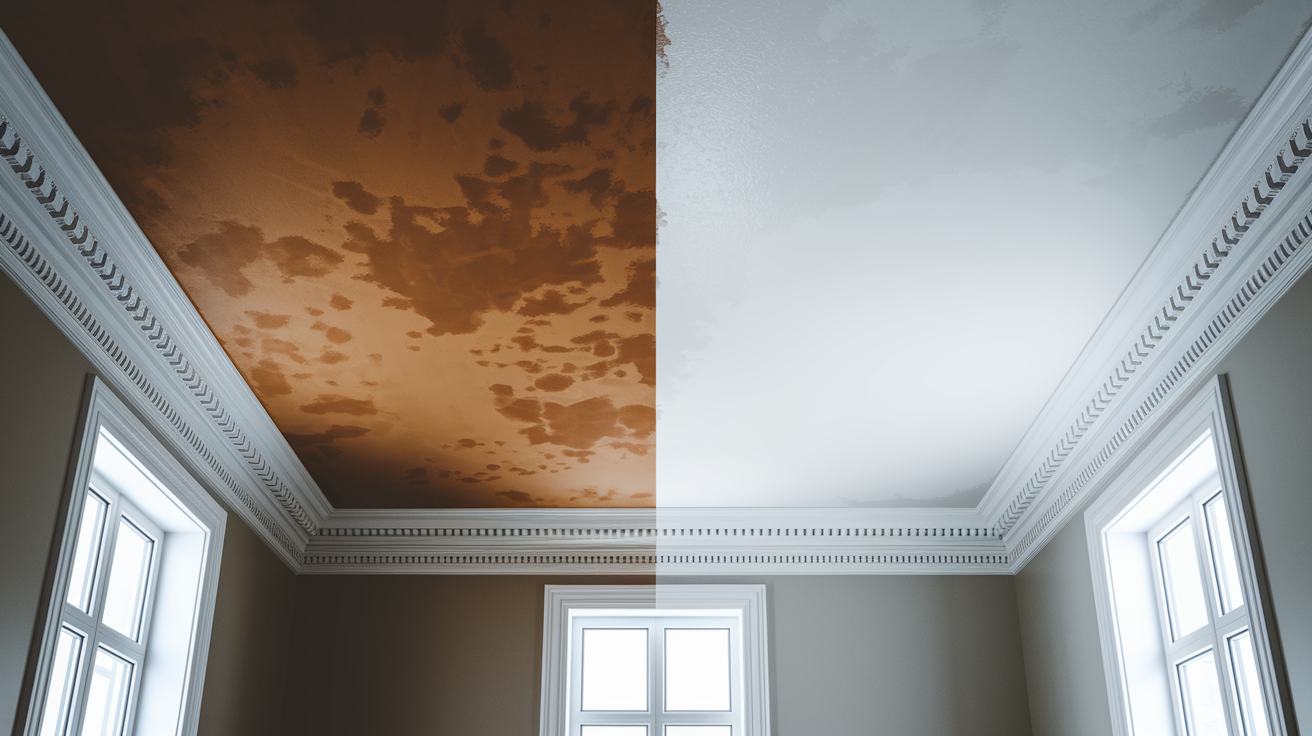
Confirm primer is completely dry and stain is fully sealed before topcoat. Touch the primed area. Tacky or sticky? Wait longer. Look at the stain from an angle in good light, checking for any brown or yellow still showing through.
Paint sheen selection matters for both appearance and practicality. Flat for ceilings hides imperfections and creates uniform appearance that won’t show roller marks or slight texture variations. Light hits flat paint and scatters, making minor flaws disappear. Eggshell or satin for walls where washability matters in kitchens, bathrooms, and high traffic areas. These sheens let you wipe down the surface without leaving dull spots, but they’ll highlight any prep mistakes you made.
Two coats are needed for complete coverage, especially over dark stains or extensive water damage areas. First coat seals and provides a base. Second coat delivers the final color and hides the repair completely. Roll on the first coat extending slightly beyond your primer boundaries, wait for full drying (check the paint can, usually 2 to 4 hours), then apply the second coat using the same technique. Each coat should feather into surrounding paint without visible edges.
Color matching challenges happen because aged paint rarely matches new application. Paint darkens over time from UV exposure and accumulates a thin layer of airborne oils and dust that change the color. Even if you have leftover paint from the original job, it may have separated or changed in the can. When spot repairs stand out after two finish coats, you’ll need to repaint entire wall or ceiling for uniformity.
Safety Precautions When Priming Water Damaged Drywall

Health and safety matter when working with solvent based primers and potentially contaminated surfaces left behind by water intrusion and stagnant moisture.
- Respirator mask with organic vapor cartridge for shellac and oil based primers, not a dust mask, which won’t filter chemical fumes
- Eye protection to prevent primer splatter, especially when working overhead on ceilings
- Nitrile gloves resist solvents better than latex and protect skin from shellac and oil based products
- Ventilation requirements include open windows on opposite sides of room and box fans positioned to move air outside
- Mold testing before work if you see discoloration, smell musty odors, or suspect water sat for more than 48 hours
- Handling contaminated materials with gloves and disposing of moldy drywall in sealed plastic bags
- Skin protection with long sleeves prevents primer contact with bare arms during overhead application
- Proper disposal of solvent soaked materials in sealed metal containers, never leave oily rags in piles where spontaneous combustion can occur
Risks of shellac and oil based primer fumes include headaches, dizziness, and respiratory irritation that can hit within 30 minutes in poorly ventilated spaces. Importance of continuous ventilation during and after application means keeping fans running and windows open until the smell clears completely, which may take 24 to 48 hours with shellac. When to consider professional help for extensive mold contamination: areas larger than 10 square feet or presence of black mold require containment procedures, air filtration equipment, and proper protective gear beyond what homeowners typically own.
Troubleshooting Post-Application Problems with Primed Drywall
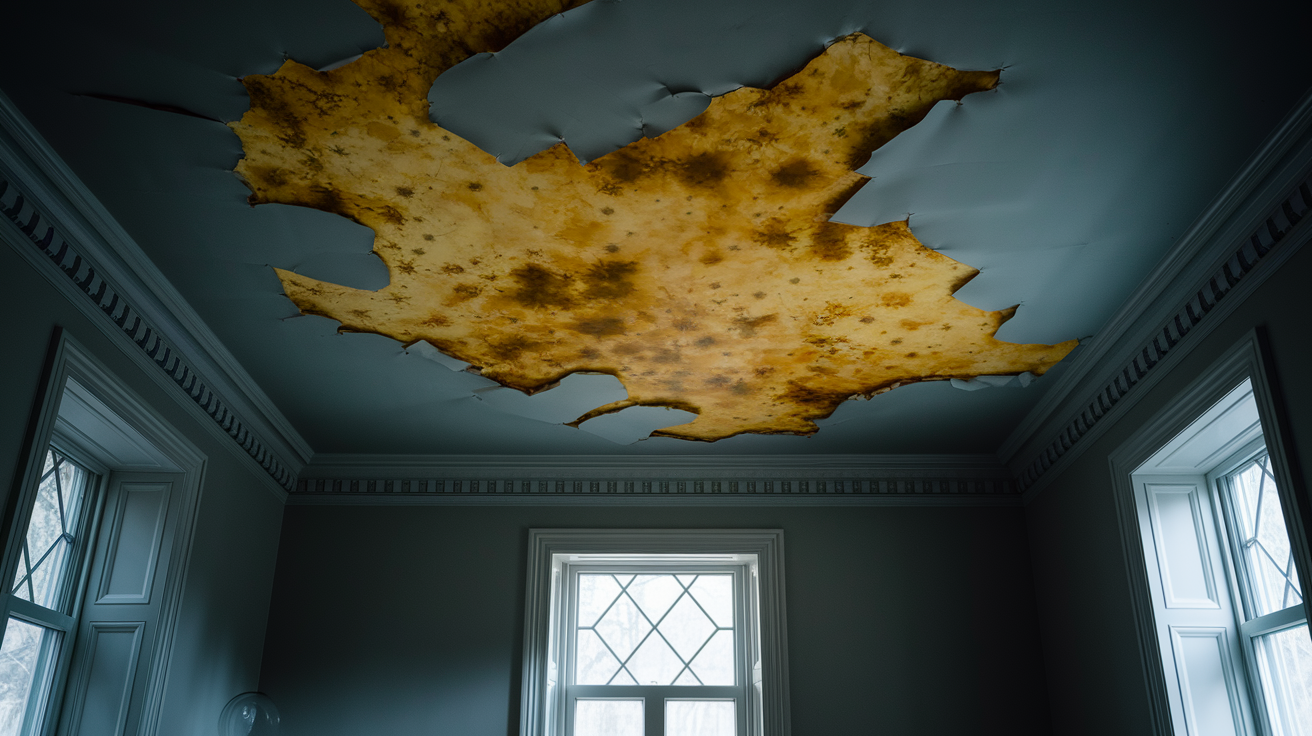
Problems can show up after primer application even when you followed every step correctly.
Brown or Yellow Bleed-Through After Topcoat
Tannin bleeding appears days after painting despite primer application when insufficient shellac content in the primer you used couldn’t seal aggressive stains. Water soluble compounds in the drywall and old paint reactivate when wet topcoat hits them, then migrate up through the new paint film as it dries. Solution requires applying shellac based sealer (BIN) over affected area, allowing full dry time of 30 to 45 minutes, then repainting with your topcoat. One coat of shellac sealer will stop what oil based primer couldn’t. Don’t try adding another coat of the same primer that already failed.
Primer Peeling or Flaking After Drying
Causes include residual moisture still present in drywall, oily residue not fully cleaned before priming, or inadequate surface roughness providing nothing for primer to grab. Peeling usually starts at edges and works inward, lifting in sheets or curling at corners. Solutions include verifying complete dryness with moisture meter (reading should be below 12% for drywall), re cleaning with TSP solution to remove any grease or soap residue that blocked adhesion, light sanding with 120 grit paper to create tooth, then reapplying primer after surface is clean and dry. Peel away all loose primer before starting over.
Stain Reappearing Weeks or Months Later
Active moisture source causes stain reappearing when leak was not fully resolved before repair work began. New water follows the same path as the old leak, reactivating dried residue and creating fresh stains. Necessity of locating and fixing ongoing water intrusion before attempting repair again prevents wasting money on another primer job that will fail. Possibly requiring professional leak detection if water source isn’t obvious, especially for roof leaks that travel along rafters before dripping through ceiling at a different location than the actual roof penetration.
Cost Considerations and Materials Needed for Drywall Primer Projects
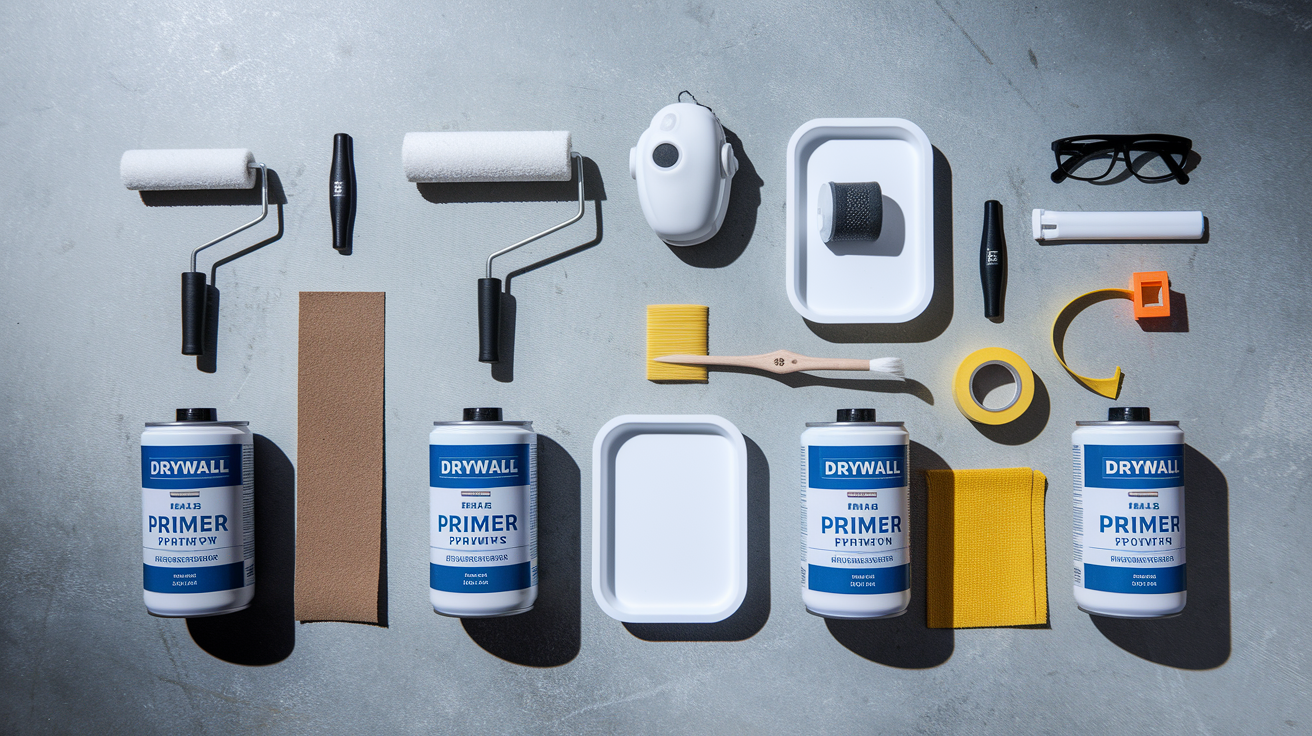
Typical costs for primers break down by type: shellac $40 to $60 per gallon for BIN and other shellac based sealers, oil based $25 to $40 per gallon for KILZ Original and Zinsser Cover Stain, latex $20 to $30 per gallon for water based stain blockers. Cost saving alternatives like mixing oil based undercoat with gloss paint can work for moderate stains. Mix equal parts and test on a small area first. This homemade stain blocker won’t match commercial formulas for severe tannin bleed but handles typical water stains at half the cost.
Coverage rates typically run 300 to 400 square feet per gallon on sealed drywall. Calculating quantity needed based on stain size plus 2 to 3 inch border means measuring the visible stain, adding 6 inches to length and width, then dividing by coverage rate. A 2 foot by 3 foot ceiling stain needs coverage for roughly 3.5 feet by 4.5 feet (15.75 square feet) with the border included. One quart covers up to 100 square feet, making it the right size for most single stain repairs.
| Material/Tool | Purpose | Estimated Cost |
|---|---|---|
| Stain-blocking primer (quart) | Seal water stains | $12-20 |
| Roller and frame | Apply primer to flat areas | $8-15 |
| Angled brush (2.5-inch) | Cut in edges and corners | $8-12 |
| 120-grit sandpaper | Create surface texture for adhesion | $4-6 |
| TSP cleaner | Remove oils and residue | $6-10 |
| Canvas drop cloth | Protect floors and furniture | $15-25 |
| Respirator with organic vapor cartridge | Filter solvent fumes | $30-45 |
| Safety glasses | Protect eyes from splatter | $5-10 |
| Paint tray and liner | Hold primer for roller loading | $6-10 |
| Painter’s tape (1.5-inch) | Mask edges and protect trim | $5-8 |
DIY costs run $50 to $100 for typical small repair including all materials and tools. Professional service costs $150 to $400 including materials and labor, with pricing based on stain size, ceiling height, furniture moving required, and whether leak repair is included.
Long-Term Prevention Strategies After Repairing Water Stained Drywall

Primer only treats symptoms. The water source must be fixed to prevent recurrence and potential structural damage that turns a $100 cosmetic repair into a $3,000 drywall replacement with possible mold remediation.
Common water intrusion points include roof flashing failures where metal seals around chimneys and vents deteriorate, deteriorated pipe connections under sinks and behind toilets where rubber gaskets dry out, HVAC condensation leaks from clogged drain lines, inadequate bathroom ventilation that lets humidity condense on cold surfaces, and ice dam formation in winter when heat loss melts roof snow that refreezes at eaves. Each creates different stain patterns. Roof leaks often appear several feet away from the actual problem as water travels along rafters. Plumbing leaks show up directly below the failed connection. Condensation creates widespread light staining rather than concentrated spots.
Regular inspection schedule includes biannual checks for roof and plumbing in spring and fall, monthly inspection of high risk areas like bathrooms without exhaust fans and kitchens with overhead plumbing. Early warning signs include musty odors even when surfaces look dry, slight discoloration appearing as faint yellow or tan patches, and humidity increases you can feel when entering certain rooms. Catch problems at this stage and you’ll clean and dry instead of cutting out drywall.
- Annual roof inspection focusing on flashing and shingles, looking for lifted edges, missing granules, and gaps around penetrations
- Checking plumbing connections under sinks and behind toilets for moisture, corrosion on supply lines, and water stains on cabinet floors
- Improving ventilation with exhaust fans in bathrooms that run during showers and for 20 minutes after, vented to outside not into attic space
- Maintaining gutters and downspouts clear of debris so water flows away from foundation rather than backing up under roof edges
- Inspecting attic insulation and vapor barriers for gaps that let warm moist air contact cold roof decking
- Monitoring humidity levels in prone areas with hygrometer, keeping indoor humidity between 30% to 50% to prevent condensation on cold surfaces
Final Words
Priming water stained drywall correctly means matching the primer to the damage, prepping the surface properly, and fixing the water source before you close anything up.
Shellac-based formulas dry fast and block the worst tannin bleed. Oil-based primers handle most moderate stains. Latex works only for minor surface discoloration.
Skip the prep or ignore the leak, and the stain will come back through your topcoat.
Take your time with the steps, wear a respirator for solvent primers, and test for dryness before you paint. You’ll end up with a clean ceiling that stays that way.
FAQ
Can I paint over water stained drywall?
You can paint over water stained drywall only after applying a stain-blocking primer first. If you skip the primer, the brown or yellow stain will bleed through your topcoat within hours or days and reappear on the surface.
What is the best primer for covering water stains?
The best primer for covering water stains is a shellac-based sealer like Zinsser BIN for severe tannin bleed and brown spots. It dries in 30 minutes and provides superior stain blocking compared to oil-based or latex primers.
Will Kilz treat water stained gypsum board?
KILZ Original will treat water stained gypsum board effectively for moderate to severe stains. It provides strong stain-blocking properties with oil-based sealing capability, though it requires 2-4 hours to dry compared to faster shellac-based options.
Can you paint directly over a water-based stain?
You cannot paint directly over a water-based stain without a stain-blocking primer. Standard latex paint lacks the binders needed to seal water stains, causing them to bleed through regardless of how many coats you apply.
How do I know if my drywall needs replacement or just primer?
Your drywall needs replacement if you find soft spots, sagging sections, crumbling material, peeling areas, or visible mold growth. If the drywall feels solid with only surface staining and intact paint, primer alone will work.
How long should I wait before painting over primer on water stained drywall?
You should wait 30 minutes before painting over shellac-based primer or 2-4 hours for oil-based primer on water stained drywall. Always verify the primer is completely dry and the stain is fully sealed before applying topcoat.
What causes primer to peel after drying on water damaged drywall?
Primer peels after drying on water damaged drywall when residual moisture remains in the material, oily residue wasn’t fully cleaned, or the surface lacks adequate roughness. You must verify complete dryness with a moisture meter before reapplying.
How much primer do I need for a water stain repair?
You need enough primer to cover the stain plus 2-3 inches beyond visible boundaries. Most primers cover 300-400 square feet per gallon, so small ceiling stains typically require less than a quart when properly feathered.
Should I repaint the entire ceiling after fixing a water stain?
You should repaint the entire ceiling after fixing a water stain if color matching matters to you. Aged paint rarely matches new application perfectly, creating a noticeable patch even with proper feathering and primer application.
What safety equipment do I need when priming water stained drywall?
You need a respirator mask with organic vapor cartridge for shellac and oil-based primers, safety glasses, nitrile gloves, and continuous ventilation with open windows and fans. Long sleeves protect skin from primer contact and irritation.
Why does my water stain keep coming back after painting?
Your water stain keeps coming back after painting because an active moisture source remains unfixed. This indicates the leak was not fully resolved, requiring you to locate and repair ongoing water intrusion before attempting repair again.
Can I use latex primer on water stained drywall?
You can use latex primer on water stained drywall only for minor surface stains. Latex primers lack the sealing strength for moderate or severe stains and often require multiple coats without fully blocking tannin bleed-through.