

Most contractors hang drywall way too early, sealing in moisture that turns into mold and rot inside the walls. Wet framing feels solid enough to close up, but if that wood’s reading above 15% on a moisture meter, you’re asking for problems you won’t see until months later when cracks show up and musty smells start. The key is drying framing fast enough to keep your project moving, but slow enough to hit safe moisture levels before you close anything up.
Emergency Response and Systematic Drying Approach

Wet wood framing needs systematic drying to stop mold growth, wood rot, and structural damage. The difference between fixing things right and creating long term problems? How fast you move and how methodical you are.
Here’s the sequence that works: stop the water source, pull out standing water, figure out how bad the damage is, pick your drying methods, and track progress until moisture hits target levels. Skip a step and you’re trapping moisture behind finished surfaces.
Framing lumber reading 18% or above on a moisture meter is too wet. It’s gotta dry before you hang drywall. Target readings depend on what you’re working with: 12 to 15% for kiln dried lumber, 17% or less for pressure treated, with the ideal sitting at 12% or less before you close up walls. Professional builders check these numbers because studs that lose more than 5 percentage points after drywall goes up will give you nail pops, cracks, and opened joints.
Timeline changes a lot based on conditions. Natural drying in warm weather above 60°F takes 3 to 5 weeks to drop from 18% down to 14% moisture content. Cold and rainy? You’re looking at 6 to 12 weeks. Below freezing temps bring drying almost to a stop, which means you need active drying methods in winter.
Assessing Moisture Content and Target Levels in Wood Framing

Accurate moisture assessment is everything. It tells you when drying’s working and when you can safely move forward with reconstruction.
Pin type moisture meters drive two pins into the wood surface and measure electrical resistance between them. They read moisture at shallow depth. Pinless meters use radio frequency and claim 3/4 inch depth reading, but pin type meters are more accurate for framing lumber. Good pin type models cost around $150 (Extech model MO220 is a common example). Professional grade meters with data storage run $500 plus from brands like GE Protimeter, Lignomat, and Delmhorst.
Target moisture readings vary by lumber type. Kiln dried lumber typically shows up at 12 to 14% moisture content. Before closing walls, kiln dried lumber should read 15% or lower. Pressure treated lumber should be 17% or less. The ideal target for all types is 12% or less before you hang sheetrock. After one year of HVAC operation, studs typically reach equilibrium at 10 to 12% moisture content, where they’ll stay long term.
Check moisture systematically. Every 10th stud at chest height and near the bottom plate. Check the bottom plate itself every fourth stud. During active drying, check walls every 3 to 4 days so you can reposition equipment. Check more frequently as you get close to target levels. Check plywood subfloors daily if they’re there. Pay special attention to king studs because they take longest to dry and shrink the most. Use a permanent marker to write the moisture percentage and date directly on each tested stud. This creates a visible record of drying progress and helps you spot problem areas that aren’t responding.
| Lumber Type | Target Moisture Before Closing | Equilibrium After 1 Year |
|---|---|---|
| Kiln dried lumber | 15% or lower | 10 to 12% |
| Green/pressure treated lumber | 17% or less | 10 to 12% |
| Ideal for all types | 12% or less | 10 to 12% |
Key spots to measure:
Bottom plates (check every 4th stud). These have the highest moisture content because water absorbs from subfloor and gravity pulls moisture down vertical studs.
Wall cavities at chest height (check every 10th stud) for readings throughout the wall.
Sill plates where moisture can get trapped between the slab and the wood, creating hidden wet pockets.
Floor joists and rim joists where access is tough but moisture often builds up.
King studs, which take the longest to dry and shrink the most.
Plywood sheathing if it got hit with heavy rain during construction.
Forced Air Circulation for Drying Wet Framing
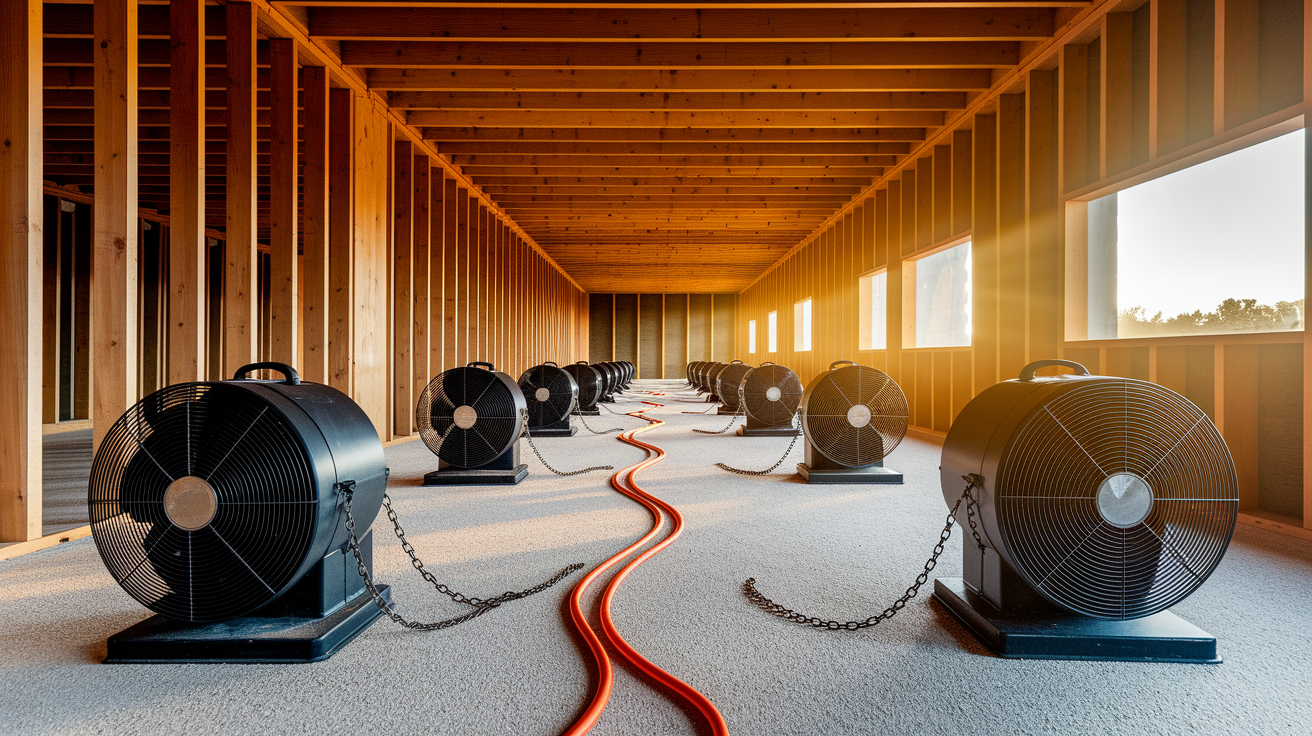
Carpet blower fans and box type air movers are your primary equipment for moving air across wet framing. Commercial grade fans start at $300 to purchase. Rental runs about $10 per day or $150 per month. For a complete drying setup, you’ll need multiple units. Professional drying companies typically deploy 10 fans for a 2,500 square foot house during pre insulation drying.
Position fans to create air movement throughout the entire framing area, not just the obviously wet spots. Chain or padlock each fan to the framing to prevent theft. These fans run 24/7 until drying’s complete, meaning they’re on site unattended overnight and potentially over weekends. Security matters because you’re looking at $300 plus per unit if they walk off the job.
At temps above 45°F, continuous fan operation dries framing at roughly 0.5 to 1% per day. One week of 24/7 fan drying is needed to reduce moisture readings from 18 to 20% down to the 14% range. Running three to four fans can drop moisture content by 5 percentage points in about one week under good conditions. Air movement works by increasing evaporation rate at the wood surface, pulling moisture out of the lumber and into the surrounding air. Effectiveness drops a lot when outdoor temps fall below 45°F or when humidity climbs above 60%.
Dehumidification Methods for Structural Drying
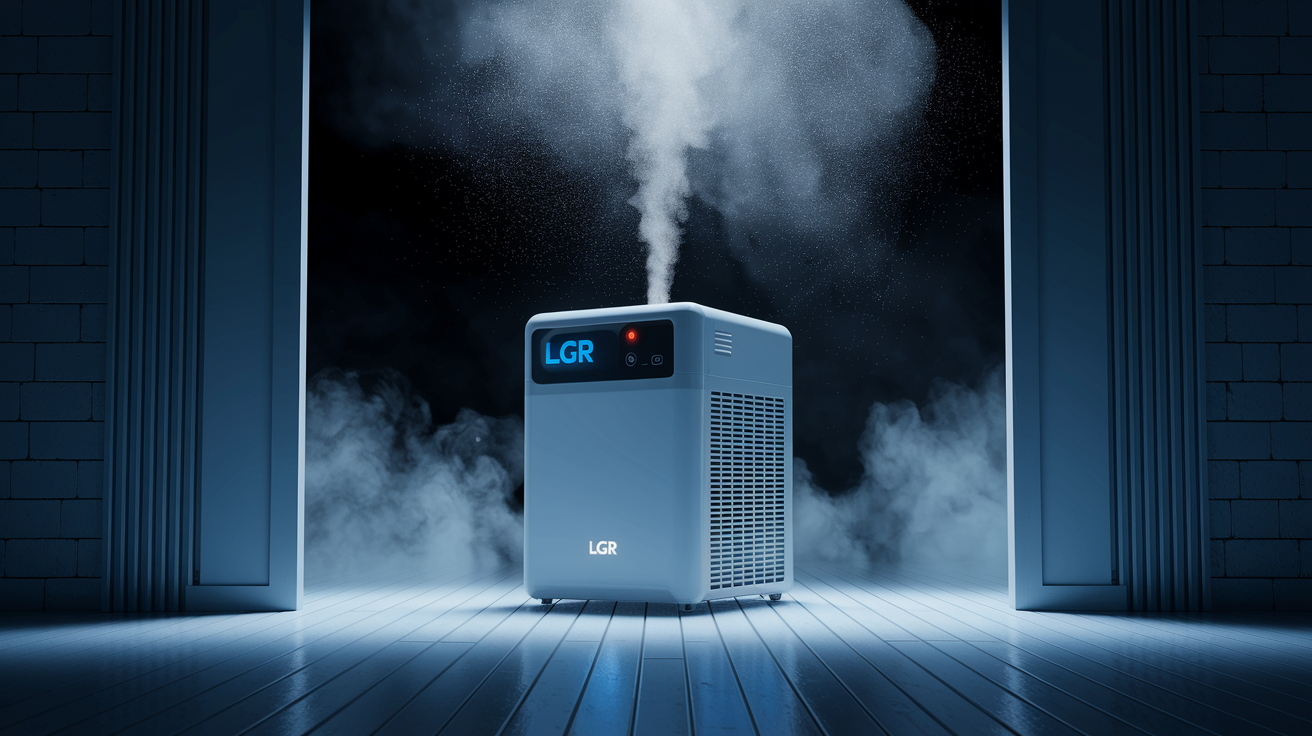
Dehumidifiers become essential when outdoor relative humidity exceeds 60%. At that point, air movement alone won’t carry moisture away well because the surrounding air is already saturated. Close all windows and doors to create a controlled environment where the dehumidifier can actually lower humidity levels.
Professional equipment like the Dri Eaz LGR Evolution pulls moisture from the air more aggressively than residential dehumidifiers. Combine fans with dehumidifiers for the most effective approach, bringing moisture content down in roughly one week if conditions aren’t too cold. At 100% humidity, no drying occurs no matter how many fans you run. The air simply can’t hold any more water vapor, which means every molecule of moisture that evaporates from the wood immediately condenses somewhere else in the space. Position dehumidifiers in enclosed spaces like cabinets by placing them in front of open doors. This creates a controlled microenvironment where moisture removal works best.
| Humidity Level | Drying Action Required | Equipment Needed |
|---|---|---|
| Below 60% | Natural ventilation possible | Fans + open windows |
| 60 to 80% | Close space and dehumidify | Dehumidifier + fans |
| 80 to 100% | Aggressive dehumidification | Multiple dehumidifiers + fans |
| At 100% | No drying possible | Must reduce humidity first |
Heat Application for Accelerated Wood Drying
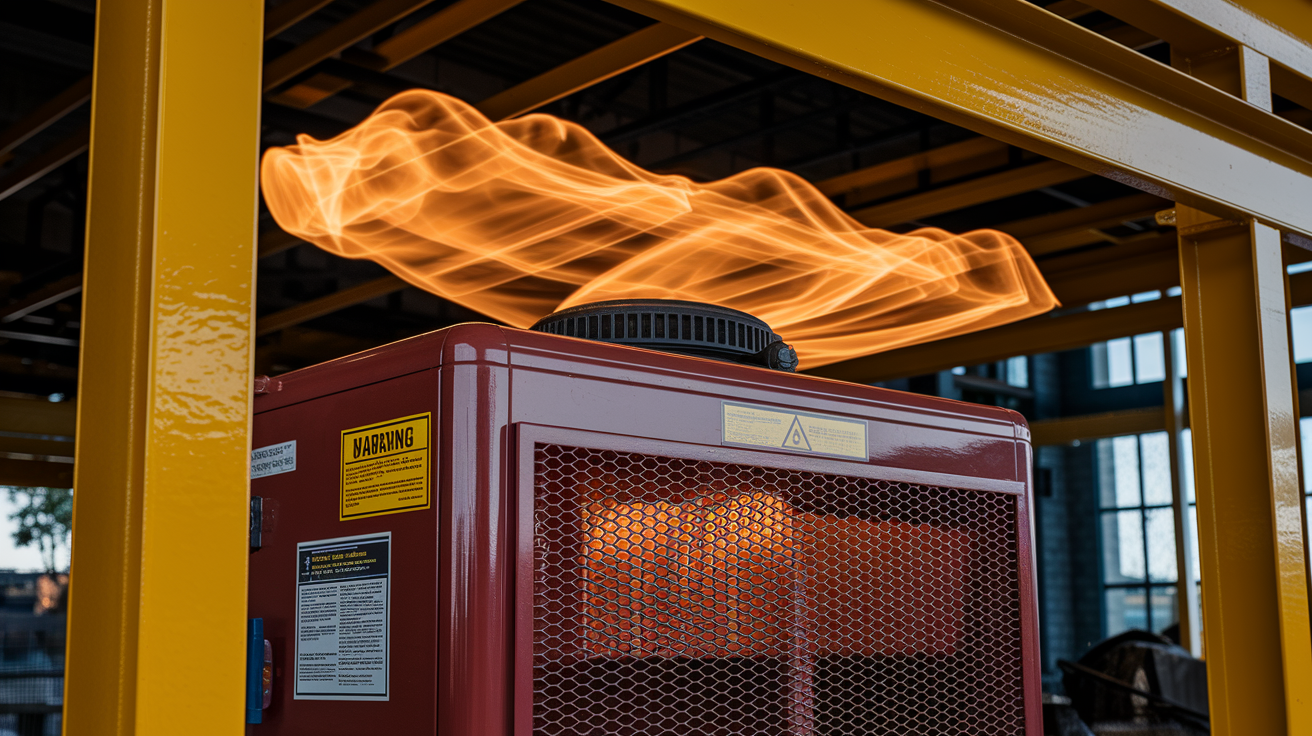
Never use propane heaters for drying wood framing. Propane heaters add 1 gallon of moisture to the air for every hour of runtime. You’re literally pumping water vapor into the space while trying to remove it from the lumber.
Proper heat sources require combustion outside the structure with dry hot air blown inside. Indirect fired diesel heaters rated for 90,000 BTU can run up to three days on one tank of fuel. The Dri Eaz mobile furnace produces 85,000 BTU of dry heat as one professional example. Electric heaters work when diesel equipment isn’t available or practical.
Never use the homeowner’s furnace during construction. It voids the equipment warranty and can damage ductwork with construction dust and debris. The furnace isn’t designed to run continuously in an unfinished space with open framing. Temporary heating equipment designed for construction environments handles the dust, debris, and continuous operation that permanent systems can’t.
Natural Ventilation Techniques for Drying Framing

Open windows and doors on opposite sides of the structure to create cross ventilation. Air flows in one side and out the other, carrying moisture with it as it moves through the space.
You need temps above 60°F and humidity below 60% for natural ventilation to work well. Don’t rely on it when weather’s severely cold or too humid. Cold air holds very little moisture, so drying slows way down even with good air movement. High humidity means the incoming air is already saturated and can’t pick up much additional moisture from the wet framing.
Natural drying takes 2 to 4 weeks (sometimes 3 to 5 weeks depending on conditions) to drop from 18% to 14% moisture content at temps above 60°F. That’s passive drying with good conditions and proper ventilation. Cold and rainy weather extends natural drying to 6 to 12 weeks or longer. Below freezing temps bring drying to an extremely slow pace where you’re better off waiting for warmer weather or adding active drying methods.
Moisture concentrates at floor level because it’s heavier than dry air. Even with passive ventilation through open windows and doors, the lowest areas of the framing stay wetter longer. Position supplemental fans at floor level to move this moisture heavy air out of the space, even when you’re relying primarily on natural ventilation.
Identifying Water Damage Sources in Framing Members
Fix the moisture source before you start drying. Ongoing water intrusion will undermine every drying effort. You’ll be pulling moisture out while new water keeps soaking in.
Water damage is the leading cause of property damage in homes because there are so many ways water can enter a structure. Finding the exact source isn’t always obvious, especially when water travels through wall cavities or along framing members before it becomes visible.
Common water sources affecting wood framing:
Plumbing leaks from supply lines, drains, or fixture connections that may go unnoticed inside walls.
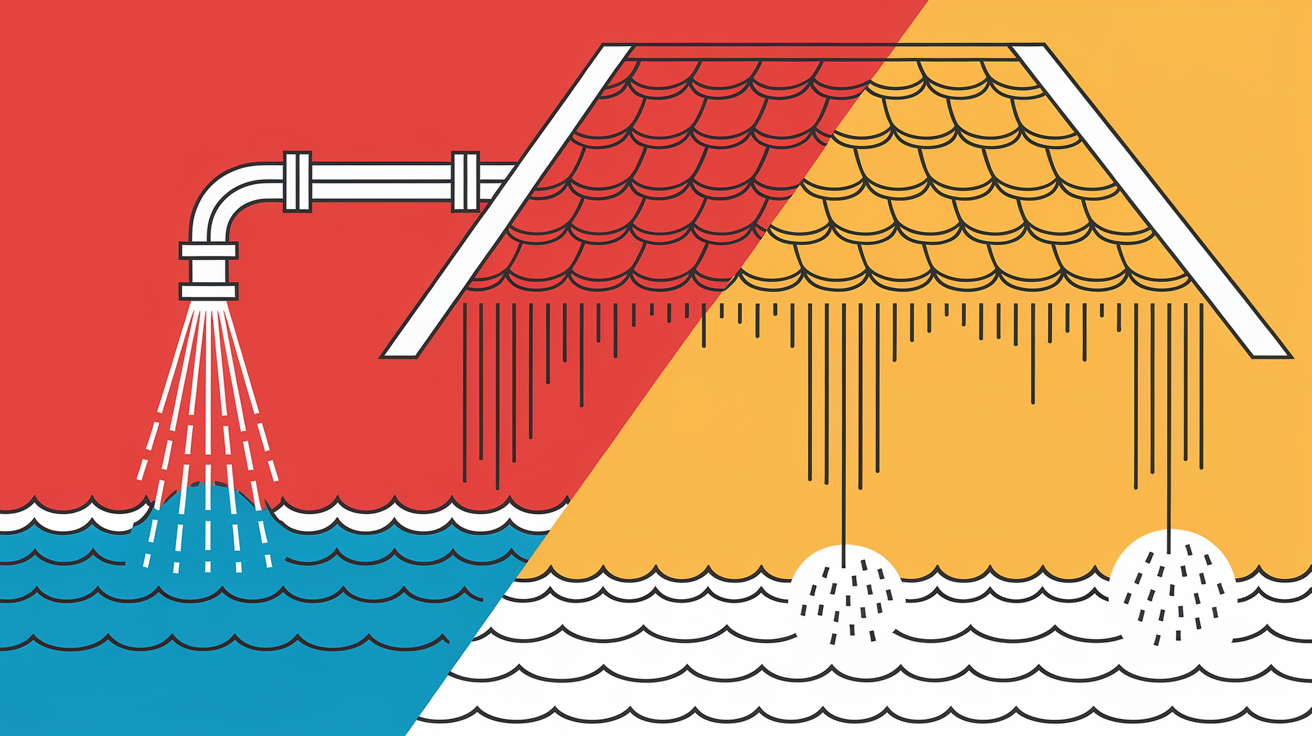
Roof leaks that let rainwater run down rafters and into wall cavities below.
Foundation moisture from poor drainage, hydrostatic pressure, or failed waterproofing.
Flood damage from natural disasters, storm surge, or river overflow.
Burst pipes from freezing temps or pressure spikes in the supply system.
Storm intrusion including hurricane water that drives rain through exterior cladding.
Trapped moisture between slab and sill plate where water can’t escape and stays hidden between surfaces.
Mold Prevention During Wood Framing Restoration

Mold spores activate and rot begins when moisture content exceeds 19%. That’s the critical threshold where biological activity starts damaging wood structure. At readings of 18% or above, you’re already in the danger zone. For more details on how quickly mold can establish after water damage, see our guide on the Water Damage Mold Growth Timeline.
Porous building materials like wood and drywall naturally absorb water and moisture, making them particularly vulnerable. The same properties that make wood useful for framing (cellular structure, ability to accept fasteners, workability) also make it an ideal environment for mold growth when wet. Wood fibers hold water in countless tiny spaces throughout the material.
Quick action prevents structural issues from rot and buckling that can compromise framing integrity. Water damaged wood loses strength as rot progresses. What starts as surface discoloration becomes soft spots, then structural failure. Antimicrobial treatment options exist for sanitization after water damage, particularly when water came from contaminated sources like sewage backup or flood water that contacted soil. These treatments help prevent future mold growth on surfaces that dried before mold could establish.
Exposing Wet Wood Framing for Effective Drying
Trapped moisture behind drywall and in wall cavities prevents effective drying because air and equipment can’t reach saturated framing. Drywall acts as a vapor barrier that seals moisture inside the wall cavity. Insulation holds water like a sponge.
Remove wet drywall, damaged insulation, and compromised subflooring. Drywall that’s been wet loses structural integrity and provides a food source for mold. Insulation that’s absorbed water rarely dries effectively in place and should be removed. Subflooring may need to come up if it’s delaminating or if water has saturated the area underneath where joists can’t dry properly.
Complete exposure is necessary before you start drying to make sure air circulation reaches all wet surfaces. You can’t dry what you can’t reach. Half measures lead to trapped moisture that’ll cause problems later. Plan demolition to expose all affected framing plus a margin beyond the obviously damaged area. Water travels through building cavities, and the wet zone typically extends beyond what’s visible on surfaces. Check plywood sheathing moisture if exterior walls were exposed to heavy rain during construction or if roof leaks allowed water into wall cavities from above.
Comprehensive Consequences of Inadequate Drying

Improperly dried framing leads to both immediate structural damage and progressive problems after walls are closed.
Studs losing more than 5 percentage points after drywall installation cause visible shrinkage related flaws. Closing walls prematurely traps moisture that continues to evaporate into the wall cavity. This creates an environment where mold can grow unseen, rot can progress hidden inside walls, and wood movement from continued drying causes finish defects throughout the home.
Visual and structural damage signs from inadequate drying:
Visible rot appearing as darkened, soft wood that’s lost structural integrity.
Warping where framing members bow, twist, or cup as they dry unevenly.
Swelling at joints where moisture concentrates and wood expands.
Discoloration in patches or streaks indicating water damage and potential mold growth.
Soft spots when pressed, especially in bottom plates and areas that stayed wet longest.
Mold growth appearing as fuzzy patches or staining on wood surfaces.
Nail pops in drywall where shrinking studs pull away from fasteners.
Drywall cracks around window heads where king studs shrink vertically.
Squeaky floors and stairs from movement in joists and stringers that dried after installation.
Opened interior trim joints with pulling and cracking caulking where wood shrinkage creates gaps.
Water damaged wood can rot and buckle, creating serious structural issues if not addressed fast. Replace framing members when rot has progressed beyond the surface layer, when structural integrity is compromised (soft spots, loss of material, inability to hold fasteners), or when damage is deep rather than superficial. Surface damage may be repairable, but deep rot in load bearing members requires replacement. When you’re not sure, consult a structural engineer or experienced contractor to figure out whether damaged framing can remain or must be replaced for safety.
Professional Restoration Versus DIY Drying Methods
A DIY approach using 3 to 4 fans can reduce moisture content by 5 percentage points in about one week under good conditions. Equipment rental runs roughly $10 per day or $150 per month per fan. Purchasing fans starts at $300 each. For a moderate drying project, you’re looking at $40 to 60 per day in rental costs for enough fans to make progress, plus a moisture meter to track results.
Professional deployment for a 2,500 square foot house typically uses 10 fans for comprehensive coverage, plus commercial grade dehumidifiers and monitoring equipment. Professionals bring commercial grade equipment that performs better than consumer rentals, expertise in moisture mapping to identify hidden wet areas, faster timelines through optimized equipment placement, and comprehensive documentation for insurance claims. Professional restoration services use commercial grade water extraction and drying equipment for faster, more effective results. They also handle the logistics of 24/7 equipment monitoring and repositioning as drying progresses.
Decision criteria between DIY and professional help depends on several factors. For minor localized damage affecting a small area where you can contain the problem easily, DIY makes sense. For widespread damage throughout multiple rooms or affecting structural members, professional help is worth the cost. Time availability matters because effective drying requires daily monitoring and equipment repositioning. If you can’t check moisture readings and adjust equipment placement regularly, professionals handle this. Structural safety concerns require professional assessment, particularly for load bearing walls or floor systems. Insurance involvement often tips the scale toward professional restoration because insurance companies prefer documented restoration processes and may require it for claim approval. For more guidance on making this decision, see our article on When to Call a Water Damage Restoration Professional.
Required Equipment and Tools for Wood Framing Drying
Equipment needs range from basic extraction tools (rags, towels, mops for minimal water) to commercial grade drying equipment for larger projects affecting significant framing areas.
| Equipment | Purpose | Purchase Cost | Rental Cost |
|---|---|---|---|
| Moisture meter | Measure moisture content | $150 to $500+ | Not typically rented |
| Wet/dry vacuum | Remove standing water | $100 to $300 | Available at hardware stores |
| Carpet blower fans | Primary air movement | $300+ each | $10/day or $150/month |
| Air movers (box type) | Supplemental air circulation | $300+ each | $10/day or $150/month |
| Dehumidifier | Humidity control | $200 to $1,000+ | $15 to $30/day |
| Thermal imaging camera | Detect hidden moisture | $500 to $5,000+ | $50 to $100/day |
| PPE/safety gear | Personal protection | $50 to $150 | N/A |
| Cleaning supplies | Remove dirt and residue | $20 to $50 | N/A |
Drying Specific Wood Framing Components
Different framing components absorb and release moisture at different rates, which means you need component specific approaches for effective drying.
Bottom Plates and Sill Plates
Bottom plates typically have the highest moisture content because they absorb water from the subfloor and moisture gravitates down vertical studs. Check bottom plates every fourth stud rather than the every tenth pattern used for mid height checks. Moisture can be trapped between the slab and sill plate, creating hidden pockets where water sits with no easy escape path. This is particularly common after flooding or foundation water intrusion where water pushes up from below. Use both pin type and pinless moisture meters in these areas to compare readings, because one may detect moisture the other misses.
Wall Studs and King Studs
King studs take the longest to dry and shrink the most. These doubled or tripled studs at window and door openings have more mass and less surface area exposed to air, slowing the drying process. General stud drying follows a pattern where moisture moves downward over time, pulled by gravity as water evaporates from the surface. Check king studs specifically and mark them for frequent monitoring. If king studs are still reading above 15% when standard studs have reached target levels, keep drying.
Floor Joists and Rim Joists
Access challenges for monitoring these horizontal members require creative equipment positioning. Floor joists may be hidden under subfloor that hasn’t been removed, or above finished ceiling in the space below. Rim joists at the perimeter are often boxed in by exterior sheathing and interior drywall. Position fans to blow air into joist bays from accessible ends. Use longer moisture meter probes if available to reach into joist pockets from the sides. Remove subfloor sections at intervals to check joists directly if you can’t get accurate readings from edges.
Subfloors and Sheathing
Daily plywood subfloor checks are essential. Plywood can delaminate when wet, losing structural integrity even if it dries later. OSB products like AdvanTech typically resist water better than standard plywood, but still need monitoring. Check sheathing moisture if exterior walls were exposed to heavy rain during construction. Wall sheathing that absorbed water from outside needs to dry before insulation and drywall trap that moisture inside the wall cavity. Remove the bottom course of siding if necessary to access the lower edge of sheathing for moisture meter readings.
Load Bearing Walls
Structural safety concerns require careful inspection of load bearing framing members. Compromised load bearing components may require temporary support during drying to prevent progressive failure. Water damage weakens wood, and a partially rotted load bearing stud or beam can fail suddenly if it’s still carrying design loads. Look for signs of stress: cracks at fasteners, sagging in headers, visible deflection in beams or joists. When you’re not sure about structural integrity, install temporary posts or jacks to transfer loads before allowing the damaged member to dry and before making a repair or replacement decision.
Water Extraction Before Beginning Drying Process
Remove standing water from saturated lumber immediately. Drying equipment can’t work effectively with standing water present. Fans and dehumidifiers move air and reduce humidity, but they don’t remove liquid water sitting in puddles or soaked into materials.
Use rags, towels, and mops for minimal water. For large volumes, use a pump or wet/dry vacuum. A pump handles the fastest removal when you’re dealing with significant flooding. A wet/dry vacuum works well for moderate amounts or for final cleanup after a pump has removed the bulk.
Never use a standard household vacuum to remove standing water. The electrical components aren’t designed for water contact, creating a serious shock hazard and ruining the vacuum immediately. Wet/dry vacuums can be rented at local hardware stores for $15 to 30 per day if you don’t own one. After removing standing water, use a sponge and clean water to remove leftover dirt and residue. This prevents contaminants from soaking into the wood as surface water evaporates.
Standing puddles and soaked framing require stopping construction immediately before moving to the next stage. Don’t install insulation, drywall, flooring, or any other materials over wet framing. Seal in the moisture and you create conditions for mold growth and rot that’ll require tearing out new work to fix the original problem.
Safety and PPE Requirements for Water Damage Restoration
Water damaged framing creates several hazards. Electrical risks increase dramatically around wet conditions. Contamination potential varies by water source, with clean supply water being safest and sewage backup being highly hazardous. Structural instability develops as rotted and buckled wood loses load carrying capacity.
Protective equipment is essential when handling saturated building materials that may harbor contaminants or mold. Water that contacted soil, backed up from drains, or sat stagnant for days can carry bacteria, chemicals, and other hazards. Even clean water damage creates mold risk once materials stay wet for more than 24 to 48 hours.
Required PPE and safety measures:
Respiratory protection (N95 or better) to filter mold spores and airborne particles during demolition and handling of wet materials.
Waterproof gloves when handling wet framing and during cleaning to prevent skin contact with contaminated water or cleaning chemicals.
Eye protection to prevent splashing water or debris from contacting eyes during water extraction and demolition.
Waterproof boots with slip resistant soles because wet construction sites are extremely slippery.
Electrical safety through GFCI protection for all equipment, with careful attention to keeping electrical connections away from standing water.
Containment barriers using plastic sheeting to prevent contamination spread from work areas to unaffected parts of the building.
Documentation and Insurance Claim Considerations
Document everything from initial damage discovery through completed restoration. Water damage is the leading cause of property damage in homes, making proper documentation critical for insurance claims and future reference.
Photo and video requirements start before you touch anything. Capture the damage as discovered, then document the entire restoration process. Take photos of moisture readings over time, showing the dates on your moisture meter readings. Photograph equipment deployment to show the extent of drying efforts. Document completed repairs for records and quality verification.
Mark each tested stud with the moisture percentage and date using a permanent marker. This creates a verifiable record directly on the framing. If questions arise later about whether proper drying occurred, those notations provide proof. Take photos of the marked studs periodically to create a time stamped record in your phone or camera that shows moisture levels dropping over time.
Get insurance involved when damages exceed your deductible. Most homeowners policies carry a $1,000 to 2,500 deductible, so minor localized water damage may not be worth a claim. Extensive damage affecting multiple rooms, structural components, or requiring professional restoration typically exceeds the deductible and justifies a claim. Professional restoration companies provide benefits for claims support through detailed documentation and expertise in working with insurance adjusters. They know what adjusters want to see, how to document scope properly, and how to justify costs. That experience can be worth the service cost when you’re dealing with a claim that may reach tens of thousands of dollars.
Prevention Strategies to Protect Wood Framing
Prevention is more cost effective than restoration. Avoiding water damage saves both direct restoration costs and construction delays that cascade through project schedules.
Kiln dried lumber typically arrives at 12 to 14% moisture content, but can absorb water during storage or construction phases. Short construction cycles give framing minimal time to dry naturally before the next stage begins, making protection during storage and construction critical. Rain on exposed framing, ground moisture wicking up through unprotected bottom plates, and plumbing leaks during construction can all introduce moisture that causes problems later.
Prevention strategies to protect wood framing:
Proper material storage with lumber covered and elevated off the ground on blocking or pallets to prevent ground moisture absorption.
Vapor barriers correctly installed below slabs and in crawlspaces to block ground moisture from reaching framing.
Site grading and drainage directing water away from the foundation to prevent water accumulation against framing.
Regular inspection schedule during and after construction to catch leaks and water intrusion early before damage becomes extensive.
Leak detection systems for plumbing installed near sensitive areas or throughout buildings where water damage would be costly.
Proper ventilation design in walls and attic spaces to allow water vapor to escape rather than accumulating and condensing on framing.
Building code compliance for moisture management including proper flashing, drainage planes, and ventilation that prevents water intrusion.
Final Words
Wet wood framing won’t dry on its own timeline. You need to stop the water source, extract what’s pooled, measure where you are, and run equipment until your meter consistently reads 12% or less.
The framing’s either dry enough to close up, or it’s not. Check every few days, reposition fans, and don’t seal anything in early.
If you skip the measuring step or rush past 15%, you’re locking in the conditions for mold, rot, nail pops, and cracks that show up months later.
Learning how to dry out wet wood framing the right way means you rebuild once, not twice.
FAQ
How long does wet framing take to dry?
Wet framing takes 3 to 5 weeks to dry naturally from 18% moisture to 14% when outdoor temperatures stay above 60°F. Cold and rainy weather extends drying time to 6 to 12 weeks. With fans running 24/7, you can reduce moisture by approximately 0.5% to 1% per day, bringing wet framing down to safe levels in about one week if conditions aren’t too cold.
How to dry out a wet wood frame?
To dry out a wet wood frame, first remove standing water with a wet/dry vacuum, then remove surrounding drywall and insulation to expose the framing. Run air movers or fans 24/7 positioned at floor level where moisture concentrates. Use a dehumidifier if outdoor humidity exceeds 60%, and check moisture readings every three to four days with a pin-type moisture meter until all studs read 12% to 15% or lower.
What draws moisture out of wood?
Air circulation draws moisture out of wood by increasing evaporation rates across the wood surface. Heat raises the wood’s temperature and accelerates moisture release, while dehumidifiers pull water vapor from the air, lowering relative humidity and allowing wood to release more moisture. Combining air movement, controlled heat, and dehumidification creates the fastest drying conditions, typically reducing moisture content by 0.5% to 1% daily.
Will wet wood go back to normal?
Wet wood will go back to normal if you dry it to 12% to 15% moisture content before mold growth or rot begins at 19% moisture. Wood dried properly will return to its original strength and stability. However, wood that stays wet long enough to develop rot, buckle, or severe warping cannot return to normal and requires replacement to maintain structural integrity.
How do I know when wood framing is dry enough to close up?
Wood framing is dry enough to close up when moisture meter readings show 15% or lower for kiln-dried lumber and 17% or less for pressure-treated lumber. Ideally, all readings should be at 12% or less before hanging drywall. Check every 10th stud at chest height and near the bottom plate, and check bottom plates every fourth stud to ensure comprehensive drying.
Can I use my home’s furnace to dry out wet framing?
You cannot use your home’s furnace to dry out wet framing because it voids the warranty and can damage ductwork with construction dust and debris. Use indirect-fired diesel heaters rated for 90,000 BTU or electric heaters instead. Never use propane heaters, as they add one gallon of moisture per hour to the air, making the drying problem worse.
What happens if I install drywall over wet framing?
If you install drywall over wet framing, trapped moisture will cause mold growth, wood rot, nail pops, drywall cracks around windows, squeaky floors, and separated trim joints. Studs losing more than 5 percentage points of moisture after drywall installation will shrink and create visible damage. Water-damaged wood can rot and buckle, creating serious structural issues that require expensive repairs later.
Do I need a moisture meter to dry wood framing?
You need a moisture meter to dry wood framing properly because visual inspection cannot determine internal moisture levels. Pin-type moisture meters are most accurate for framing and cost around $150 for basic models like the Extech MO220. Professional-grade meters with data storage cost $500 or more from brands like GE Protimeter, Lignomat, and Delmhorst. Without a meter, you’re guessing when framing is safe to close up.
Should I hire a professional or dry the framing myself?
You should hire a professional for widespread water damage, structural concerns, insurance claims, or when you need fast results. Professionals use 10 fans for a 2,500-square-foot house and complete drying in about one week. You can handle DIY drying for minor localized damage using 3 to 4 rented fans at $10 per day, achieving similar moisture reduction in approximately one week if you have time and can monitor progress regularly.
How often should I check moisture levels during drying?
You should check moisture levels every three to four days during active drying to reposition equipment and track progress. Check more frequently as you approach target moisture levels of 12% to 15%. Check plywood subfloors daily if present, and prioritize king studs because they take longest to dry. Mark each tested stud with moisture percentage and date using permanent marker to track drying progress.
Why do bottom plates stay wet longer than wall studs?
Bottom plates stay wet longer than wall studs because they absorb water from the subfloor below and moisture gravitates down vertical studs into the bottom plate. This creates the highest moisture concentration at floor level. Check bottom plates every fourth stud and position fans at floor level where moisture concentrates to speed drying in these problem areas.
Can I dry wood framing with just open windows?
You can dry wood framing with just open windows if outdoor temperatures stay above 60°F and humidity stays below 60%, but it takes 3 to 5 weeks to drop from 18% to 14% moisture content. Create cross ventilation by opening windows and doors on opposite sides. This method works for minor moisture issues but not for severe water damage or when weather conditions are cold or humid.
