

Think concrete is waterproof? It’s not. That solid looking slab acts like a giant sponge when floodwater hits, soaking up bacteria, contaminants, and moisture deep into its porous structure. Surface cleaning won’t cut it. You need a proper sequence: extract standing water, scrub out absorbed debris, disinfect thoroughly, and dry completely before mold takes hold. Skip a step or rush the process, and you’re sealing contamination into your foundation. Here’s how to clean flooded concrete the right way, safely, without expensive do-overs.
Critical Safety Protocols Before Beginning Flood Cleanup
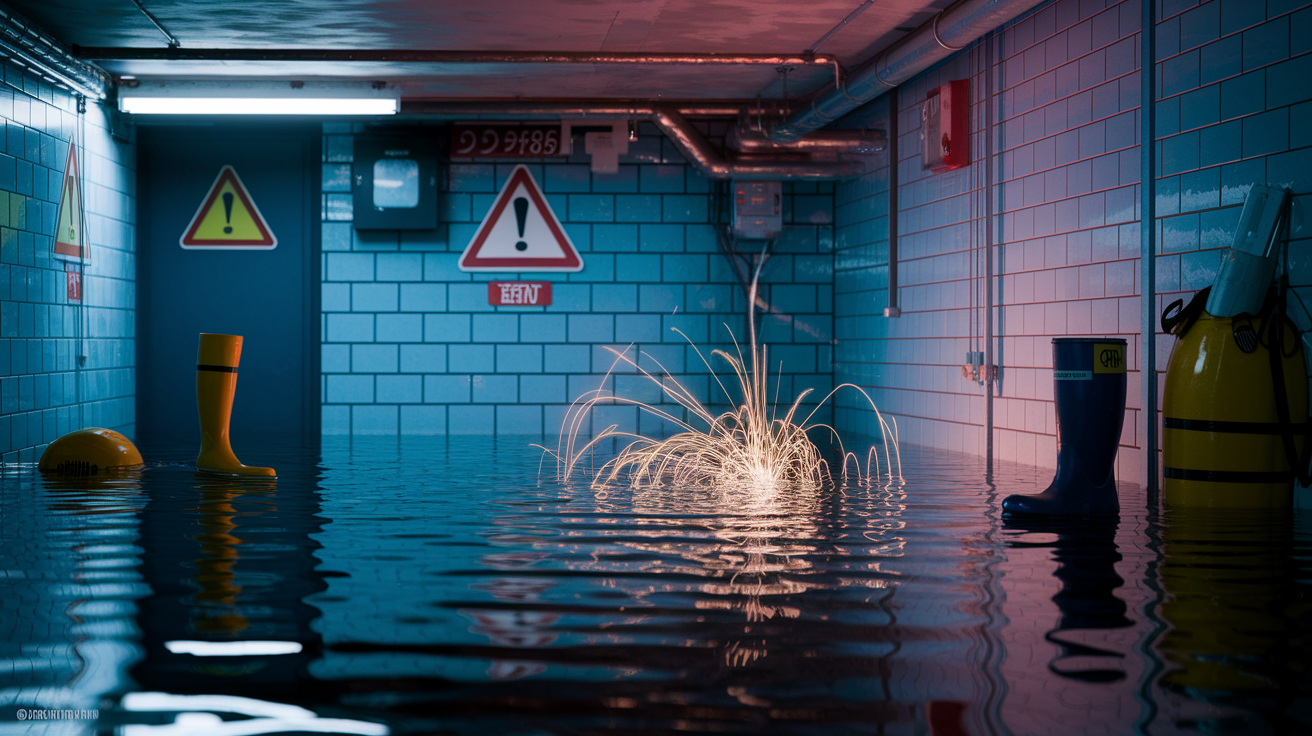
Stop. Look at what you’re dealing with before you touch anything. Three situations mean you call a pro right now: flooding that’s more than a few inches deep across a large area, water that’s contaminated from sewage or chemicals, and electrical hazards like submerged outlets or exposed wiring. If you smell sewage, see an oily sheen on the water, or notice wet electrical panels, get out and call someone licensed. Contaminated floodwater isn’t a DIY job. It carries bacteria, viruses, and chemical hazards that require proper handling under local regulations.
If your situation looks manageable, you still need the right gear before stepping into wet areas.
For clean water flooding where you’ve confirmed power is safely off, get your protective equipment together and double check that the electrical panel for that area is shut off. Look for water near outlets, light fixtures, any electrical components. Exposed wiring, frayed cords, sparking? Leave immediately and call an electrician. Even with power off, treat everything as live until a professional says otherwise.
Required protective equipment and why it matters:
- Heavy duty rubber gloves – protect your hands from bacteria, cleaning chemicals, and contaminated materials through every cleanup stage
- Rubber boots with non-slip soles – keep your feet dry and stable on wet, slippery concrete
- N95 respirator or P100 mask – filters out mold spores, bacteria, and chemical fumes that get stirred up during cleaning
- Safety glasses or goggles – shield your eyes from splashing disinfectants, debris, and stuff that goes airborne when you’re scrubbing
- Long pants and long sleeves – minimize skin contact with contaminated water and cleaning solutions
- Waterproof apron (optional but helpful) – adds protection when you’re working with bleach or doing intensive scrubbing
Removing Standing Water From Your Concrete Floor

Every hour water sits on concrete, more moisture soaks into the porous surface. Start removing it as soon as you’ve confirmed the space is electrically safe.
For puddles under an inch deep, towels and a squeegee get the job done. Push water toward floor drains. Wring out towels often or swap them for dry ones as they saturate. For moderate amounts of standing water, a wet dry vacuum (shop vac rated for water) handles it efficiently. Never use a household vacuum. It’s not built for liquids and you’re risking serious electrical shock. Make multiple passes, focusing on low spots where water collects.
When you’re dealing with several inches covering a large basement, rent or buy a submersible pump or utility pump. If you’ve got an existing sump pump, use a squeegee or push broom to guide water toward it. Position the pump in the deepest spot, run the discharge hose to an appropriate outdoor drainage point, and let it work until only surface wetness remains. Then switch to your shop vac for final extraction from corners, around posts, and uneven spots.
Small basements (under 500 square feet) with moderate flooding typically take 2 to 4 hours to pump dry. Larger spaces or deeper water can take 6 to 12 hours depending on pump capacity.
Comprehensive Cleaning: Removing Debris and Deep Scrubbing Concrete
You can’t disinfect mud. Disinfectants need direct contact with the concrete surface, so everything covering that surface has to go first.
Start at the area furthest from your drain or exit. Use a stiff push broom or deck brush to sweep debris, silt, and mud toward a collection point. For heavy sludge buildup, a floor scraper or wide putty knife knocks off thick layers before you sweep. Shovel collected debris into heavy duty trash bags rated for wet materials. If the water came from sewage or had chemicals, label these bags clearly and check with your local waste authority about disposal requirements. Some jurisdictions have specific rules for flood contaminated materials.
Essential tools and materials for debris removal:
- Heavy duty push broom with stiff bristles
- Floor scraper or wide putty knife for thick sludge
- Shovel for collecting large amounts of debris
- Contractor grade trash bags (3 mil thickness minimum)
- Rubber gloves rated for heavy duty use
Now the concrete’s ready for actual cleaning. Deep cleaning pulls absorbed contaminants out of the porous structure.
Choose your cleaning product based on what you’re dealing with. Trisodium phosphate (TSP) handles heavy duty jobs where organic matter, oils, or tough staining occurred. Neutral pH cleaners work for routine flood cleanup when water was relatively clean. If you see oil stains, grease marks, or fuel residue, degreasing cleaners formulated for concrete cut through those deposits. Mix your chosen cleaner according to package directions. For large areas, a pump sprayer or mop applies solution efficiently. For extremely dirty floors or big spaces, renting a pressure washer speeds things up dramatically.
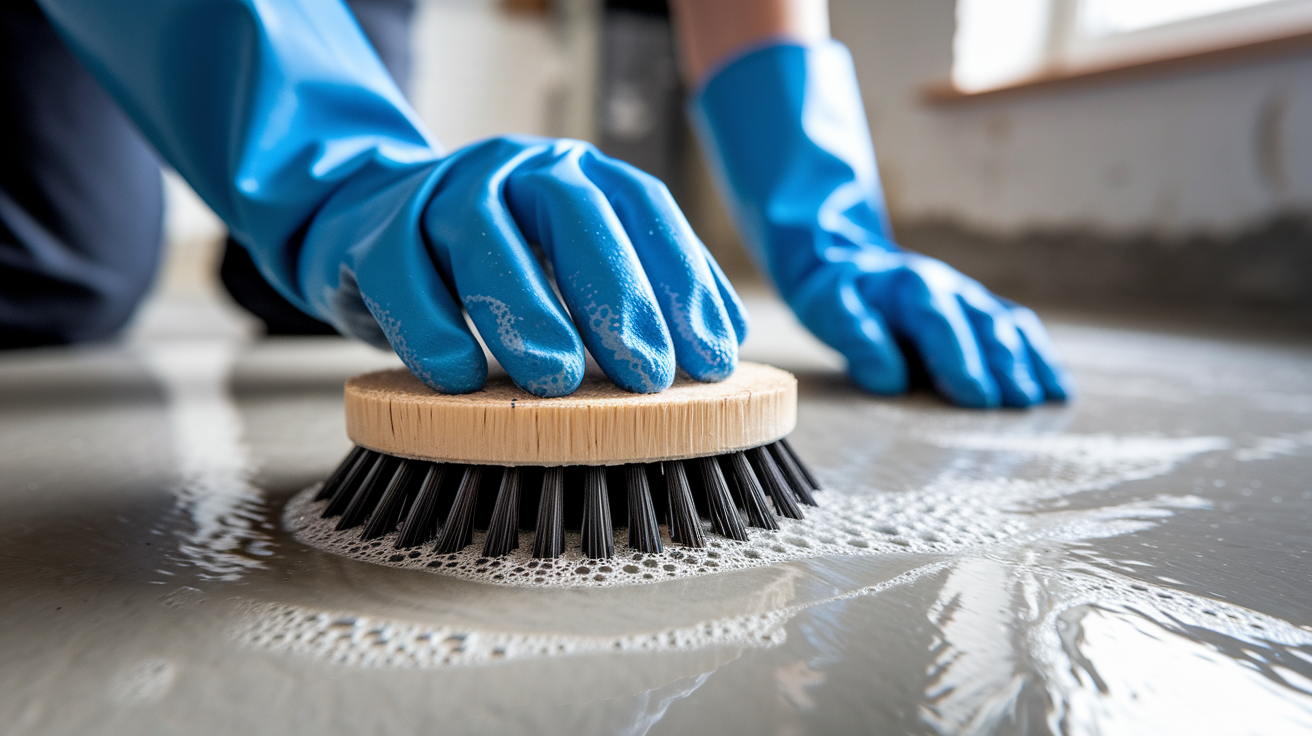
Let the cleaning solution sit for 10 to 15 minutes so it can penetrate and break down contaminants. Then scrub in overlapping passes using a hard bristle brush. Push hard. You’re trying to dislodge material that’s been absorbed into the concrete matrix, not just washing the surface.
Rinse thoroughly with clean water and extract the rinse water with your shop vac. Check the concrete. If you still see discoloration or feel gritty residue, do another round. Porous concrete often needs 2 to 3 cleaning cycles to get truly clean.
| Cleaning Product | Best Use | Dilution Ratio |
|---|---|---|
| Trisodium Phosphate (TSP) | Heavy contamination, organic matter, general tough cleaning | 1/2 cup TSP per gallon of warm water |
| Neutral pH cleaner | Routine flood cleanup, clean water flooding | Follow manufacturer instructions (typically 2-4 oz per gallon) |
| Degreasing cleaner | Oil stains, grease deposits, fuel spills | Use concentrated or per manufacturer directions |
| Baking soda solution | Odor neutralization during cleaning phase | 1 cup per gallon of water |
Disinfecting Concrete and Treating Mold, Mildew, and Odors

Floodwater carries bacteria, viruses, and organic materials that start growing mold within 24 to 48 hours. Cleaning removes visible contamination. Disinfecting kills what you can’t see.
For concrete that got wet from clean supply line water and shows no visible mold, mix a basic bleach solution: 1 cup household bleach to 1 gallon of water. For floodwater that contained organic debris, waste, or sat stagnant for more than a day, use EPA approved commercial disinfectants labeled for flood restoration. These products kill a broader spectrum of pathogens than bleach alone. Open all windows and doors before you start. Bleach fumes in an enclosed basement cause respiratory irritation fast.
Apply disinfectant solution with a mop, pump sprayer, or by pouring and spreading with a push broom. Cover every square foot, paying extra attention to cracks, expansion joints, corners, and spots where water pooled longest. Bacteria and early mold growth hide in these high risk areas.
Walk away and let it sit. The 10 to 15 minute dwell time isn’t optional. Disinfectants need contact time to penetrate concrete pores and kill microorganisms. Rinsing too soon leaves living contamination behind.
After the dwell time, rinse with clean water and extract thoroughly. If you skip this rinse, dried bleach residue creates a white haze and keeps off gassing fumes.
Porous concrete acts like a sponge for water and everything dissolved in it. When floodwater contained sewage, dirt, or organic materials, the concrete absorbed food sources for mold. If you see visible mold or mildew (black spots, fuzzy growth, discolored patches), you need stronger treatment. Mix a 3:1 solution (three parts water to one part bleach) and apply directly to affected areas. Scrub with a stiff brush after the dwell time. For persistent mold, use a commercial fungicide rated for concrete and follow the product’s specific application instructions.
Odors mean something organic is decomposing in or on the concrete. After thorough cleaning and disinfection, sprinkle baking soda liberally across the floor. Let it sit for 24 hours to absorb remaining odors, then vacuum it up with your shop vac. For stubborn smells, spray white vinegar solution (1 part vinegar to 1 part water) after removing the baking soda. The best odor solution is complete drying and sealing, which cuts off oxygen to odor causing bacteria.
Proper disinfectant application steps:
- Apply disinfectant solution evenly across entire floor using mop, sprayer, or broom, making sure you’ve got complete coverage with no dry spots
- Focus extra application on cracks, corners, floor wall joints, and areas where water pooled or sat longest
- Set a timer and leave the area for 10 to 15 minutes (or per product instructions) to allow proper contact time
- Rinse thoroughly with clean water, then extract all rinse water with shop vac to prevent residue buildup
Drying Your Concrete Floor Completely to Prevent Mold Growth
Mold starts growing 24 to 48 hours after water exposure, so every drying hour counts. A floor that looks dry on the surface still holds moisture deep in the concrete.
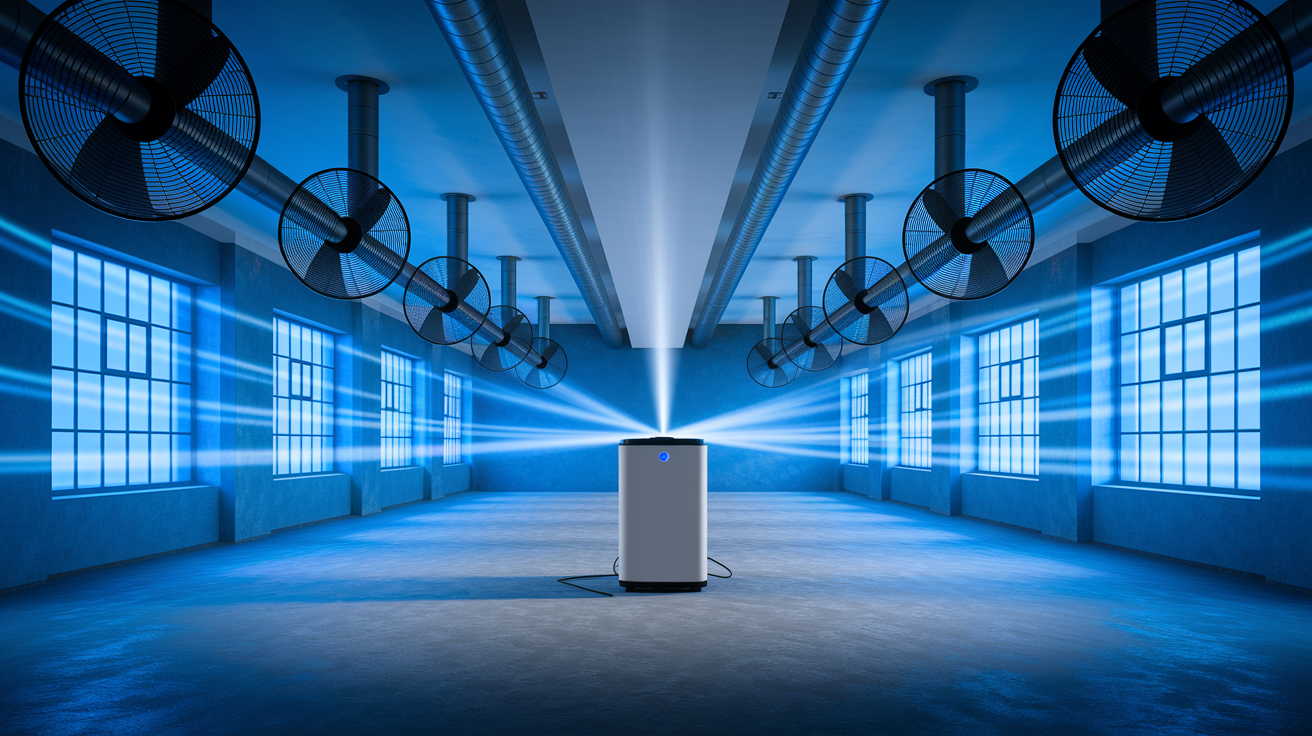
Place industrial fans in a cross ventilation pattern. Position one fan blowing across the floor from one direction, another fan at an angle from a different wall. You want air constantly moving over every section of floor, not just pushing air in circles. Aim fans slightly downward so airflow hits the surface directly.
Rent or buy a dehumidifier sized for your basement square footage. A 500 square foot basement needs at least a 50 pint capacity unit. Larger spaces need multiple units or commercial grade equipment. Dehumidifiers work best during spring and summer when you can maintain basement temperatures above 60°F. Cold concrete in winter slows evaporation dramatically. Run the dehumidifier continuously, emptying the collection bucket regularly or connecting a drain hose if the unit allows it. Check the humidity reading on the unit. You’re trying to get below 50% relative humidity.
If weather’s warm and dry, open basement windows and exterior doors to create natural ventilation. Fresh air exchange speeds drying significantly. Close everything up if rain threatens or humidity outside is higher than inside. You don’t want to pull more moisture into the space. At night, if outdoor humidity rises, close windows and rely on mechanical drying.
Keep drying equipment running around the clock until a moisture meter reads dry. Concrete needs to reach below 4% moisture content before sealing. Without a meter, err on the side of caution and run equipment for at least 3 to 5 days after the floor looks and feels dry. Thick concrete slabs hold moisture deep inside long after the surface dries.
Equipment and tools for effective concrete drying:
- Industrial floor fans (at least two for cross ventilation)
- Dehumidifier with capacity matched to square footage
- Moisture meter to verify dryness before sealing
- Extension cords rated for continuous use with drying equipment
- Hygrometer to monitor ambient humidity levels
Removing Salt Deposits and Efflorescence From Flooded Concrete

White crusty patches appearing on concrete after it dries are called efflorescence. This happens when water soaks into concrete, dissolves mineral salts in the material, then draws those salts to the surface as it evaporates.
Light efflorescence brushes off easily. Use a dry, stiff bristled brush and sweep the deposits into a dustpan. For heavier deposits that resist dry brushing, mix a solution of white vinegar and water (1 part vinegar to 3 parts water). The mild acid in vinegar dissolves mineral salts without damaging concrete. Apply the solution, let it sit for 5 to 10 minutes, scrub with your stiff brush, then rinse and extract the liquid. Avoid using stronger acids unless you’re experienced with them. Muriatic acid works faster but requires careful handling and proper neutralization.
Efflorescence itself doesn’t damage concrete, but its presence tells you water penetrated deeply. Once you’ve removed the deposits and the floor’s completely dry, sealing becomes critical. A quality penetrating sealer prevents future water intrusion that would cause efflorescence to return. If efflorescence keeps appearing even after sealing, you’ve got ongoing moisture intrusion from below the slab (hydrostatic pressure) or through foundation walls. That situation needs professional waterproofing evaluation.
Sealing and Waterproofing Your Concrete Floor Post-Flood

Don’t seal wet concrete. Trapped moisture will cause sealer failure, create a cloudy appearance, and leave the concrete vulnerable.
After your moisture meter confirms the concrete is dry (below 4% moisture content), sealing protects your work and prevents future problems. Penetrating sealers soak into the concrete and react chemically with the material to create a moisture barrier from within. These sealers let concrete breathe, which means any residual moisture can still escape. They’re ideal for basement floors. Topical sealers create a barrier on the surface. They provide good stain resistance but can trap moisture if applied too soon. Epoxy coatings offer the heaviest duty protection for basements with recurring flooding risk. They create a thick, impermeable layer but require the most careful surface preparation.
Read and follow the sealer manufacturer’s preparation instructions exactly. Most require sweeping or vacuuming to remove all dust, then applying sealer to a completely clean, dry surface. Work in sections, maintaining a wet edge to avoid lap marks. Ventilate the space well during application. Most sealers emit fumes during application and initial curing.
Apply sealer using a paint roller with an extension handle, a pump sprayer designed for sealers, or a paint pad applicator. Coverage rates vary by product and concrete porosity. Rough, unsealed concrete absorbs more product than previously sealed or smooth finished surfaces. Most penetrating sealers need one coat. Topical sealers and epoxies typically require two coats with specified dry time between applications.
Penetrating sealers need reapplication every 3 to 5 years depending on traffic and exposure. Topical coatings last 2 to 3 years. Epoxy coatings in residential basements can last 5 to 7 years before needing touch up or recoating. Basements prone to repeated flooding benefit from resealing more frequently, every 1 to 2 years, to maintain maximum moisture resistance.
| Sealer Type | Durability | Best For |
|---|---|---|
| Penetrating sealer | 3-5 years before reapplication needed | Standard basements, breathable protection, minimal appearance change |
| Topical acrylic sealer | 2-3 years before reapplication needed | Stain resistance, light to moderate traffic, enhances concrete appearance |
| Epoxy coating | 5-7 years in residential use | Flood-prone areas, heavy-duty protection, high-traffic basements, finished look |
Assessing and Repairing Concrete Floor Damage After Water Exposure
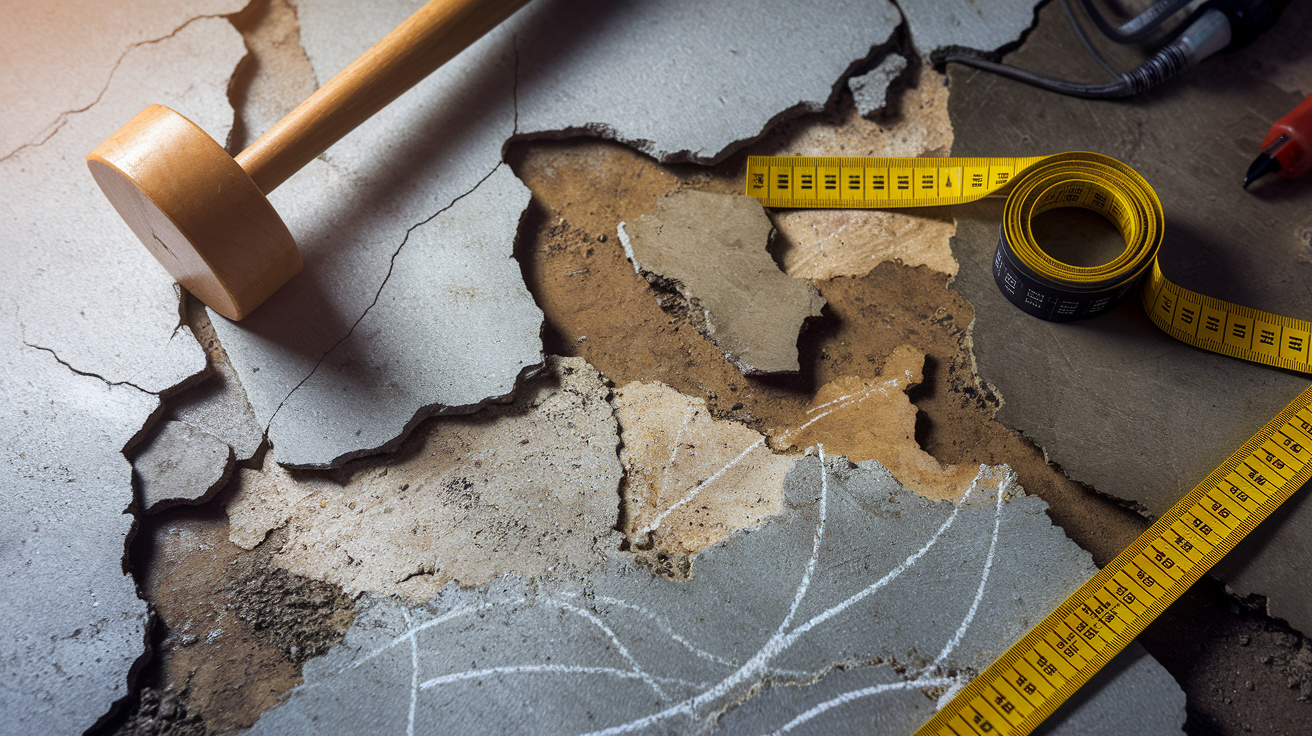
Walk the entire floor and look for changes. New cracks that weren’t there before flooding, surface flaking (called spalling), or areas that sound hollow when you tap them with a rubber mallet indicate water damage.
Minor surface cracks (hairline to 1/8 inch wide) and small chips are DIY appropriate repairs. Clean the damaged area thoroughly, removing all loose material. Use a concrete patching compound rated for interior floors. For cracks, apply the compound with a putty knife, forcing it deep into the crack. Overfill slightly, then scrape level with the surrounding floor. For chips and spalling, undercut the edges slightly so the patch has something to grip. Apply patching compound, smooth it level, and let it cure per product directions before sealing over it.
Cracks wider than 1/4 inch, cracks that have vertical separation (one side higher than the other), or multiple cracks forming patterns require professional structural assessment. These indicate movement in the slab or foundation issues that patching won’t fix. Similarly, if large areas of floor sound hollow when tapped, the concrete may have delaminated from the subbase. If you see heaving (floor sections pushed upward), settling (low spots appearing where concrete was level), or if the floor slopes more than it did before flooding, call a structural engineer before attempting any repairs. Water intrusion can undermine support below the slab and create serious stability issues.
Don’t forget systems attached to or running through your concrete floor. If electrical conduits, plumbing lines, or HVAC ducts got submerged, have licensed professionals inspect them before you seal everything up. Wood framing, insulation, or partition walls in contact with the flooded floor need careful inspection. Wet wood and insulation must be removed and replaced. Trying to dry severely wet wood in place invites hidden mold growth.
Essential Equipment and Supplies for Concrete Floor Flood Cleanup
Having the right equipment before you start makes the job safer, faster, and more effective. Some items you’ll buy, some you’ll rent for short term use.
Specialized equipment like industrial dehumidifiers, moisture meters, and large capacity sump pumps cost hundreds to thousands of dollars. If you don’t own them and won’t need them repeatedly, renting makes better financial sense. Home improvement stores and tool rental companies stock flood cleanup equipment, especially during spring and fall when flooding risk is highest.
| Equipment Category | Item | Rent or Buy | Estimated Cost |
|---|---|---|---|
| Safety Gear | Rubber gloves, boots, N95 mask, safety glasses | Buy | $40-$80 complete set |
| Water Removal | Wet-dry vacuum (6-gallon shop vac) | Buy | $60-$120 |
| Water Removal | Submersible or utility pump (1/4-1/2 HP) | Rent | $40-$70 per day |
| Cleaning | Stiff push broom, hard-bristle scrub brushes | Buy | $20-$40 |
| Cleaning | Floor scraper, squeegee, mop and bucket | Buy | $30-$50 |
| Cleaning | Pump sprayer for cleaning solutions | Buy | $15-$35 |
| Cleaning | Pressure washer (2000-3000 PSI) | Rent | $60-$100 per day |
| Cleaning Supplies | TSP, bleach, neutral pH cleaner, contractor bags | Buy | $40-$70 |
| Drying | Industrial floor fans (2-3 units) | Rent | $25-$45 each per day |
| Drying | Commercial dehumidifier (50+ pint capacity) | Rent | $40-$80 per day |
| Monitoring | Moisture meter for concrete | Rent or Buy | $25-$40 per day rental / $80-$200 purchase |
| Monitoring | Hygrometer for humidity measurement | Buy | $15-$40 |
Flood Cleanup Timeline: How Long Concrete Floor Restoration Takes

Set realistic expectations. Proper concrete floor restoration after flooding isn’t a weekend afternoon project.
Water removal takes anywhere from a few hours to a full day depending on flood depth and basement size. A shop vac handles a few hundred square feet with minor puddling in 2 to 4 hours. Pumping several inches of standing water from a 1000 square foot basement can take 8 to 12 hours. Cleaning and disinfection require 1 to 2 full days. You need time for debris removal, deep scrubbing with cleaner (possibly multiple rounds), thorough rinsing, disinfectant application with proper dwell time, and final rinsing. Don’t rush this stage. Inadequate cleaning leads to odors and mold problems later. Drying is where most people underestimate the time needed. Plan for 2 to 7 days of continuous fan and dehumidifier operation. Thin concrete in warm, dry conditions might be ready in 48 hours. Thick slabs, high humidity, or cooler temperatures can require a full week. Sealing and final protection take 1 to 2 days including surface prep, sealer application, and cure time before you can use the space normally.
Several variables affect how long your specific project will take. Flood severity matters. An inch of water from a quick supply line leak is a different job than three inches of stagnant water sitting for two days. Concrete thickness and age affect drying time. Older, more porous concrete dries faster than newer, denser concrete, but it also absorbs more contamination initially. Ambient conditions play a huge role. Doing this work in July with low humidity and warm temperatures is vastly faster than November in cold, damp conditions. Equipment quality and quantity matter. One consumer grade dehumidifier in a large basement works slowly. Two commercial units dry the same space in half the time.
The most common mistake is closing up the floor too soon. Visual dryness isn’t actual dryness. Concrete holds moisture deep inside long after the surface feels dry to the touch. Sealing damp concrete traps that moisture, causes sealer failure, creates ongoing odor problems, and gives mold the perfect hidden environment to grow. When in doubt, run drying equipment an extra day or two. Patience here prevents expensive do overs.
Restoration timeline by phase (typical basement 500 to 800 sq ft):
- Water extraction – 3 to 12 hours depending on depth and equipment
- Debris removal and deep cleaning – 6 to 16 hours over 1 to 2 days including multiple cleaning rounds
- Disinfection – 2 to 4 hours including application, dwell time, and rinsing
- Complete drying – 48 hours to 7 days of continuous equipment operation with daily monitoring
- Sealing and final protection – 4 to 8 hours of work time plus 24 to 48 hour cure period before normal use
When to Hire Professional Concrete Floor Restoration Services
Many homeowners successfully handle concrete floor cleaning after minor flooding. If a supply line leaked, you caught it within hours, water was clean, depth stayed under an inch, and the affected area is manageable, DIY cleanup is realistic.
Stop and call professionals immediately in these situations: sewage backup or drain water contamination, chemical spills or fuel contamination mixed with floodwater, extensive flooding covering more than 500 square feet at depths over 2 inches, visible structural damage including large cracks or floor movement, electrical hazards where outlets or panels got submerged, or strong musty odors indicating hidden mold growth behind walls or under flooring materials. These conditions require specialized training, commercial equipment, protective measures, and disposal protocols that DIY methods can’t safely provide.
Professional restoration companies bring value beyond equipment. They own truck mounted extractors that pull water from concrete far more effectively than shop vacs. They use thermal imaging cameras to detect hidden moisture in walls and subflooring that you can’t see or reach. Certified mold remediation professionals follow protocols that prevent spreading spores during cleanup. They document everything with photos, moisture readings, and detailed reports that insurance companies expect and accept without argument. If your cleanup becomes an insurance claim, professional documentation strengthens your case and speeds the settlement process. Many insurance policies include preferred vendor programs that give you access to vetted contractors.
Trying to handle a job that exceeds your capability or safety limits ends up costing more than calling professionals upfront. Incomplete drying leads to mold. Improper disposal of contaminated materials violates environmental regulations and creates liability. Electrical work without proper shutdown risks fatal shock.
Know your limits, respect the situations that require professional expertise, and understand that proper DIY work on appropriate jobs saves real money while getting results that last.
Scenarios requiring professional restoration services:
- Sewage contamination (any water from toilets, drains, or sewer lines)
- Flooding exceeding 2 inches deep over more than 500 square feet
- Chemical, fuel, or industrial contamination mixed with floodwater
- Visible structural damage (large cracks, settling, heaving, or floor movement)
- Submerged electrical panels, outlets, or major appliances creating shock hazard
- Persistent strong odors or visible mold growth on walls, ceiling, or surrounding materials
Final Words
Knowing how to clean concrete floor after flood damage means following each step in order and not skipping the drying stage. Start with safety, extract water fast, scrub away debris, disinfect thoroughly, and wait until everything is completely dry before sealing.
Your concrete can recover fully if you give it time and attention. Check moisture levels, treat visible mold right away, and seal the floor once it’s ready.
The work takes effort, but a properly cleaned and sealed concrete floor will handle the next spill or leak much better than it did this time.
FAQ
How do you clean concrete floors after flooding?
You clean concrete floors after flooding by first removing all standing water with a wet vacuum or pump, then scrubbing away debris and mud with a stiff brush and TSP cleaner, disinfecting with bleach solution, and finally drying completely with fans and dehumidifiers before sealing.
How long does it take for a concrete floor to dry out after a flood?
A concrete floor takes between 2 to 7 days to dry out after a flood, depending on the concrete thickness, amount of water absorbed, ambient humidity levels, air circulation from fans, and dehumidifier capacity. Use a moisture meter to verify complete dryness.
Can I use Dawn dish soap to clean concrete?
Dawn dish soap can clean concrete for light dirt and surface grime, but it lacks the degreasing power and antimicrobial properties needed after flooding. Use TSP cleaner, neutral pH concrete cleaners, or bleach solutions for proper flood cleanup and disinfection.
How to sanitize a floor after a flood?
You sanitize a floor after a flood by mixing 1 cup bleach per gallon of water, applying the solution across the entire concrete surface, letting it sit for 10 to 15 minutes to kill bacteria, then rinsing thoroughly and drying completely with fans and dehumidifiers.
What safety equipment do I need for flood cleanup on concrete?
You need rubber boots, waterproof gloves, safety goggles, an N95 respirator or better mask, long sleeves and pants, and a headlamp or work light for flood cleanup on concrete. Never start without proper protection against contaminated water and electrical hazards.
Should I seal concrete after flood cleanup?
You should seal concrete after flood cleanup once the floor is completely dry, verified with a moisture meter. Sealing prevents future water absorption, protects against staining, makes cleaning easier, and provides a moisture barrier against recurring basement dampness or flooding.
What causes white deposits on concrete after flooding?
White deposits on concrete after flooding are called efflorescence, caused by mineral salts drawn to the surface as flood water evaporates through porous concrete. Remove these deposits with dry brushing or diluted white vinegar before sealing the floor.
When should I call a professional for flooded concrete floors?
You should call a professional for flooded concrete floors when water is contaminated with sewage or chemicals, flooding exceeds 2 inches over large areas, electrical hazards exist near standing water, structural cracks appear, or mold growth covers extensive areas requiring certified remediation.
How do I remove mold from concrete basement floors?
You remove mold from concrete basement floors by scrubbing visible growth with a stronger bleach solution (1 part bleach to 3 parts water), letting it sit 15 minutes, scrubbing with a stiff brush, rinsing thoroughly, and drying completely with dehumidifiers to prevent regrowth.
What is the difference between penetrating sealers and epoxy coatings for concrete?
Penetrating sealers absorb into concrete to provide breathable moisture resistance and require reapplication every 1 to 3 years, while epoxy coatings create a thick surface barrier offering heavy-duty waterproofing for basements with recurring flooding but trap moisture if applied too early.
Can I use a regular vacuum to remove flood water?
You cannot use a regular vacuum to remove flood water because household vacuums create serious electrical shock hazards when used on standing water. Use a wet-dry shop vacuum rated for water extraction, a submersible pump, or a sump pump instead.
How do I know if my concrete floor is completely dry?
You know your concrete floor is completely dry by using a moisture meter to verify moisture content has returned to normal levels, checking that the surface feels dry to touch, confirming no dark damp spots remain, and ensuring a dehumidifier no longer pulls significant water from the air.
