

You don’t always have to replace it, but waiting to decide can force your hand. Wet drywall becomes a replacement job if you miss the narrow drying window or if the water source was contaminated. Clean supply line leak caught in the first few hours? You’ve got options. Sewage backup, ceiling drywall sagging, or water sitting there for two days? You don’t. The difference between a salvage job and a full tearout comes down to water type, timing, and what the material looks like right now.
Immediate Decision Factors: Can Wet Drywall Be Saved?

Sometimes yes, sometimes no. It’s not a simple answer. What matters is the water source, how long it’s been sitting there, and what you’re looking at right now.
Replace if you see:
- Contaminated water exposure (sewage, flooding, greywater)
- It’s been wet longer than 24 to 48 hours
- Mold growth, sagging, or structural damage
- Saturated ceiling drywall
You can dry it if:
- Clean water only (Category 1)
- You caught it and started drying within 24 hours
- No mold or structural damage visible
- Minimal saturation on vertical walls
Three things drive this decision. Water contamination matters more than almost anything. Clean supply line water? You’ve got options. Toilet overflow or basement flood? You don’t. Timing creates a hard deadline. Catch it day one and you can work with it. Miss that window and even clean water becomes a replacement job. And visible damage tells you whether the material still works or if it’s already gone.
Fast assessment and action improve your odds dramatically. Starting the drying process at hour two versus hour twenty can mean keeping your walls or cutting them out. Every hour counts.
Critical Signs Your Wet Drywall Must Be Replaced

You need to know what’s fixable and what isn’t. Two expensive mistakes wait for you here. Tearing out drywall you could have saved costs money. Sealing in moisture and contamination that’ll cause worse problems later costs even more.
Ceiling drywall fails differently than wall drywall because of gravity. A wall can stay solid even when fairly wet. The gypsum and paper work together under vertical load. Ceilings don’t have that advantage. When ceiling drywall soaks up water, it gets heavy fast and pulls away from the fasteners. Saturated ceiling drywall gets replaced, period. It can fall without warning.
Watch for these warning signs:
- Soft, mushy, or spongy when you touch it (press gently. If it gives easily or feels like a wet sponge, it’s done)
- Sagging or bowing away from studs or joists. Especially dangerous on ceilings where even slight drooping means failure is coming
- Discoloration. Off white, yellow, rusty brown, or black patterns show water penetration and possible contamination
- Paint bubbling, peeling, or flaking where water separated the paint film from the surface
- Green, gray, or black mold growth of any size
- Crumbling or easily damaged surface when pressed. The paper tears or the gypsum breaks apart
- Warped or wavy surface showing the core swelled unevenly
- Musty smell indicating hidden moisture or mold even when the surface looks okay
Any single severe sign might warrant replacement even if the others aren’t present. Small patch of black mold? Replace it, even if the drywall feels firm. Significant sagging? Replace it, even if you don’t see mold yet.
Water Contamination Categories That Determine Replacement

Water contamination level is critical. Not all water damage is equal. The source matters as much as the amount.
Category 1: Clean Water
Category 1 comes from sanitary sources with no contamination. Burst supply pipes, leaking water heater tanks, overflowing sink supply lines, fresh rainwater through a roof leak. This water presents no immediate health risk beyond potential mold if you don’t dry it promptly. Category 1 wet drywall can be salvaged with fast action and proper drying within that 24 to 48 hour window. Catch a supply line leak within a few hours and start drying immediately? You’ve got good odds of saving it.
Category 2: Gray Water
Category 2 contains contamination that can cause discomfort or illness if you contact it or consume it. Washing machine discharge, dishwasher overflow, toilet overflow with urine but no feces, sump pump failures. This water carries bacteria, detergents, or other contaminants. Gray water exposure typically requires replacement even when caught early. The paper backing and gypsum core absorb contaminants you can’t fully remove through drying. Replacement prevents health risks and bacterial growth.
Category 3: Black Water
Category 3 is highly contaminated. Pathogenic agents, toxic materials, or sewage. Sewage backups, toilet overflow with feces, rising floodwater from rivers or storms, and any standing water that’s sat longer than 48 hours (even if it started as Category 1). Black water exposure requires immediate replacement for health safety. No salvage option exists. The health hazards are too severe and the contamination runs too deep.
| Water Category | Source Examples | Replacement Required |
|---|---|---|
| Category 1 – Clean Water | Burst pipes, supply lines, rainwater, water heater leaks | No, if dried within 24-48 hours |
| Category 2 – Gray Water | Washing machines, dishwashers, toilet overflow (no feces), sump pumps | Yes, typically recommended |
| Category 3 – Black Water | Sewage backups, flooding, storm water, toilet overflow with feces | Yes, mandatory for safety |
The Critical 24-48 Hour Timeline for Drying and Mold Prevention

How long the drywall’s been wet is one of the most critical factors. Time works against you from the moment water touches it.
First 24 Hours: Optimal Salvage Window
Clean water exposure caught within 24 hours offers your best salvage potential with proper drying equipment and techniques. Drywall absorbs moisture quickly but mold spores haven’t had time to colonize. The gypsum core might be wet but the structure’s still intact. Start high volume fans and dehumidifiers immediately. Pull baseboards and drill weep holes if needed to get air circulation behind the wall surface. Act fast in this window and you can save most Category 1 water damaged drywall on vertical surfaces.
24-48 Hours: Increased Risk Period
Mold risk escalates significantly once wet drywall passes the 24 hour mark. Mold spores are everywhere in normal air. When they land on wet porous material like drywall, they start growing. The 48 hour point is when colonies become established. Water quality can degrade from Category 1 to Category 2 during this period as bacteria multiply in standing moisture. Salvage becomes questionable even with aggressive drying. You might stop visible mold but contamination’s already started at the microscopic level.
Beyond 48 Hours: Replacement Zone
Anything beyond 48 hours typically requires replacement because of mold colonization and structural degradation regardless of water type. Even if you don’t see surface mold, it’s growing inside the wall cavity and within the drywall layers. The gypsum stayed saturated long enough to lose structural strength. Category 1 water degraded to Category 2 or worse as biological activity increased. Replace it.
The timeline starts when water exposure begins, not when you discover it. If you find water damage and don’t know how long it’s been there, assume the worst and plan for replacement unless you can verify recent exposure.
Assessment Methods: Moisture Meters and Damage Inspection
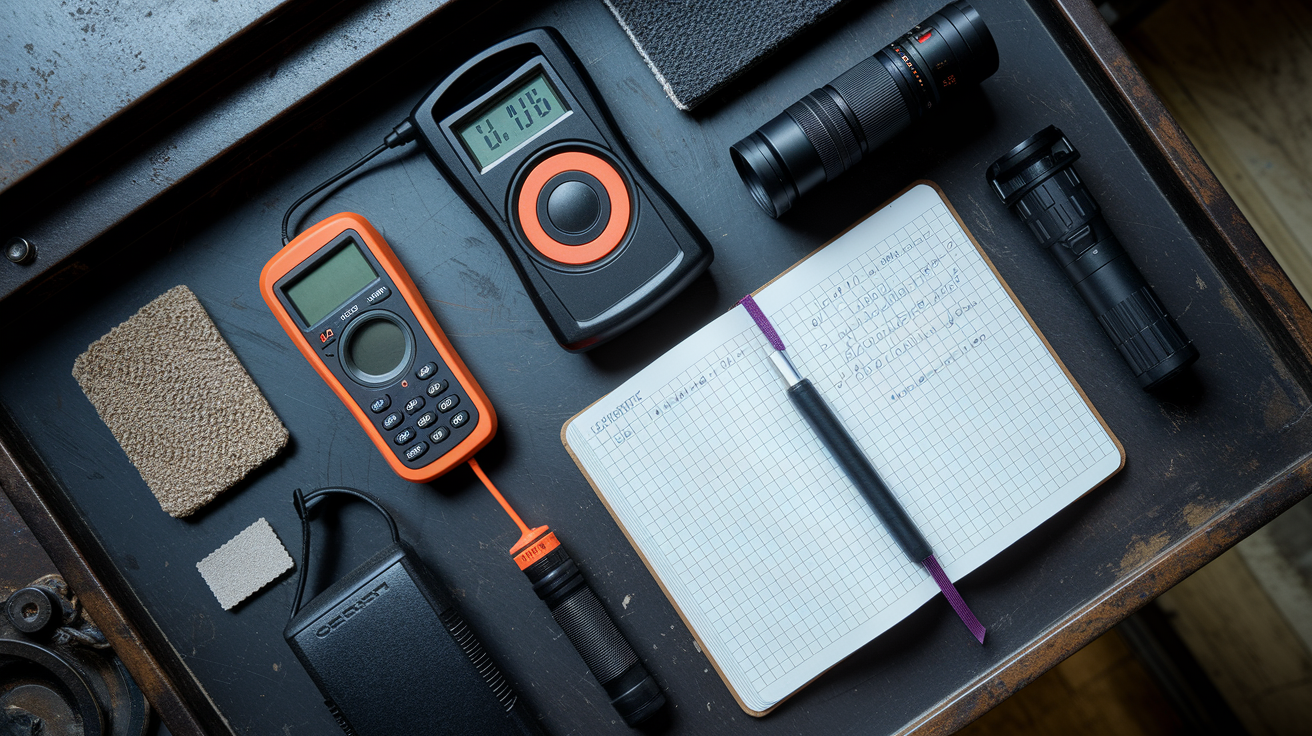
Accurate assessment prevents unnecessary replacement or dangerous salvage attempts. You need to know exactly what you’re dealing with before deciding.
Before any inspection, take critical safety steps. Shut off electrical power to affected areas, especially when water pools in light fixtures, outlets, or electrical panels. Standing water and electricity create immediate life threatening hazards. Don’t touch switches, outlets, or fixtures in wet areas until power’s confirmed off at the breaker panel.
Use these assessment methods:
- Visual inspection for discoloration, staining, and surface changes. Look for off white, yellow, brown, or black patterns showing water penetration
- Physical touch test for soft spots, mushiness, or structural weakness. Press gently on multiple areas to find compromised zones
- Non-penetrating moisture meter for surface moisture detection without damaging the drywall
- Penetrating moisture meter for deep wall cavity moisture levels. Verify readings reach 12% to 15% or below before stopping the drying process
- Smell test for musty odors indicating hidden mold or moisture that visual inspection missed
- Daily moisture readings during the 3 to 5 day drying process to track actual progress and confirm moisture is leaving, not just moving deeper
- Tissue paper test for locating active hidden leak sources by holding tissue against suspected areas to see if it gets wet
Professional assessment is recommended for extensive damage covering multiple rooms or large areas, insurance claims requiring documentation, hidden damage concerns where you suspect problems behind surfaces you can’t see, or when readings and signs are unclear. Professionals have commercial grade meters and thermal imaging that reveal problems you can’t detect. The assessment cost is minor compared to making the wrong salvage or replacement decision. Continue moisture monitoring throughout the drying process. Don’t stop checking just because the surface feels dry.
Mold Development and When It Mandates Replacement
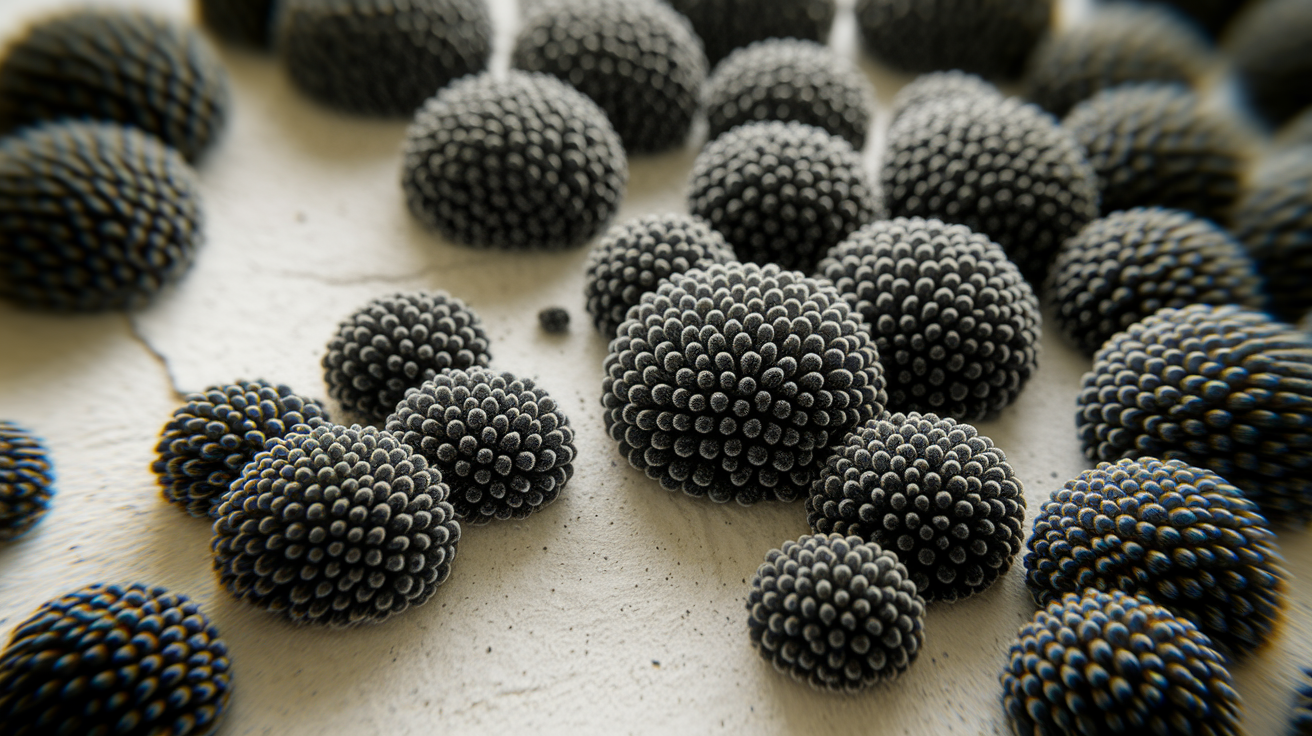
Mold develops on wet drywall because of the material composition. The porous paper backing and the gypsum core both hold moisture. Paper is organic material that mold feeds on. That 48 hour colonization window makes this the critical prevention timeline. Mold spores are microscopic and already present in the air. They need three things to grow: moisture, food source, and time. Wet drywall provides the first two immediately.
Health risks from mold exposure include respiratory issues like coughing and wheezing, allergic reactions ranging from skin rashes to severe breathing difficulty, and exposure to toxic mold varieties that produce mycotoxins. When you disturb mold contaminated drywall, spores become airborne and spread through the entire home via HVAC systems and air currents. Family members with asthma, allergies, or compromised immune systems face elevated risks. You can’t see mold spores, but they’re traveling while you work.
Visible mold growth requires immediate replacement. If you see green, gray, or black mold patches on drywall, that material is done. Antimicrobial treatment can’t salvage mold contaminated drywall. Surface treatments might kill visible mold but they don’t remove contamination that penetrated into the gypsum core and paper layers. The spores, mycotoxins, and contamination remain embedded in the material. Replacing costs a few hundred dollars. Trying to save contaminated drywall risks ongoing health problems and property damage worth thousands.
Insulation Removal Requirements Behind Wet Drywall
Insulation assessment is separate from drywall assessment. You might be able to dry and save the drywall but still need to remove and replace the insulation behind it.
Fiberglass and cellulose insulation can’t be effectively dried once saturated. Fiberglass batts absorb and hold water like a sponge. The glass fibers trap moisture even with fans and dehumidifiers running. Cellulose insulation, made from treated paper products, becomes a soaked compressed mass that loses its insulating properties and harbors mold growth. Both types lose R value permanently when wet. The air pockets that provide insulation fill with water and collapse.
Remove wet insulation by cutting access in the drywall if you’re trying to salvage the wall surface, or pulling it out completely if you’re replacing the drywall anyway. Wear protective equipment including N95 mask, gloves, and eye protection. Wet insulation is heavy and messy. Bag it and dispose of it immediately. Don’t try to dry it out and reuse it. The few dollars saved aren’t worth the mold risk and heat loss from degraded insulation. Install fresh insulation after the wall cavity and framing dry completely, verified with moisture meter readings showing 12% to 15% or below on studs and sheathing.
Proper Drying Equipment and Techniques for Salvageable Drywall

Proper drying requires specific equipment and monitoring. A box fan and hoping won’t get it done.
Follow these steps in order:
- Stop the water source and ensure area safety by shutting off power to affected zones and confirming no electrical hazards remain
- Remove standing water and wet insulation immediately using a shop vac or pumps for larger volumes. Pull out soaked insulation because it blocks airflow
- Position high volume fans (not regular household fans) to maximize air circulation across wet surfaces. Aim fans at walls and ceilings at angles to move air along surfaces
- Deploy structural drying dehumidifiers (not small home units) to reduce humidity levels throughout the space. Target 30% to 50% relative humidity
- Use moisture meters to monitor surface and deep moisture levels daily. Write down readings and locations to track actual progress
- Continue drying until moisture readings reach acceptable levels, typically 12% to 15% for drywall which matches the surrounding dry material
Typical drying timeline is 3 to 5 days with proper equipment running continuously. Don’t rush it by checking once and assuming it’s done. Complete drying verification before sealing up walls prevents trapped moisture from causing mold and rot inside sealed cavities. Flood cuts (horizontal cuts near the floor removing the bottom 12 to 24 inches of drywall) or weep holes (small drilled holes at the bottom of walls) can accelerate drying in severely affected areas by letting air reach the wall cavity directly. Leave cuts open and equipment running until moisture meters confirm the entire wall assembly is dry.
Step-by-Step Wet Drywall Replacement Process

Replacement is straightforward but requires precision and proper materials. Rushing creates more problems.
Follow these steps:
- Mark cutting lines at least 12 inches beyond visible damage to the nearest studs or joists so you have solid backing for new drywall edges
- Cut and remove damaged drywall sections cleanly using a utility knife to score and snap, or a drywall saw for precision cuts
- Remove and replace wet insulation behind the drywall because it can’t be dried and will cause problems later
- Verify framing and studs are dry using moisture meter readings. Wait until readings show 12% to 15% before installing new drywall
- Cut and fit new drywall patches to exact dimensions. Measure twice and cut once to avoid gaps or ill fitting patches
- Secure new drywall with drywall screws spaced 12 inches apart on studs or joists. Countersink screws slightly below surface without breaking paper
- Apply joint compound over seams and screw heads. Embed paper tape over seams on the first coat. Apply second and third coats wider than previous coats. Sand smooth between coats after drying
- Prime the repaired area with drywall primer, then paint to match existing surfaces using the same paint type and sheen
Textured ceilings require special matching techniques. You can buy texture in spray cans for small patches. Larger repairs need a texture gun or professional matching. Practice your texture technique on scrap material first.
Cost Factors for Wet Drywall Repair Versus Replacement

Immediate costs should be weighed against long term risks. Cheap now might be expensive later.
Material costs are relatively low but labor significantly increases total expense. DIY work saves labor but requires your time, tools, and capability.
| Repair Scenario | Materials Cost | DIY Labor | Professional Labor | Total Cost Range |
|---|---|---|---|---|
| Small patch (2×2 feet) | $20-40 | 3-5 hours | $150-250 | $170-290 |
| Single wall section (4×8 feet) | $50-80 | 6-8 hours | $300-500 | $350-580 |
| Full wall (10×8 feet) | $100-150 | 10-12 hours | $600-900 | $700-1,050 |
| Multiple rooms | $300-600 | 2-4 days | $2,000-4,000 | $2,300-4,600 |
Replacement may be cheaper long term when factoring in mold remediation running $500 to $6,000 depending on extent, health costs from respiratory issues or allergic reactions, and property value impact if salvage fails and damage spreads. IICRC standards (the industry guidelines for restoration professionals) recommend when in doubt, tear it out. Drywall replacement cost is minimal compared to long term mold or bacteria issues. A few hundred dollars for clean replacement beats thousands in remediation and health problems later.
DIY Drying and Repair Versus Professional Remediation Services
The decision depends on damage severity, contamination level, and homeowner capability. Be honest about all three.
DIY Appropriate Situations:
- Clean water (Category 1) exposure only from a known sanitary source
- Small affected area under 10 square feet, roughly one small wall section or less
- Discovered and addressed within 24 hours while salvage odds are still good
- No visible mold growth present anywhere in the affected area
- You have proper equipment including high volume fans, structural dehumidifier, and moisture meter
Professional Required Situations:
- Category 2 or 3 water contamination from greywater or sewage
- Extensive damage covering multiple rooms or large areas where coordination and speed matter
- Visible mold growth or musty odors indicating hidden contamination
- Ceiling drywall saturation creating falling hazards
- Structural concerns or hidden damage suspected behind walls and ceilings
- Insurance claim documentation needed with professional assessment and scope reports
Recommend professional assessment even for potential DIY projects to ensure proper scope understanding and safety. The inspection might cost $100 to $300 but it tells you exactly what you’re facing. You can still do the work yourself after getting professional guidance on scope and approach. Knowing the full extent before you start prevents costly surprises and missed contamination.
Insurance Claims and Documentation for Wet Drywall Damage
Immediate documentation protects your claim before anything changes. Take photos and videos of all damage from multiple angles. Capture water source if visible. Record moisture readings if you have a meter. Write down the timeline: when you discovered damage, when water exposure likely started, when you took action. Document everything wet including walls, floors, insulation, stored items, and furniture. Insurance adjusters work from evidence. More documentation means clearer claims.
Insurance typically covers sudden damage but excludes gradual deterioration. A burst pipe that floods a room overnight gets covered. A slow leak behind a wall that you ignored for months probably doesn’t. Source identification is crucial for coverage. Most policies cover failures of home systems like supply plumbing. Many exclude groundwater intrusion and sewer backups unless you bought additional riders. Read your policy specifics. Flood damage from rising water requires separate flood insurance. Standard homeowners policies exclude it.
Professional assessment for claims ensures accurate scope and prevents coverage disputes. Insurance companies often want their own inspection, but having your own documentation and professional estimate first puts you in a stronger position. The pro can identify all damage including hidden problems the adjuster might miss. They document moisture readings, contamination category, and replacement requirements according to industry standards. That professional report supports your claim when the insurance company tries to minimize coverage or deny borderline items.
Moisture-Resistant and Mold-Resistant Drywall Options
Not all drywall is equally vulnerable to water damage. Material choice matters during initial construction and replacement.
Standard Drywall
Standard drywall has a gypsum core sandwiched between paper facing on both sides. The paper provides strength and a smooth surface but absorbs water readily. The gypsum core turns to mush when saturated. This is what’s in most homes on interior walls and ceilings in dry areas. It’s the cheapest option and works fine where water exposure is unlikely. It has high water vulnerability and shouldn’t be used in bathrooms, kitchens, laundry rooms, or basements.
Moisture-Resistant Drywall (Green Board)
Green board has water resistant paper facing, usually with a green color for easy identification. The core is similar to standard drywall but the paper resists moisture absorption better. Appropriate applications include bathrooms (walls only, not ceilings in showers), kitchens behind sinks and appliances, laundry rooms, and basement walls in dry basements. It has improved but limited water tolerance. It’s not waterproof. It resists moisture better than standard drywall but will still fail under prolonged water exposure or direct spray.
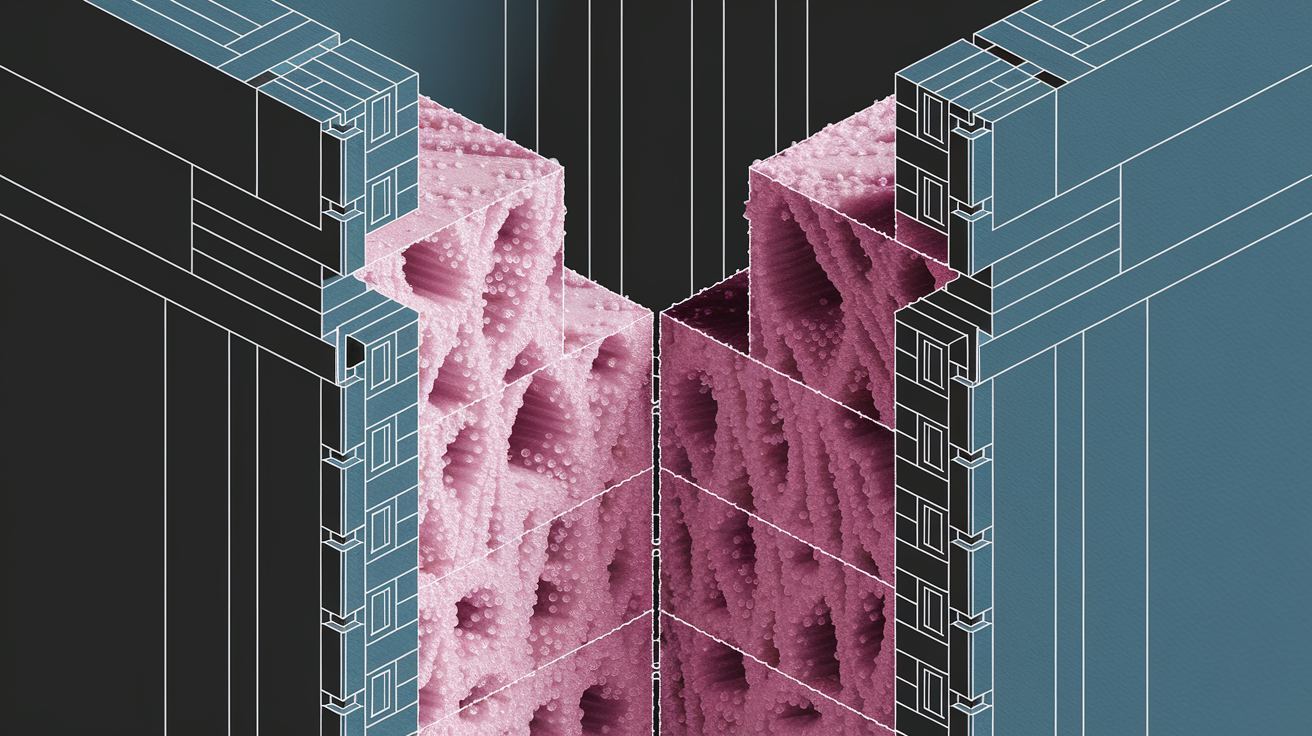
Mold-Resistant Drywall (Purple Board)
Purple board uses fiberglass facing instead of paper or has a treated paperless core. The fiberglass doesn’t provide food for mold growth. The core often includes mold inhibitors. This offers superior moisture and mold resistance compared to standard or green board. Best applications include bathrooms with direct shower exposure, basements prone to humidity or occasional dampness, crawl spaces with moisture control issues, and flood prone areas with history of water problems. It costs more but provides real protection.
Upgrade to moisture resistant or mold resistant drywall during replacement in vulnerable areas. If you’re cutting out damaged standard drywall in a bathroom or basement, spend the extra $10 to $20 per sheet for purple board. That small upfront cost prevents the same problem from happening again.
Prevention Strategies to Protect Drywall From Water Damage
Prevention is significantly cheaper than remediation. A few hours of maintenance beats weeks of repairs.
Follow these prevention strategies:
- Schedule annual roof inspections and immediate repair of damaged, missing, or lifted shingles before small leaks become big problems
- Inspect and maintain plumbing fixtures, supply lines, and connections quarterly. Replace worn washers and corroded fittings before they fail
- Clean gutters and downspouts seasonally, especially in fall after leaves drop and spring after winter debris. Clogged gutters overflow and soak walls
- Install water leak detectors near water heaters, washing machines, and under sinks. The $20 to $50 devices alert you to leaks before damage spreads
- Ensure proper bathroom and kitchen ventilation with exhaust fans that vent outside, not into attics. Run fans during and 20 minutes after showers
- Use dehumidifiers in basements and moisture prone areas to maintain 30% to 50% relative humidity. Empty and clean them regularly
- Seal foundation cracks and improve grading to direct water away from the home. Slope soil away from foundation at minimum 6 inches per 10 feet
- Insulate pipes in unheated areas like crawl spaces, attics, and exterior walls to prevent burst pipes during freezes
- Install moisture resistant drywall in high risk areas during construction or renovation. Spend a bit more upfront for long term protection
- Check and maintain HVAC condensate lines to prevent overflow. Pour a cup of bleach down the drain line annually to prevent clogs
Create a home maintenance schedule that includes all water intrusion risk points and seasonal inspections. Put it in your phone calendar. Set reminders. Check the same things at the same times every year. Spring inspection covers roof, gutters, grading, and exterior. Fall inspection covers the same points before winter. Quarterly inspection covers plumbing fixtures, supply lines, water heater, washing machine connections, and under sink cabinets. The routine catches small problems before they become expensive disasters.
Safety Precautions When Handling Wet Drywall
Water damage creates multiple safety hazards beyond visible damage. Don’t assume wet walls are your only problem.
Safety assessment must precede any repair work. Walk the area and identify hazards before touching anything or starting equipment.
Follow these safety measures:
- Shut off electricity to affected areas before inspection or work. Use the main panel to kill power to entire circuits. Verify power is off with a tester
- Wear protective equipment including waterproof gloves, N95 mask or respirator, eye protection, and rubber boots when working in wet areas
- Avoid contact with Category 2 or 3 contaminated water. Assume any questionable water is contaminated until proven otherwise
- Check for structural instability before entering affected areas. Look for sagging ceilings, buckled floors, or cracked support beams
- Ensure adequate ventilation when using fans and dehumidifiers. Open windows when possible to prevent humidity buildup in adjacent areas
- Never touch electrical fixtures, outlets, switches, or panels in wet areas. Treat all electrical components in affected zones as energized and dangerous until verified safe
- Watch for hidden hazards behind walls including exposed wiring, sharp screws or nails protruding from studs, and mold colonies that become airborne when disturbed
Evacuate areas with severe contamination or structural concerns until professional assessment confirms safety. If you smell sewage, see significant ceiling sag, or notice structural movement, get out and call professionals. Your safety is worth more than saving a few hundred dollars on drywall.
Final Words
So do you have to replace drywall if it gets wet? Not always, but that answer depends on quick action, water type, and damage severity.
Clean water caught within 24 hours gives you a fighting chance at salvaging vertical walls. Contaminated water, visible mold, ceiling saturation, or delays past 48 hours mean replacement is the right call.
Use a moisture meter, trust your assessment, and don’t rush to seal up dampness. When you’re unsure, tear it out. The cost of new drywall is nothing compared to hidden mold or a failed repair six months from now.
You’ve got this.
FAQ
Is drywall ruined if it gets wet?
Drywall is not automatically ruined if it gets wet; salvageability depends on the water contamination category, how long the drywall stayed wet, and whether visible mold or structural damage has developed before drying began.
How long do you have to replace drywall if it gets wet?
You have 24-48 hours to dry wet drywall before replacement becomes necessary, as mold colonization typically begins within this window and clean water can degrade to contaminated status after 24 hours of sitting.
How long does it take for mold to grow on wet drywall?
Mold takes approximately 48 hours to colonize wet drywall surfaces, making this the critical prevention timeline for beginning aggressive drying procedures with fans and dehumidifiers to avoid mandatory replacement.
Can a wet drywall ceiling be saved?
A wet drywall ceiling can rarely be saved and usually requires replacement due to gravity-related failure risks, as saturated ceiling drywall loses structural integrity faster than vertical wall drywall and poses falling hazards.
What water category requires automatic drywall replacement?
Water category 2 (greywater) and category 3 (blackwater from sewage or flooding) require automatic drywall replacement regardless of exposure duration due to health hazards from contaminants that cannot be safely cleaned or sanitized.
What moisture meter reading indicates drywall is dry enough?
Moisture meter readings of 12-15% indicate drywall is dry enough to stop the drying process and proceed with sealing or repair work, verified through daily readings during the 3-5 day drying period.
Should you remove insulation behind wet drywall?
You should remove wet insulation behind drywall even when the drywall itself might be salvageable, as fiberglass and cellulose insulation cannot be effectively dried, loses R-value permanently, and harbors mold growth.
How far beyond visible damage should you cut wet drywall?
You should cut wet drywall at least 12 inches beyond visibly affected areas to ensure all compromised material and hidden moisture damage is removed and to provide clean edges at studs or joists.
When should you call a professional for wet drywall?
You should call a professional for wet drywall when dealing with category 2 or 3 water contamination, ceiling saturation, visible mold growth, extensive damage beyond 10 square feet, or when insurance claim documentation is needed.
What equipment do you need to dry wet drywall?
You need high-volume air movers, structural drying dehumidifiers, and a moisture meter to properly dry wet drywall by maximizing air circulation, reducing humidity levels, and verifying complete drying through daily readings.
Does insurance cover wet drywall replacement?
Insurance typically covers wet drywall replacement from sudden water damage events like burst pipes but excludes gradual deterioration from neglected maintenance, making water source identification and professional assessment crucial for successful claims.
What type of drywall resists water damage best?
Mold-resistant drywall with fiberglass facing or treated cores resists water damage best, offering superior moisture and mold resistance compared to standard drywall or moisture-resistant green board for flood-prone and high-humidity applications.
