
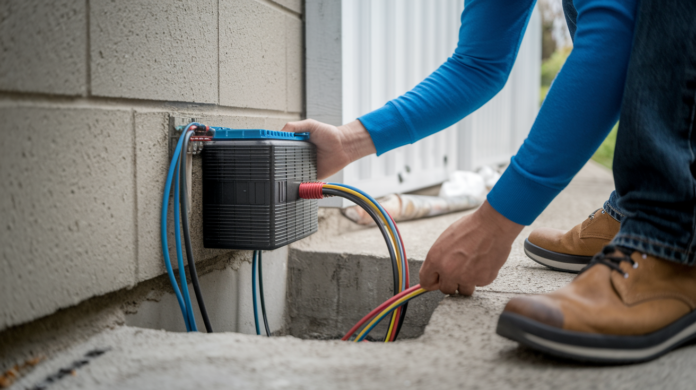
Your sump pump is only as reliable as the power grid it’s plugged into. Most basement floods during storms happen because the power went out right when you needed that pump most. Adding battery backup to your existing sump pump solves that problem without replacing what you already have. This guide compares wall-mounted controllers, standalone backup pumps, and portable power stations so you can pick the right system, size the battery correctly, and install it yourself in one afternoon.
Battery Backup Solutions and System Types for Existing Sump Pumps
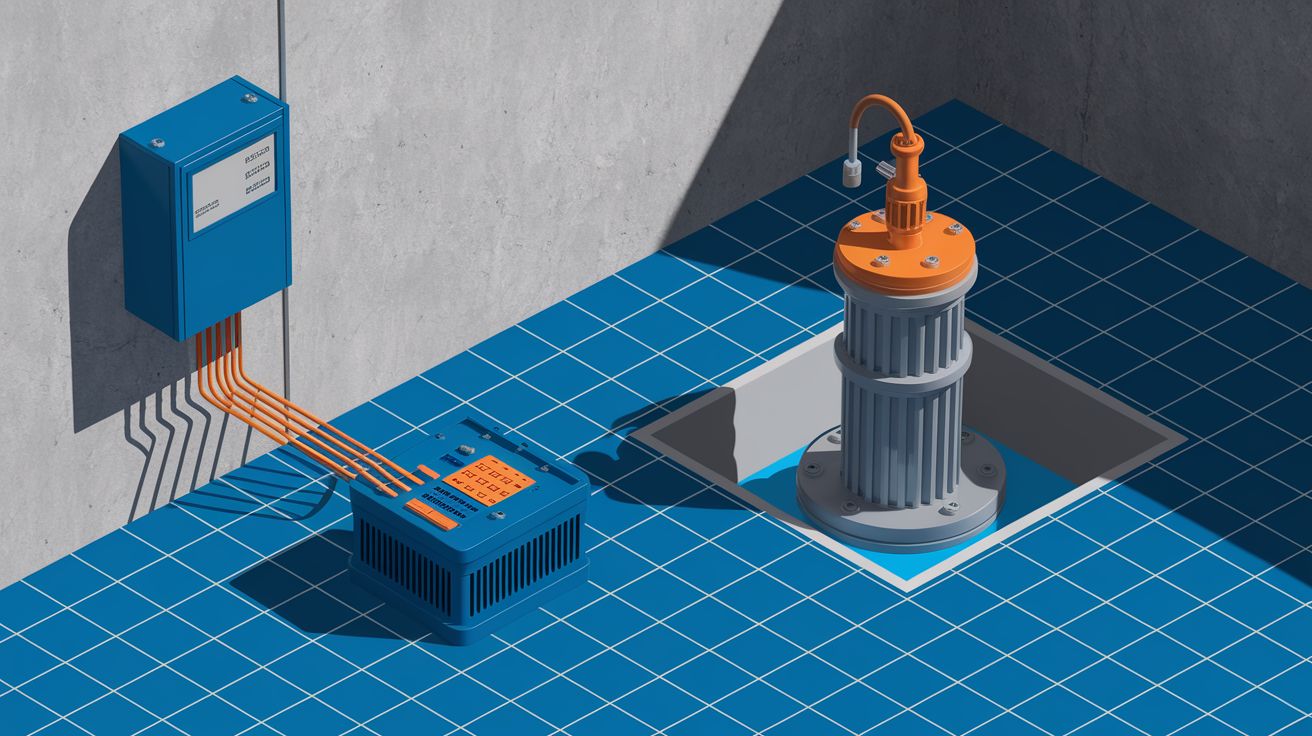
You don’t need to rip out your current sump pump to add backup protection. Most homeowners can retrofit their existing setup with battery backup using one of two main approaches: wall-mounted controller units that work with your current pump, or complete standalone battery-powered backup pumps that operate independently alongside your primary system.
| Backup Approach | Installation Method | Space Requirements | Automatic Switching |
|---|---|---|---|
| Wall-mounted controller units | Connects between existing pump and outlet | Mounts to basement wall, battery box on floor | Instant automatic switchover during outage |
| Standalone battery backup pumps | Complete secondary pump installed in same pit | Takes up space in sump pit or crock | Water level triggers independent pump |
| Portable power stations | Plug existing pump into charged battery unit | Floor space near sump pit for generator | Manual connection or transfer switch required |
Wall-Mounted Controller Units
These systems mount to your basement wall and plug directly between your existing sump pump and the electrical outlet. When power fails, the unit instantly switches your pump over to battery power without any mechanical changes to your plumbing. Units like the Pump Sentry 822PS and 1622PS handle all the switching automatically through built-in circuitry.
The big advantage here is space. Nothing gets added to your sump pit, so you keep full pumping capacity. You don’t cut or glue any PVC pipe, and you don’t modify your discharge line. The battery sits in a protective box on the floor within about 4 feet of the wall unit, connected by heavy-duty cables.
Standalone Battery Backup Pumps
These are complete secondary pumping systems that sit in your pit alongside your main pump. You’re installing a second pump, which means at least 6 independent components plus supplies like PVC pipe sections, check valves, PVC cement, and additional discharge connections.
The backup pump operates on DC battery power and has its own float switch. When water rises higher than normal (because your AC-powered primary pump lost power), the battery pump kicks in automatically. These systems work without any connection to your existing pump. If your primary pump fails mechanically, you still have protection.
Portable Power Stations
Solar generators and battery power stations can run your existing AC-powered pump during outages. You plug your current pump into the charged battery unit instead of the wall outlet. Some setups use automatic transfer switches, but most require you to manually move the plug when power goes out.
These units work for sump pumps and other emergency equipment around your home. If you already own a portable power station for camping or job sites, this might be your simplest retrofit option.
Wall-mounted controllers cost less than complete backup pump kits and install faster, usually in under two hours. Standalone backup pumps take longer to install (count on a half day if you’re comfortable with basic plumbing), but they provide true redundancy since you have two independent pumps. Portable power stations offer the most flexibility but require the highest upfront battery capacity investment to handle pump starting watts. Your choice comes down to whether you want simplicity and speed (wall unit), full redundancy (standalone pump), or multi-use flexibility (power station). All three approaches work. All three are compatible with most existing residential sump pump setups.
Calculating Runtime and Battery Capacity for Your Sump Pump

Battery capacity gets measured in amp-hours, but what matters to you is how long the battery can run your pump. A ⅓ horsepower pump pulling 800 watts during normal operation will drain a battery much faster than the same battery running a small fan. The catch is that sump pumps don’t run continuously. They cycle on and off based on water level, so your actual runtime depends on how often your pump needs to kick in during a storm.
Motor-driven pumps need a surge of power to start the motor spinning, then settle into lower running power. Your sump pump might pull 2,150 watts for 2 seconds during startup, then drop to 800 watts while pumping. If your battery system can’t deliver that starting surge, your pump won’t turn on even if the battery has plenty of stored energy for the running load.
| Pump Size | Starting Watts | Running Watts | Minimum Battery Capacity | Expected Runtime |
|---|---|---|---|---|
| ⅓ hp | 2150W | 800W | 75 Ah at 12V (900Wh) | 5-7 hours continuous pumping |
| ½ hp | 2400W – 4100W | 1050W | 100 Ah at 12V (1200Wh) | 3-5 hours continuous pumping |
| ¾ hp | 4500W – 5500W | 1400W | 150 Ah at 12V (1800Wh) | 2-4 hours continuous pumping |
Most residential basements don’t need 5 hours of nonstop pumping during an outage. Your pump cycles on for 30 seconds, then off for 10 minutes, then on again depending on groundwater inflow. If your pump runs once every 15 minutes during heavy rain, that same battery that provides 5 hours of continuous runtime will last you roughly 3 days of typical cycling. That’s why a modest 75Ah battery can protect a ⅓ hp pump through most regional power outages.
Lead-acid batteries (both flooded and sealed AGM types) need replacement every 3 to 5 years depending on how often they discharge and recharge. Lithium-ion batteries, especially LiFePO4 chemistry, last longer. Units using LiFePO4 cells can deliver daily charge cycles for up to 10 years before capacity drops noticeably. If you’re in an area with frequent short outages, lithium makes sense. If outages happen once or twice a year, standard deep-cycle marine batteries keep upfront costs lower even though you’ll replace them more often.
Step-by-Step Installation Process for Sump Pump Battery Backup
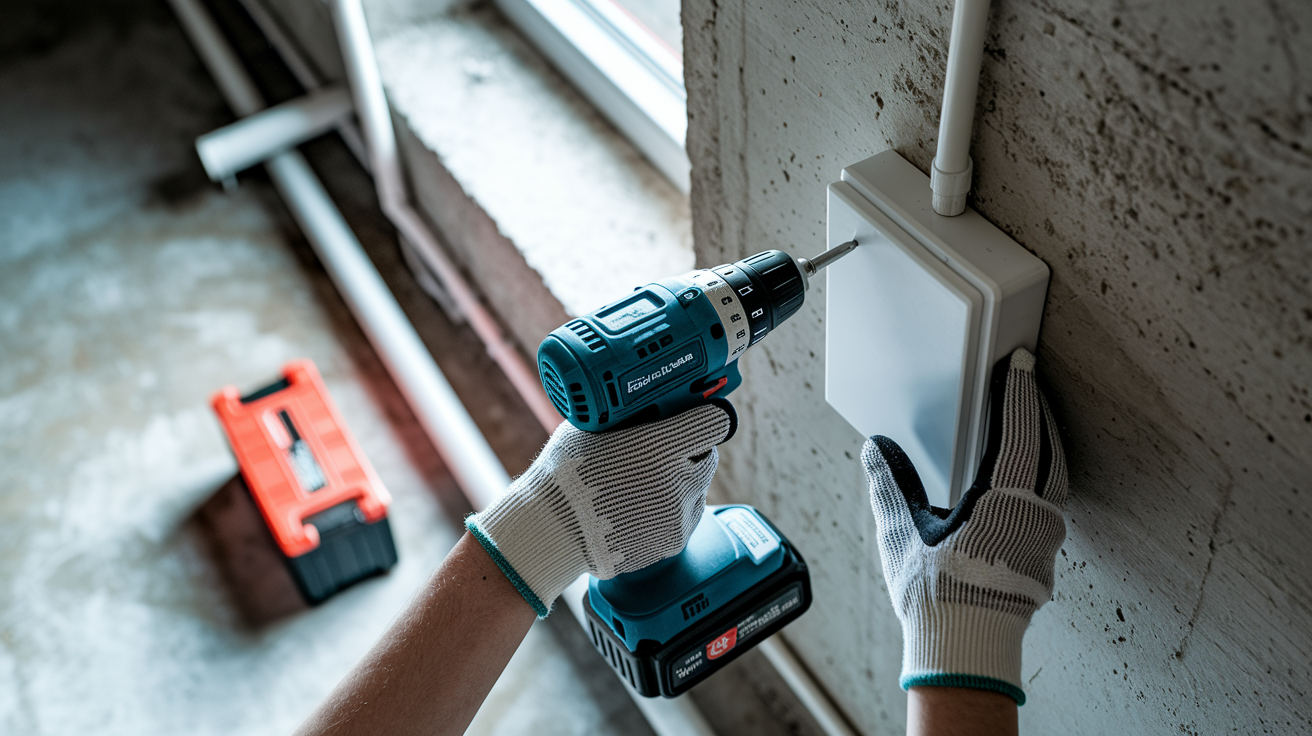
Most wall-mounted battery backup controllers install in a couple hours with basic tools and no pipe cutting. You’re adding an electrical device between your pump and the outlet, connecting a battery with cables, and testing the system. Check your specific model’s manual for voltage requirements (most need standard 120-volt AC outlets) and any manufacturer-specific steps that override these general instructions.
-
Mount the backup controller unit to your basement wall at least 12 inches above the floor and close enough to reach your sump pump’s power cord and a nearby outlet (most units need placement within 6 feet of the pump).
-
Place your deep-cycle battery in a durable plastic or nylon battery box on the floor within 4 feet of the wall-mounted unit (cable length limits how far you can separate the battery from the controller).
-
Connect the battery cables using proper polarity. Red cable to the positive terminal, black cable to the negative terminal. Tighten the clamps until snug but not overtightened.
-
Plug your existing sump pump’s power cord into the “Pump Output” receptacle on the backup controller unit (this is usually clearly labeled on the front or bottom of the device).
-
Plug the backup controller unit itself into your basement’s 120-volt AC wall outlet (use a GFCI-protected outlet if available for added electrical safety in wet environments).
-
If you’re installing a standalone backup pump instead of a wall controller, position the DC-powered pump in your sump pit at a slightly higher activation level than your primary pump so it only runs when the main pump can’t keep up.
-
For standalone backup pumps, cut and fit a section of PVC discharge pipe to connect the backup pump to your existing discharge line (you’ll need a check valve above each pump to prevent backflow, plus PVC cement and primer for permanent joints).
-
Run the backup pump’s discharge pipe to a tee fitting on your main discharge line, or create a separate discharge route if local code requires independent backup pump discharge (check with your municipal building department).
-
For wall-mounted systems, no discharge plumbing changes are needed since your existing pump continues using its current discharge setup.
-
Connect any included alarm or monitoring features according to the manufacturer’s wiring diagram (most systems have simple two-wire connections for audible alarms that sound during backup mode or low battery conditions).
-
Close the battery box lid (never operate a lead-acid battery without ventilation if the box has vent holes. Those holes prevent hydrogen gas buildup).
-
Test the installation by unplugging the backup controller unit from the wall outlet while watching the “Power Output” or similar LED indicator (it should stay lit, showing your pump is now running on battery power, and you should hear your pump activate if there’s water in the pit).
If your installation involves running new electrical circuits, permanently wiring a transfer switch, or making changes to your home’s electrical panel, stop and call a licensed electrician. Some jurisdictions require permits for adding backup pump systems or making electrical modifications, even for DIY-friendly plug-in units. Check with your local building department before starting. Proper installation matters for warranty coverage and for insurance claims if flooding happens despite your backup system. Incorrect setup can void both protections.
Charging Systems and Battery Maintenance for Backup Sump Pumps

Your backup battery needs to stay fully charged between power outages, which means it needs a charging system that automatically maintains charge without overcharging the battery.
Most wall-mounted backup systems include automatic float charging built into the controller. When AC power is available, the unit supplies a small maintenance charge to the battery continuously, keeping it at full capacity without boiling off electrolyte or damaging the cells. The charging LED on your controller will flash or change color when AC power returns after an outage, letting you know the battery has entered charging mode and will be back to full capacity within a few hours.
Solar-powered charging offers an alternative for areas with unreliable grid power or for homeowners looking to reduce dependence on utility electricity during extended regional outages. Solar panels mounted outside feed a charge controller that manages battery charging. These systems cost more upfront but can maintain backup pump batteries for days or weeks during widespread grid failures. Solar setups make the most sense if you live in an area prone to multi-day storm-related outages where grid power might stay down longer than a single battery charge can protect you.
Grid-powered float charging costs less and works fine for typical outages lasting hours to a day. Solar charging provides longer-term independence and works even during daytime outages, but you’re paying more for equipment and installation.
Cost Analysis and Budget Planning for Sump Pump Battery Backup

Budget for the backup system itself, the battery, any installation supplies you don’t already own, and potentially professional help if electrical or plumbing work is beyond your comfort level. Wall-mounted controller units run $150 to $400 depending on capacity and features. Standalone backup pump packages range from $300 to $800 for the pump, battery, and accessories. Deep-cycle batteries add another $100 to $300 for lead-acid types, or $300 to $800 for lithium options.
Water damage from a flooded basement costs thousands to tens of thousands in repairs, replacement of belongings, and potential structural work. Preventing even one flooding event pays for a backup system several times over. Some insurance companies offer small premium discounts for documented backup systems, and avoiding a single water damage claim protects your insurability and prevents rate increases that follow claims.
| System Type | Equipment Cost Range | Installation Complexity | Ongoing Maintenance Cost |
|---|---|---|---|
| Wall-mounted controller | $250 – $700 total (unit + battery + box) | Low, plug in and connect cables | Battery replacement every 3-10 years ($100-$800) |
| Complete backup pump | $400 – $1100 total (pump + battery + plumbing supplies) | Medium, requires pipe cutting and fitting | Battery replacement plus pump maintenance ($150-$900) |
| Portable power station | $500 – $2500 (multi-use device) | Low, plug pump into charged unit | Minimal, battery lasts 10+ years in many models |
| Whole-home battery | $8000 – $25,000+ installed | High, professional installation required | Low annual costs, 15-year warranties common |
Brand Comparisons and Top-Rated Battery Backup Models
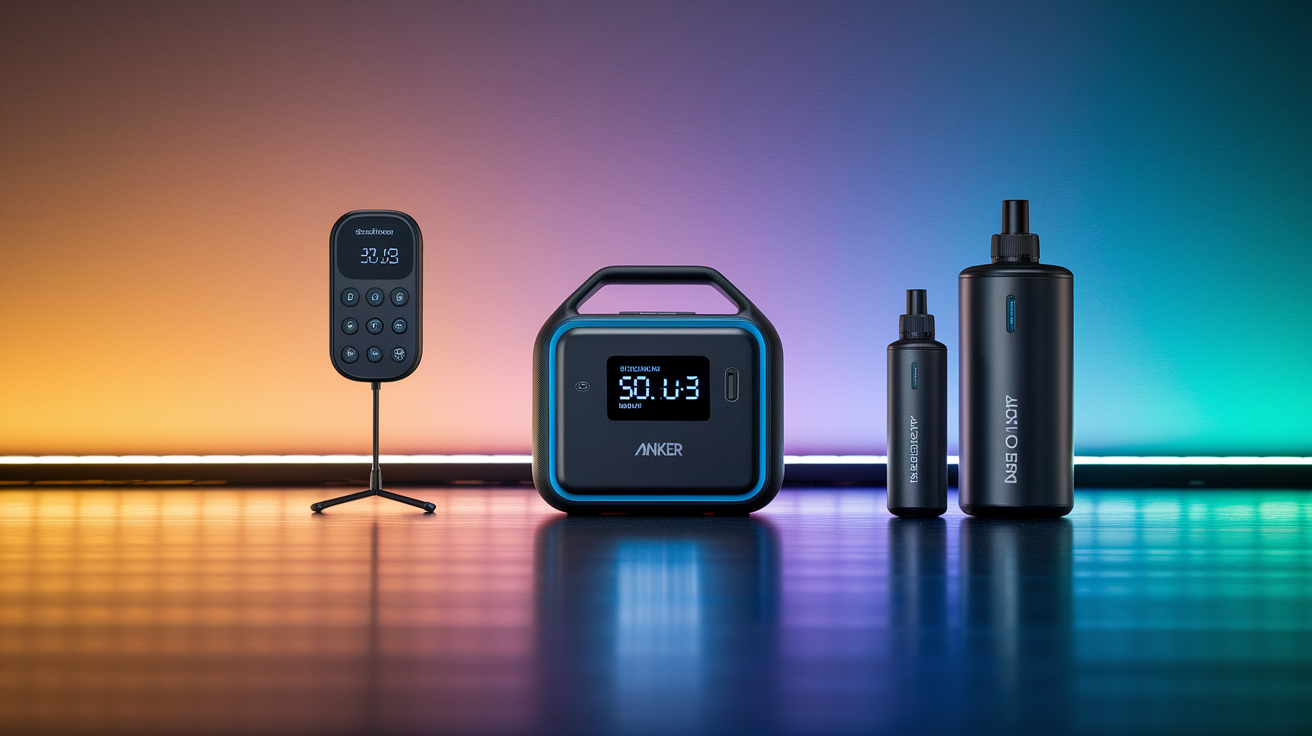
Different manufacturers focus on different backup approaches, so matching brand strengths to your installation type matters more than picking a “best overall” brand.
Wall-Mounted Controller Systems
Pump Sentry offers two main models for retrofitting existing pumps. The 822PS handles pumps drawing up to 8 amps and works with smaller ⅓ hp pumps common in residential basements. The 1622PS supports higher amp draws and works with ½ hp pumps or situations where you need more reserve capacity. Both models mount to standard stud spacing and include automatic charging circuitry plus alarm outputs for adding audible or visual alerts.
Portable Power Station Solutions
Anker’s SOLIX F2000 delivers 2,400 watts of continuous AC power with 5,000 watt surge capacity, enough to start and run ½ hp sump pumps without hesitation. The 2,048Wh battery capacity provides several hours of runtime, and you can expand capacity to 4,096Wh by adding a BP2000 expansion battery. The 1,000 watt solar input means you can recharge from panels during extended daytime outages.
The SOLIX F1500 steps down to 1,800 watts continuous (3,600 watt surge) with 1,536Wh capacity. It recharges to 80% in one hour from AC power and includes 13 ports for running multiple devices at once. The 5-year warranty and LFP battery chemistry give you long-term reliability for occasional emergency use.
EcoFlow’s DELTA 2 Max puts out 2,400 watts running power with 5,000 watt surge, placing it in the same performance range as the Anker F2000. The RIVER 2 Pro is EcoFlow’s smaller option at 800 watts running (1,600 watt surge), which matches ⅓ hp pump requirements but doesn’t leave much overhead for starting surge. The DELTA Pro scales up to 3,600 watts continuous and 7,200 watt surge for homeowners who want one power station that handles sump pumps plus other high-draw equipment.
Integrated Backup Pump Packages
Complete backup pump systems from manufacturers like Wayne, Zoeller, and Liberty Pumps bundle a DC-powered backup pump with a battery, charging unit, and alarm in one kit. These packages include everything except the PVC pipe and fittings you’ll need for discharge connections. Most use cast iron or thermoplastic pump bodies with vertical float switches that resist getting trapped against pit walls.
When you’re comparing brands, match the backup system’s power output and battery capacity to your specific pump’s requirements first. Then look at warranty length (5 years is standard, 15 years is exceptional), charging speed (matters most if you experience frequent short outages), and whether the company offers local service or requires shipping units back for warranty work.
Safety Considerations and Code Compliance for Battery Backup Installation
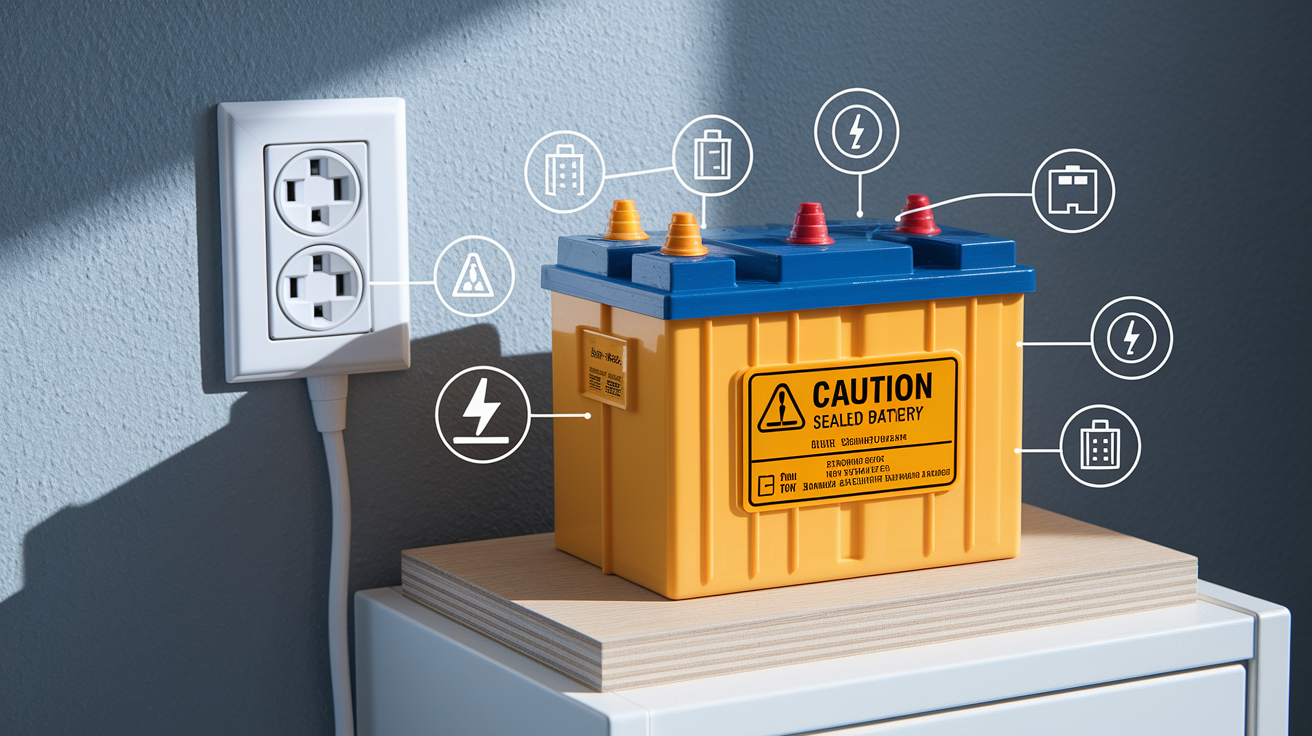
Water and electricity create serious shock and fire risks, especially in basements where standing water can contact electrical devices during the exact emergency conditions when you need your backup pump working.
Batteries generate explosive hydrogen gas during charging, particularly flooded lead-acid types. Sealed AGM and lithium batteries produce less gas, but ventilation still matters. Every battery, regardless of type, must sit in a durable plastic or nylon battery box that contains any spilled electrolyte and prevents accidental terminal contact. If you’re using flooded batteries, the box needs ventilation holes, and the battery needs to sit at least 12 inches from any potential ignition source.
GFCI outlets protect against shock risks but can nuisance-trip during power fluctuations, potentially leaving your backup system inactive when you need it. Some backup controllers include built-in ground fault protection specifically designed to protect users without false tripping. Check your system’s manual and local electrical code for GFCI requirements in your specific installation. UL and CSA certifications on pumps and controllers mean the devices meet basic safety testing standards for electrical safety and mechanical durability.
Critical safety practices for battery backup installation:
- Mount all electrical components at least 12 inches above floor level to keep them clear of minor flooding
- Use GFCI protection on circuits serving wet locations unless your backup controller includes its own ground fault protection
- Ensure proper battery box ventilation if using flooded lead-acid batteries
- Keep battery terminals covered or contained to prevent accidental shorting from tools or metal objects
- For whole-home battery systems, look for IP67 waterproof ratings that withstand temporary submersion up to 3.3 feet
- Advanced systems like EcoFlow OCEAN Pro include TriShield Protection with fire suppression modules and explosion-proof valves
- Never connect a battery backup system using an extension cord (permanent wiring or direct plug-in only)
Maintenance Schedule and Testing Procedures for Battery Backup Systems

Testing your backup system once a month prevents the ugly surprise of discovering a dead battery or failed switch during an actual power outage when your basement is filling with water. The five minutes you spend on a scheduled test can save you thousands in flood damage.
Monthly testing simulates a real power failure. Unplug your backup controller from the wall outlet and watch the “Power Output” or backup mode LED. It should light up immediately, and if there’s water in your pit, your pump should activate within a few seconds. Let the system run for 30 seconds to a minute, then plug it back in. The charging LED should flash or change color within a couple seconds, confirming the unit has returned to charging mode.
| Maintenance Task | Frequency | What to Check | Action Required |
|---|---|---|---|
| Simulated power failure test | Monthly | Unplug controller, verify “Power Output” LED lights and pump activates | If pump doesn’t activate, check battery connections and charge level |
| Battery terminal inspection | Every 6 months | Look for corrosion, loose connections, or damaged cables | Clean terminals with baking soda solution, tighten connections |
| Water level check (flooded batteries) | Every 3 months | Electrolyte should cover plates by ½ inch | Add distilled water if low, never tap water |
| Float switch verification | Monthly | Manually lift float to trigger pump | If pump doesn’t start, check for trapped float or faulty switch |
| Battery voltage test | Every 6 months | Use multimeter to verify fully charged voltage (12.6V+ for lead-acid, manufacturer spec for lithium) | If voltage is low despite charging, test battery capacity or replace |
| Lead-acid battery replacement | Every 3-5 years | Watch for reduced runtime or failure to hold charge | Replace with same amp-hour rating and battery type |
Keep a simple maintenance log with test dates, battery voltage readings, and any problems you notice. If your system fails during a test, you’ve got time to fix it before the next storm. If you wait until an actual outage to discover the problem, you’re dealing with a dead battery while water rises. Document everything for warranty claims and insurance purposes. Manufacturers often require proof of regular maintenance before honoring warranties on failed components.
Troubleshooting Common Sump Pump Battery Backup Problems

Even correctly installed backup systems sometimes act up. Working through problems systematically usually gets you back to reliable operation without needing to replace expensive components.
Battery not charging: Check that the controller is plugged into a working outlet (test with a lamp or phone charger). Look for a charging LED that should flash or change color when AC power is available. If the outlet works but the LED doesn’t respond, check for a blown fuse or tripped breaker in the backup controller unit itself. Corroded battery terminals block current flow and prevent charging even when everything else works correctly.
Backup pump not activating during test: If your backup pump has its own float switch, make sure it’s not trapped against the pit wall or tangled in cables. Wide-angle tethered float switches easily get caught, preventing automatic activation. Vertical float switches mounted to the pump body resist trapping better. Check that battery voltage reads at least 12.4 volts for lead-acid or meets manufacturer specs for lithium batteries. A deeply discharged battery may not deliver enough current to start the pump motor.
Short runtime or frequent low battery alarms: Your battery capacity might not match your pump’s power draw, or the battery has degraded and lost capacity. Test the battery under load using a battery load tester or by timing how long it runs the pump before voltage drops. Lead-acid batteries lose capacity after 3 to 5 years and need replacement even if they still charge and discharge.
Alarm going off randomly with no power failure: False alarms usually mean a loose connection at the battery terminals, a failing battery that can’t maintain voltage under load, or a faulty alarm sensor in the controller. Check all cable connections first since that’s the easiest fix.
Visible corrosion on battery terminals: White or blue-green powder around terminals increases electrical resistance and prevents proper charging or discharging. Disconnect cables (negative first, then positive), clean terminals with a paste of baking soda and water, rinse with clean water, dry completely, and reconnect cables (positive first, then negative). Coat terminals with petroleum jelly or dielectric grease to slow future corrosion.
Backup pump runs but doesn’t move much water: Check your discharge line for blockages or frozen sections if testing during cold weather. Verify check valves aren’t stuck closed. A pump that hums or buzzes without producing flow might have a jammed impeller from debris in the pit.
Excessive noise during backup operation: DC pumps normally sound different from AC pumps, often with a higher-pitched whine. But loud grinding or rattling suggests bearing wear or debris in the impeller. Shut off and inspect the pump.
Irregular cycling between normal and backup mode: This usually points to voltage problems. Your wall outlet might have poor connections causing intermittent power drops that trigger backup mode unnecessarily. Try plugging into a different outlet. If the problem continues, check the backup controller’s internal connections and relay.
Primary pump fails but backup never kicks in: With standalone backup systems, the backup pump activates based on water level rising higher than normal. If the backup float is set too high, water might overflow the pit before reaching the trigger point. Adjust float height lower, keeping it above the primary pump’s float to maintain proper sequencing.
Automatic switchover not working: Wall-mounted controller units rely on sensing when AC power disappears. A loose connection at the wall outlet or at the controller’s power input can prevent the unit from detecting the outage. Check that the controller is firmly seated in the outlet and the pump cable is fully inserted into the controller’s output receptacle.
Stop troubleshooting and call for professional service when you smell burning plastic or see smoke, when voltage readings don’t make sense even after cleaning connections and testing batteries, or when the backup system repeatedly fails tests despite replacing batteries and checking all visible components. Some controller failures require manufacturer repair or replacement under warranty. Attempting to repair circuit boards or internal components yourself usually voids warranties and creates shock risks. Low amperage pump models help prevent float switch burnout by reducing current draw through the switch contacts, which is worth considering if you’re replacing a pump anyway.
Preventing Basement Flooding Through Backup System Integration
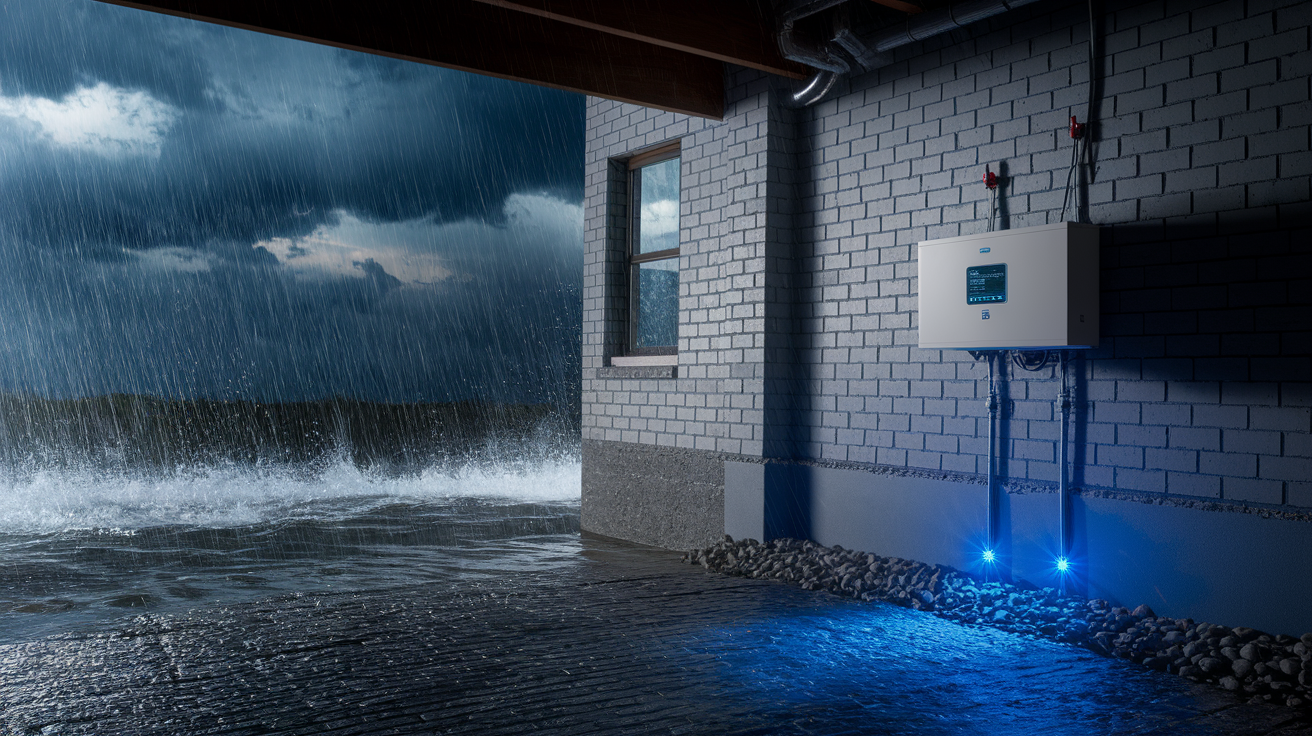
Power outages during storms create the highest flood risk because the conditions that knock out power (heavy rain, high winds, lightning) are the same conditions that put maximum stress on your sump pump. Without backup power, your pump sits idle while groundwater keeps rising.
Adding battery backup covers the power failure scenario, but comprehensive basement flood prevention includes checking that your primary pump has enough capacity for the water volume you actually get during heavy rainfall. If your pump runs continuously during storms even with power, a backup battery won’t solve the underlying problem of insufficient pumping capacity. You might need a larger primary pump or a supplemental pump (which the backup system can protect) to handle peak inflow.
Your foundation drainage system, exterior grading, and gutter maintenance all affect how much water reaches your sump pit in the first place. Backup battery systems protect against power failures, but they can’t overcome consistently inadequate primary pumping capacity or massive inflows from poor site drainage. Interior drain tile systems, exterior waterproofing membranes, and properly sloped yards reduce the water load your sump pump handles. Think of battery backup as one layer in your flood prevention approach, not the only layer.
Before spring storm season and again before winter, test your backup system, inspect your discharge line for blockages or freeze damage, and verify your primary pump is working correctly. Better to discover problems in March than during an April storm when hardware stores are sold out of sump pumps and your basement is filling with water.
Whole-Home Battery Solutions as Sump Pump Backup Alternatives
Instead of a dedicated sump pump battery, some homeowners install whole-home battery systems that back up essential circuits throughout the house, including the sump pump circuit along with refrigerators, freezers, internet equipment, and critical lighting.
Whole-home batteries work best when you need protection for multiple systems at once, especially if you experience outages lasting longer than a few hours several times per year. A properly sized system keeps your sump pump running while also maintaining other critical loads. The EcoFlow OCEAN Pro delivers 24kW of continuous power with 50kW peak capacity, enough to run multiple large appliances plus your sump pump. The system scales up to 80kWh of total capacity by adding battery modules, providing multi-day backup capability during extended regional outages.
For flood protection specifically, whole-home batteries eliminate any chance of forgetting to maintain a dedicated sump backup system. Your home’s battery charges automatically from the grid or solar panels, and it backs up your sump pump circuit along with everything else. The EcoFlow OCEAN Pro includes an IP67 rating for dust and water resistance (it can withstand temporary submersion up to 3.3 feet), TriShield Protection with built-in fire suppression and explosion-proof valves, and a 15-year warranty. Compare that to replacing dedicated sump pump batteries every 3 to 5 years, and the long-term value becomes clearer for homes where outage frequency justifies the investment.
Whole-home systems cost more upfront, typically $8,000 to $25,000 installed depending on capacity and solar integration. Dedicated sump pump backup with battery runs $300 to $1,100 total. The cost difference makes sense when you’re protecting multiple critical systems and when you value the ability to live normally during outages that last days instead of hours. Solar-powered whole-home batteries continue charging during daylight hours even when grid power is down for extended periods, giving you effectively unlimited runtime as long as weather permits solar production.
This approach works best if you already plan to install solar panels or if your area experiences frequent multi-day outages that affect daily life beyond just basement flooding concerns. For homes with occasional short outages and no other critical backup needs, a dedicated sump pump battery backup delivers better value per dollar spent.
Performance Specifications and Pump Selection Criteria
Your backup system needs to match your pump’s electrical requirements and physical installation space. Residential sump pumps split into two main horsepower ratings (⅓ hp and ½ hp), with smaller pumps moving 35 to 45 gallons per minute and larger pumps handling 50 to 60 gallons per minute at typical lift heights.
Horsepower tells you motor size, but for battery backup planning you care more about amp draw and starting surge requirements. Backup systems must deliver enough power to start the motor under load, which takes 2 to 3 times more current than running power. A backup controller rated for 8 amps handles ⅓ hp pumps fine but will struggle with ½ hp models.
Housing material affects longevity in constantly wet environments. Stainless steel, cast iron, and marine-grade aluminum resist corrosion better than plastic housings, particularly in basements with mineral-heavy groundwater or occasional sewage contamination from backups. Pumps with UL and CSA ratings passed independent safety testing for electrical components and motor construction. That matters for insurance and code compliance, and it generally indicates better build quality than uncertified imports.
| Pump Feature | Why It Matters | Impact on Battery Backup |
|---|---|---|
| Horsepower rating | Determines pumping capacity and electrical draw | Higher HP requires larger battery capacity and higher surge-rated backup system |
| Housing material (cast iron, stainless, thermoplastic) | Affects corrosion resistance and pump lifespan in wet conditions | No direct impact, but longer pump life means fewer compatibility issues from replacements |
| Amperage draw | Lower amperage reduces heat and electrical stress on all components | Low-amp models extend battery runtime and prevent float switch burnout from high current |
| Solid passing capability | Top suction pumps handle sand and gravel without clogging or impeller damage | Reduces maintenance and prevents mid-outage pump failures from debris |
| Float switch type (vertical vs. tethered) | Vertical floats resist getting trapped against pit walls | Reliable float activation ensures backup pump triggers when water rises during outages |
Low-amperage pumps matter more than most homeowners realize. High current loads burn out float switch contacts over time, especially with frequent cycling. If you’re replacing an old pump anyway, choosing a model with lower amp draw for the same pumping capacity makes your battery backup system work easier and last longer. Top suction pump designs pull water from above the impeller inlet, which lets small debris pass through without jamming the impeller. That’s worth having during power outages when you can’t immediately clear a jammed pump.
Insurance Benefits and Property Value Protection Through Backup Systems
Water damage claims typically cost insurance companies $5,000 to $15,000 per incident when basements flood, which is why some insurers offer small premium discounts (usually 2% to 5%) for documented sump pump backup systems.
The bigger insurance benefit shows up if you avoid making a claim at all. A single water damage claim on your record increases your premiums at renewal and can make it harder to get coverage from other carriers if you shop around later. Insurance companies track claims history through shared databases, and flooding claims particularly concern underwriters because they often repeat. A $600 battery backup investment that prevents a flooding claim saves you money immediately through avoided repairs, then saves more over the following years through lower premiums.
Beyond insurance, disclosing a properly maintained sump pump backup system during home sale negotiations signals to buyers that you’ve taken basement flooding seriously. In areas with high water tables or known drainage issues, that documented protection can be a selling point that justifies your asking price.
Keep installation receipts, product documentation, and maintenance logs. Take photos of the installed system. If you ever need to file a claim despite having backup, you’ll need to prove the system was properly installed and maintained. Some insurance policies exclude flood damage if they can show negligent maintenance of protective equipment. That’s rare, but documentation protects you. During real estate transactions, showing maintenance records demonstrates that the backup system is working protection, not a dormant installation.
Final Words
Adding a battery backup for existing sump pump protection doesn’t require a complete system overhaul or weeks of construction work.
You’ve got options that match your space, budget, and comfort level with installation.
Wall-mounted controllers simplify the job. Standalone backup pumps offer independent operation. Portable power stations give you flexibility.
Pick the approach that fits your basement layout and how often your primary pump cycles during storms.
Test it once a month. Check connections twice a year. Replace batteries when runtime drops.
Your backup system only works when it’s ready, and that starts with choosing the right setup and keeping it maintained.
FAQ
Can you add a battery backup to an existing sump pump?
You can add a battery backup to an existing sump pump using one of three approaches: wall-mounted controller units that connect between your pump and outlet, standalone battery-powered backup pumps that work independently, or portable power stations that supply emergency power to your current pump during outages.
How much does it cost to add battery backup to an existing sump pump?
Adding battery backup to an existing sump pump costs between $200 and $1,500 depending on the system type. Wall-mounted controller units typically cost $300-$600, complete backup pump systems range from $500-$1,200, and portable power stations capable of running sump pumps start around $800.
How long will a battery backup run a sump pump?
A battery backup will run a sump pump for 5-7 hours of continuous pumping or approximately 3 days when the pump cycles occasionally. Actual runtime depends on your battery capacity (measured in amp-hours), pump size (⅓ hp versus ½ hp), and how often the pump needs to run.
How do you backup a sump pump without electricity?
You backup a sump pump without electricity by installing a DC-powered battery backup pump that operates independently from your primary pump or by connecting your existing pump to a portable power station with sufficient wattage capacity (typically 2,000-3,600W for residential pumps) and runtime.
What type of battery works best for sump pump backup systems?
Deep-cycle marine batteries or AGM batteries work best for traditional sump pump backup systems, providing reliable power for several hours. Lithium-ion batteries, particularly LiFePO4 technology, last up to 10 years with daily use compared to lead-acid batteries that require replacement every few years.
Do battery backup sump pumps switch on automatically during power outages?
Battery backup sump pumps switch on automatically during power outages through built-in controllers that detect when AC power fails. Wall-mounted systems provide seamless switching without installing an additional pump, while standalone backup pumps activate independently when water rises above the primary pump’s float level.
Where should you place the battery for a sump pump backup system?
Place the battery for a sump pump backup system within 4 feet of the controller unit for proper cable connection. The battery should sit in a durable plastic or nylon battery box positioned above potential flood levels but accessible for maintenance checks every six months.
How do you test a sump pump battery backup system?
You test a sump pump battery backup system by unplugging the controller unit from the wall outlet while watching for the “Power Output” LED to remain lit, indicating the backup activated properly. Pour water into the sump pit to verify the backup pump engages and discharges correctly.
What causes a sump pump battery backup to fail?
Sump pump battery backups fail due to dead or sulfated batteries, corroded terminal connections, trapped float switches (especially wide-angle tethered designs), or charging system malfunctions. Regular maintenance every few months prevents most failures, including checking water levels, testing connections, and verifying the charging LED flashes when AC power returns.
Can solar panels charge a sump pump battery backup?
Solar panels can charge a sump pump battery backup, offering longer and cleaner backup power while reducing grid reliance during extended outages. Solar-charged systems work particularly well in areas with frequent power failures, though grid-powered automatic charging provides more consistent performance in low-light conditions.
Do whole-home batteries work for sump pump backup?
Whole-home batteries work for sump pump backup and protect all critical home systems simultaneously. Systems like the EcoFlow OCEAN Pro provide 24kW continuous power, scale up to 80kWh capacity, and include IP67 waterproof ratings plus 15-year warranties, making them practical alternatives to dedicated sump pump batteries.
What maintenance does a battery backup sump pump require?
A battery backup sump pump requires checking water levels every few months, inspecting battery terminals every six months, and testing the system quarterly by simulating power failures. Lead-acid batteries need replacement every few years, while lithium-ion batteries require performance monitoring but last significantly longer.