
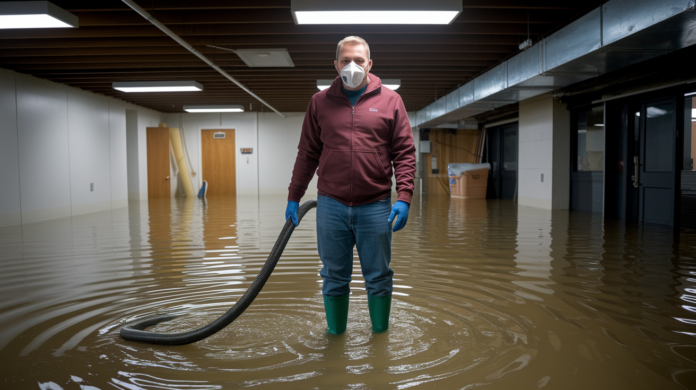
Most people think the worst part of a sewage backup is the smell and the mess. Wrong. The worst part is the invisible bacteria and viruses that’ll make you seriously sick if you don’t clean it up right. Blackwater sewage carries E. coli, Hepatitis A, and other pathogens that soak into everything they touch. You can’t just mop it up and move on. This post walks you through the full emergency response, contaminated material removal, disinfection protocol, and drying process to make your home safe again.
Emergency Response and Safety Protocol for Sewer Backup Discovery
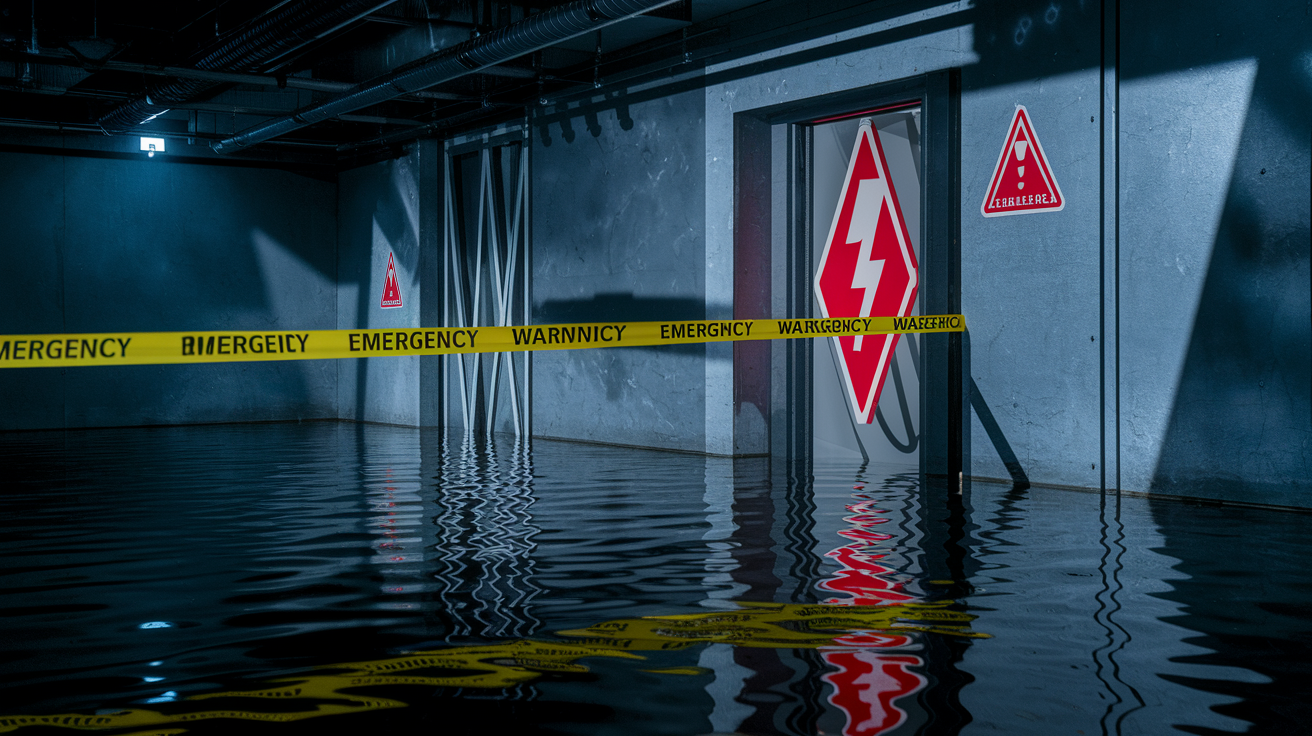
A sewage backup is a Category 3 water damage emergency. You need to act fast to protect your family and your home from serious contamination.
- Stop all water use immediately. That means toilets, sinks, showers, washing machines, dishwashers. Everything. More water use just means more sewage backing up into your space.
- Get people and pets out of the contaminated area right now. Nobody goes back in until cleanup is done properly or a pro gives the all clear.
- Check for electrical hazards from a safe distance. If you see outlets, power strips, or cords sitting in water, don’t go in there.
- Call your utility company or a licensed electrician before you step into any basement or room with standing water. They’ll shut off power to those circuits safely.
- Don’t touch anything. No contact with contaminated water, surfaces, or belongings until you’ve got proper protective gear on.
- Open windows from outside the affected area to get air moving and reduce toxic gas buildup. But don’t walk into the contaminated zone to do it.
You can’t mess around with protective equipment here. Blackwater sewage carries E. coli, Salmonella, Hepatitis A, norovirus, and other pathogens that’ll make you seriously ill through skin contact, swallowing, or just breathing it in. Barrier protection isn’t optional.
Get yourself waterproof rubber boots that come up past your ankles with non-slip soles. Heavy-duty rubber gloves, the kind that go to mid-forearm or your elbow. An N95 respirator at minimum, not some dust mask or cloth covering. Face shield or safety goggles so nothing splashes in your eyes. Waterproof coveralls or disposable protective clothing covering your arms and legs. Hand sanitizer for when you need to take gloves off temporarily. And dedicated cleanup clothes that get washed immediately after or thrown out.
After cleanup, hygiene matters just as much as the work itself. Take a hot shower with antibacterial soap. Scrub hard for at least five minutes. Use a nailbrush under your fingernails where bacteria hides. All your cleanup clothes and equipment either get disposed of if they’re heavily contaminated or washed separately in hot water with bleach. Don’t eat, drink, smoke, or touch your face before you finish the full hygiene routine. Even quick exposure to sewage residue can make you sick.
Removing Standing Water from Sewage Backup Areas
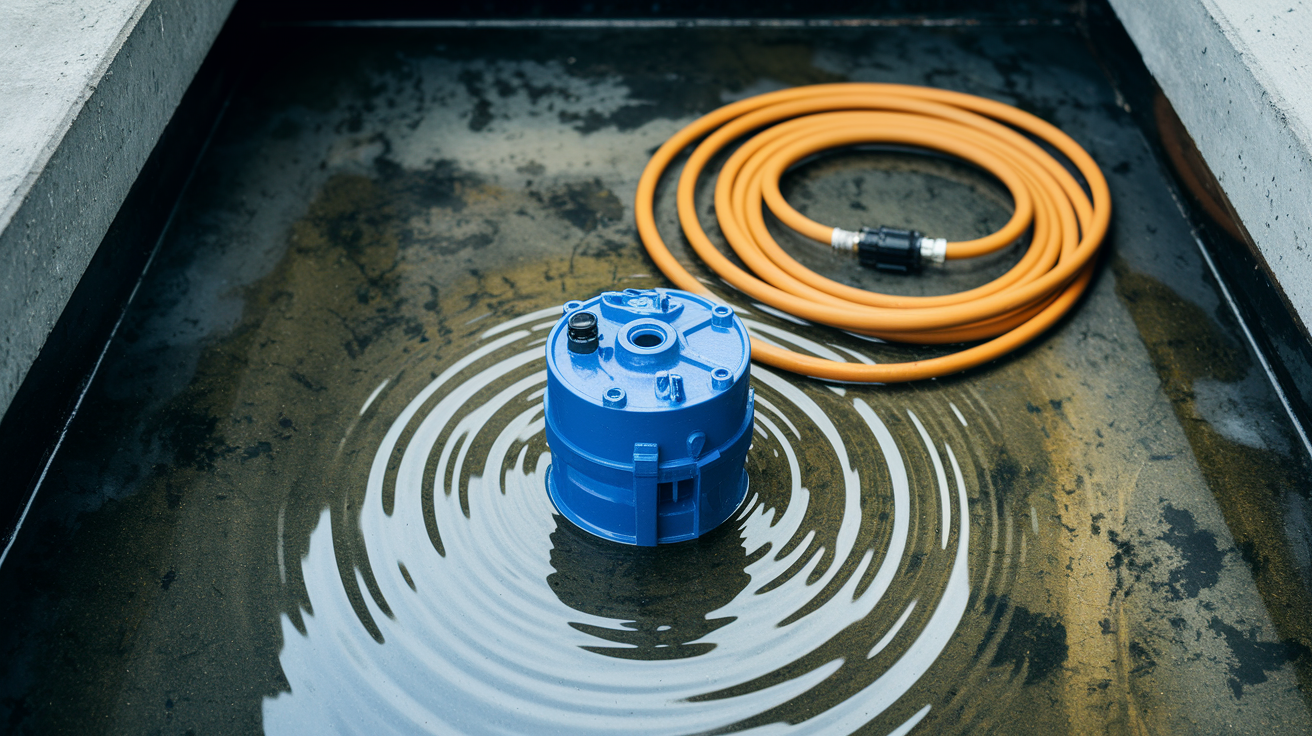
For smaller backups under 2 inches deep, a wet/dry vacuum rated for liquid pickup works best. Pull out the dry filter cartridge first. Running it with the filter still in destroys the motor. Work slowly, empty the tank often into a toilet or floor drain that connects to your sewer system. Wet/dry vacuums handle light to moderate volumes fine, but they don’t have capacity for extensive flooding.
When water levels hit 2 to 6 inches or cover large floor areas, rent a submersible pump from Home Depot or United Rentals. Put the pump at the lowest spot in the flooded space and run discharge hoses to a basement toilet, laundry sink, or cleanout that feeds directly into your sewer lateral. Larger backups over 6 inches deep need commercial extraction equipment that flood restoration companies or septic pumping services operate. They’ve got truck-mounted pumps that remove hundreds of gallons per minute and proper disposal protocols.
You can only dispose of this through the sanitary sewer system. Never pump sewage into storm drains, your yard, or natural drainage paths. That spreads biohazards into the environment and probably violates local laws. Professional septic pumping services have specialized equipment to extract, transport, and dispose of sewage according to EPA regulations. After you get standing water out, use a stiff broom and dustpan to sweep solid debris into heavy-duty trash bags before you start surface cleaning.
| Water Level | Recommended Equipment | Disposal Method |
|---|---|---|
| Under 2 inches (shallow) | Wet/dry vacuum rated for sewage (remove dry filter first) | Empty into toilet or floor drain connected to sewer system |
| 2-6 inches (moderate) | Rental submersible pump with discharge hoses | Pump to basement toilet, laundry sink, or cleanout access feeding sewer lateral |
| Over 6 inches (deep flooding) | Commercial extraction equipment (truck-mounted pumps) | Professional septic pumping service with EPA-compliant disposal |
Removing and Disposing of Contaminated Contents and Building Materials
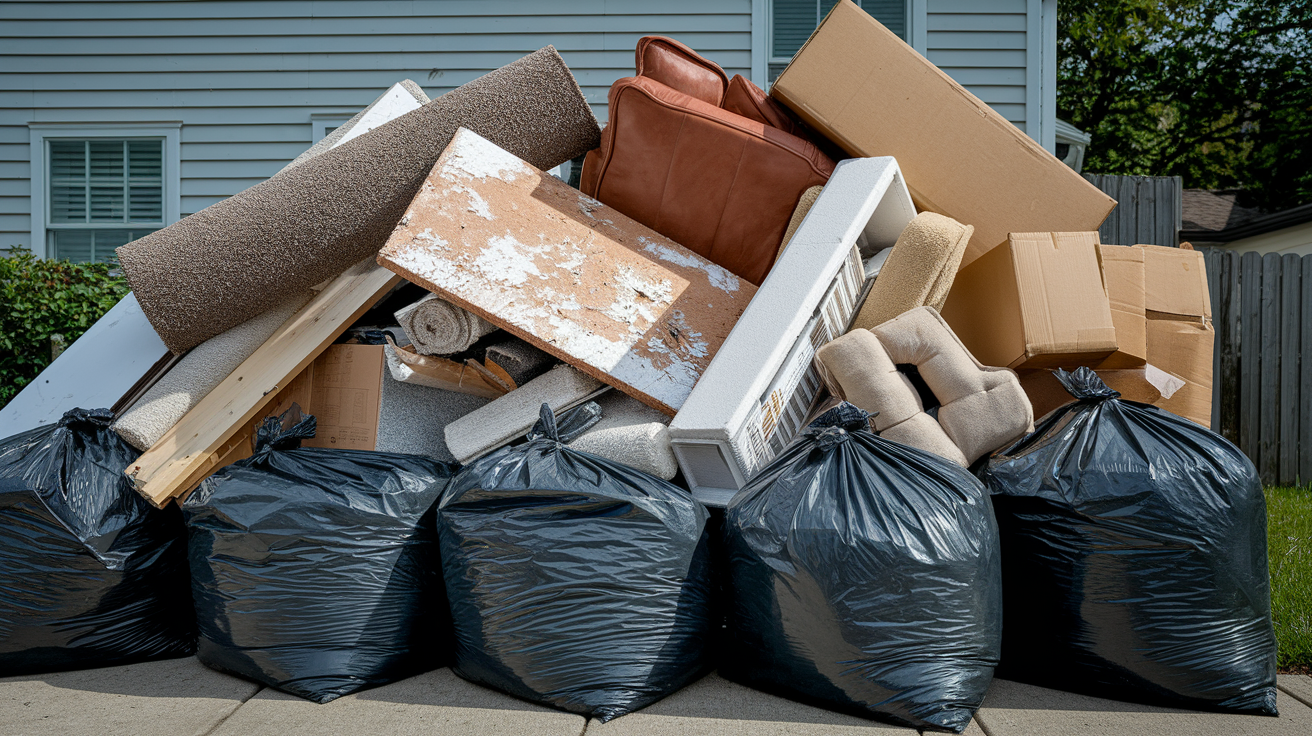
Sewage soaked porous materials can’t be cleaned or disinfected properly. They pose ongoing health risks from bacteria, viruses, and pathogens that keep multiplying inside the material even after you treat the surface.
Carpeting and carpet padding (padding always gets replaced). Upholstered furniture like couches, chairs, ottomans. Mattresses, box springs, pillows, bedding. Books, magazines, paper products, documents. Cosmetics, medications, personal care items. Cardboard boxes and whatever’s inside if they got soaked. Insulation in walls, floors, or ceilings. Kids’ stuffed toys and fabric items. Drywall, paneling, or sheetrock that sewage touched.
The difference between porous and non-porous materials decides what you can save. Porous materials have tiny spaces that absorb and hold contaminated water deep inside where disinfectants can’t reach. Think of how a sponge soaks up liquid. Non-porous materials like metal, glass, hard plastic, and sealed wood have smooth surfaces without absorption, so you can disinfect them completely. Hard furniture, sealed canned goods, metal tools, and solid wood pieces can typically be saved with thorough cleaning and disinfection.
Carpet and padding removal starts by pulling the carpet back from the wall at one corner, then rolling it toward the opposite wall. Carpet padding falls apart when it’s soaked and always gets thrown out and replaced. The carpeting itself needs professional hot water extraction shampooing after it’s completely dry, but for damage more than a few square feet, replacement makes more sense and it’s safer than trying to salvage it. Drywall exposed to sewage absorbs contamination like a paper towel. You need to cut and remove it at least 12 inches above the visible waterline because the material pulls moisture and bacteria upward through capillary action even in spots that look dry.
Baseboard and trim removal exposes the wall cavity for inspection and drying. Pry baseboards carefully if you’re planning to reinstall them after reconstruction. Flooring removal depends on what you’ve got. Carpet and padding go immediately. Laminate flooring delaminates and swells from moisture. Hardwood can sometimes be saved if you treat it fast and dry it right. Vinyl flooring should be pulled back to check the subfloor underneath. When subflooring shows dark staining, soft spots, or sewage saturation, it needs replacement. You’ll need a licensed contractor for structural assessment when damage extends to floor joists, wall studs, or load-bearing components, or when more than 25% of a room’s materials need replacing.
Cleaning and Disinfecting Contaminated Surfaces
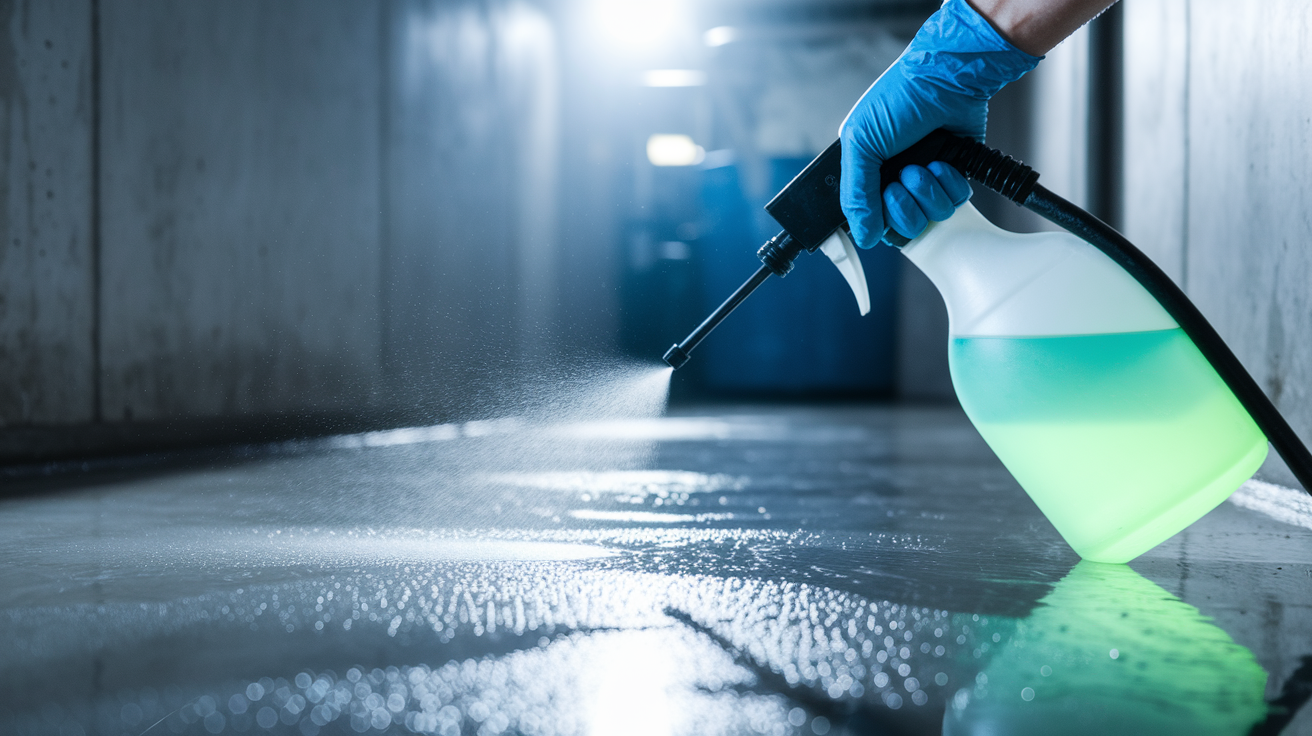
Organic matter, sludge, and solid waste have to be physically removed before disinfectants can work on non-porous surfaces that stay after material removal.
- Hose down all contaminated surfaces with a garden hose or pressure washer to blast off clinging sludge, feces, and debris. Direct wastewater toward floor drains or extraction equipment.
- Pump or vacuum the dirty rinse water right after hosing to prevent recontamination and reduce moisture.
- Sweep remaining solid debris with a stiff broom and dustpan. Bag waste in heavy-duty trash bags sealed tight.
- Wash all exposed surfaces with hot soapy water using mops, scrub brushes, and sponges. Work from the farthest point back toward the exit door.
- Rinse thoroughly with clean water before you apply disinfectant solutions. Soap residue interferes with how well antimicrobials work.
Bleach to water ratios for sewage disinfection range from ½ cup household bleach per 1 gallon of water up to 1 part bleach to 10 parts water depending on surface type and how bad the contamination is. Apply the solution to all hard surfaces including concrete floors, ceramic tile, sealed wood, and painted walls using mops, sponges, or pump sprayers. Coverage matters. Every square inch needs to stay visibly wet with disinfectant solution for at least 10 minutes of contact time to kill pathogens. Reapply solution to areas that dry before the contact time finishes.
EPA registered disinfectants designed for sewage cleanup give you alternatives for surfaces where bleach causes damage, discoloration, or material breakdown. Products with quaternary ammonium compounds or hydrogen peroxide work well on metals, certain plastics, and finished wood. Follow manufacturer instructions exactly for dilution ratios and contact times. Shortcuts reduce effectiveness. Bleach and other surface disinfectants can’t be used on porous materials like unfinished wood framing or concrete block because they don’t penetrate deep enough to kill embedded pathogens. Antimicrobial treatments that professional restoration services apply using foggers or injection equipment reach these areas that homeowner cleaning methods miss.
| Surface Type | Disinfectant Solution | Application Method | Contact Time |
|---|---|---|---|
| Concrete or ceramic tile floors | ½ cup bleach per gallon water | Mop or pump sprayer with thorough coverage | 10 minutes |
| Painted walls and ceilings | 1 part bleach to 10 parts water | Sponge or sprayer applied to all exposed areas | 10 minutes |
| Metal fixtures, pipes, and drains | EPA-registered quaternary ammonium disinfectant | Spray or wipe application | Per manufacturer instructions (typically 5-10 minutes) |
| Non-porous furniture and appliances | Hydrogen peroxide-based disinfectant or diluted bleach | Spray and wipe all surfaces | 10 minutes |
Drying and Dehumidification After Sewer Backup Cleanup
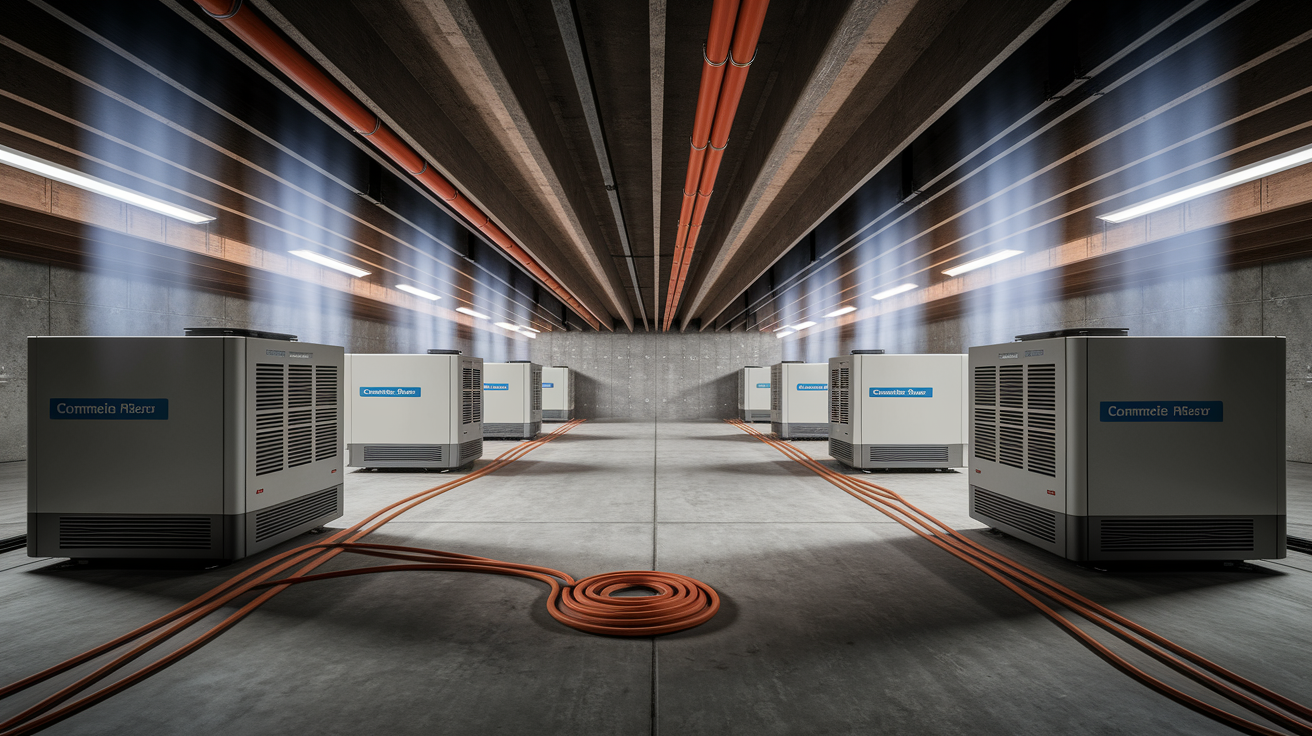
Mold and mildew start growing within 24 to 48 hours of sewage exposure. Getting things completely dry fast is the most important factor in preventing long term damage and health hazards.
You need high capacity dehumidifiers that can pull 50 to 70 pints per day for residential basements, along with industrial air movers (not basic box fans) that create concentrated airflow across wet surfaces to speed up evaporation. Put dehumidifiers in the center of affected rooms and empty collection buckets at least twice daily, or run continuous drainage hoses to floor drains. Place air movers at floor level pointing toward walls, angled to create circular air movement throughout the space.
Your ventilation strategy combines mechanical equipment with natural air exchange through open windows and doors whenever outdoor humidity is lower than indoor levels. Check weather conditions daily. Run fans continuously to push moisture laden air outside while drawing fresh air in. Never use space heaters, forced air furnaces, or other heat sources in closed spaces to speed drying. Heat without ventilation causes moisture to condense on cooler surfaces like rim joists and foundation walls, creating perfect conditions for mildew growth and expanding water damage to areas that weren’t affected before.
Realistic drying timelines for sewage contaminated basements often take two to four weeks of continuous dehumidification and air movement before building materials reach safe moisture content levels. Surface drying happens quickly, but moisture trapped inside concrete, wood framing, and subflooring takes much longer to evaporate. Use a moisture meter to test materials at multiple depths. Readings should drop below 15% moisture content in wood and 2% in concrete before reconstruction starts. Professional moisture detection tools include infrared cameras that identify hidden dampness you can’t see with visual inspection.
Open windows during daytime when outdoor air is warm and dry. Close them at night when humidity rises. Empty dehumidifier collection buckets every 8 to 12 hours or set up continuous drainage. Reposition air movers every 2 to 3 days to make sure all surfaces get direct airflow. Run dehumidifiers and air movers 24 hours per day, not on and off. Test moisture levels weekly with a meter, documenting readings by location and date. Wait until moisture readings stabilize at safe levels for at least three consecutive days before you begin reconstruction.
Eliminating Sewage Odors from Your Home

Sewage odors stick around after surface cleaning because they come from airborne particles and volatile organic compounds that penetrate porous surfaces like unfinished wood framing, concrete, and drywall paper backing, not just from surface contamination. Air fresheners, odor masking sprays, and DIY deodorizing attempts only cover smells temporarily without neutralizing the molecular sources.
Professional ozone and hydroxyl treatment processes eliminate sewage odors at the molecular level by breaking down odor causing compounds through oxidation. Ozone generators produce O₃ molecules that attach to and destroy bacteria, viruses, and organic particles embedded in surfaces and circulating in air. The space has to be completely sealed and evacuated during ozone treatment because of respiratory irritation risks, typically running for 12 to 24 hours followed by thorough ventilation before reentry. Hydroxyl generators provide a safer alternative that can operate while the building stays occupied, using UV light to create hydroxyl radicals that neutralize odors through a similar oxidation process over 2 to 5 days of continuous operation.
For interim odor management while you’re arranging professional treatment, run commercial HEPA air scrubbers that capture airborne particles and filter air through activated carbon, along with continuous ventilation to dilute odor concentration and exchange contaminated air with fresh outdoor air. Open all windows and run exhaust fans pointing outward to create negative pressure that draws odors out of the building. For outdoor sewage backup odors in yards or around building exteriors, faint smells typically clear naturally after one or two rainfalls as organic matter breaks down and disperses. Let outdoor waste materials dry completely before using a leaf rake to pile and bag debris for disposal. Working with wet material spreads contamination and makes odors worse.
When to Hire Professional Restoration Services for Sewage Backup
Category 3 blackwater sewage represents the most hazardous water damage classification under IICRC standards and frequently exceeds DIY cleanup capabilities because of health risks, specialized equipment requirements, and insurance documentation needs.
Backups affecting more than one room or exceeding 500 square feet of contaminated area. Sewage depth exceeding 2 inches anywhere in the affected space. Contamination present for more than 24 hours before cleanup begins (increasing mold and pathogen growth). HVAC system, ductwork, or air handler exposure to sewage water or vapors. Household members who are elderly, very young, pregnant, or immunocompromised. Visible structural damage including sagging ceilings, buckled floors, or cracked foundation walls. Insurance claim requirements for professional documentation, estimates, and certified remediation.
IICRC certification standards establish protocols that certified professionals have to follow for Category 3 water damage. That includes containment procedures to prevent cross contamination, specialized extraction equipment like truck mounted pumps that DIY equipment can’t match, EPA registered antimicrobials applied through professional foggers and injection systems, and documentation procedures that satisfy insurance requirements and building code compliance. Certified technicians complete training in bloodborne pathogens, hazardous materials handling, and proper PPE usage beyond what homeowner cleanup provides. For guidance on vetting restoration contractors and verifying credentials, see Hiring a Water Damage Restoration Pro: Red Flags & Must-Ask Questions.
Professional restoration costs typically run $3,000 to $10,000 for moderate sewage backups depending on affected area size, contamination severity, and structural repairs required. Weigh that expense against serious health risks from inadequate DIY cleanup including recurring illness from pathogen exposure, long term mold problems from incomplete drying that cost more to fix later, and structural damage from moisture trapped in building cavities that homeowner equipment can’t reach. Most restoration companies provide free initial assessments and work directly with insurance companies on covered claims.
Documentation and Insurance Claims for Sewage Backup Damage
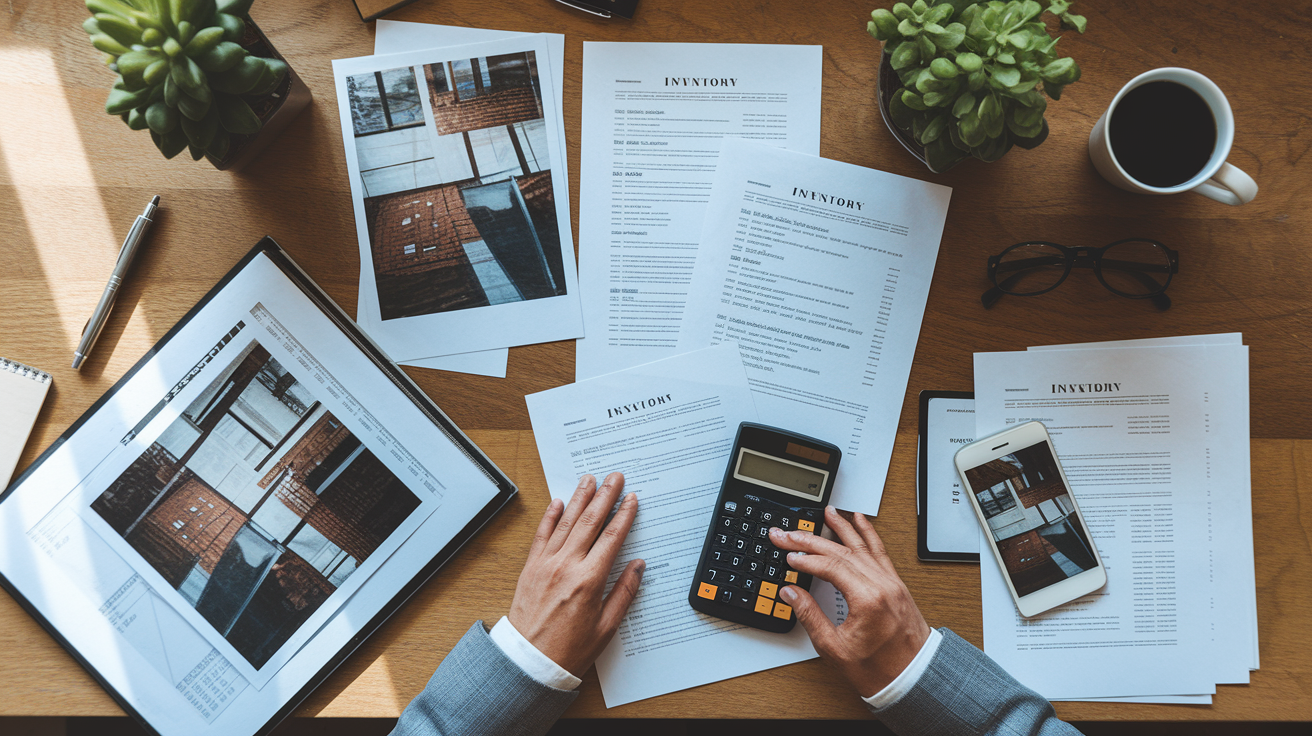
Standard homeowners insurance policies typically exclude sewer backup coverage under base policy terms, but sewer and drain backup endorsements are available as optional additions for $40 to $250 annually depending on coverage limits and property location. These endorsements specifically cover water damage from sewage backing up through drains, toilets, or sump pumps.
Documentation requirements for successful claims begin before cleanup starts. Photograph and video record all damage from multiple angles showing the full extent of water depth, contaminated materials, and affected areas. Take wide shots showing entire rooms and close-ups of specific damage to flooring, walls, furniture, and belongings. Create a detailed written inventory of all damaged items including purchase dates, original costs, and current replacement values. Save every receipt for cleanup expenses including equipment rentals, disinfectants, trash bags, protective gear, and professional services. These out of pocket costs may be reimbursable even if damage exceeds coverage limits.
The backup source and cause directly affect coverage determinations and responsibility for repairs. Document whether sewage entered from a floor drain, toilet, or other fixture, and identify if the cause was municipal sewer main failure, private lateral blockage, or sump pump failure. Municipal sewer main failures may trigger city liability for damages in some jurisdictions, while private lateral blockages remain the property owner’s responsibility. Plumber reports and camera inspection videos showing blockage location relative to the property line become critical evidence for coverage disputes.
Contact your insurance company or agent within 24 hours of discovering damage, after securing immediate safety but before extensive cleanup that removes evidence. Adjusters need to inspect and document damage firsthand or review comprehensive photos and videos you provide. Describe damage accurately without downplaying or exaggerating. Misrepresentation can jeopardize the entire claim. Follow all insurer requirements for mitigation efforts, professional estimates, and documentation submission deadlines to preserve coverage and avoid claim denials for failure to cooperate.
Identifying the Source: Common Sewage Backup Causes
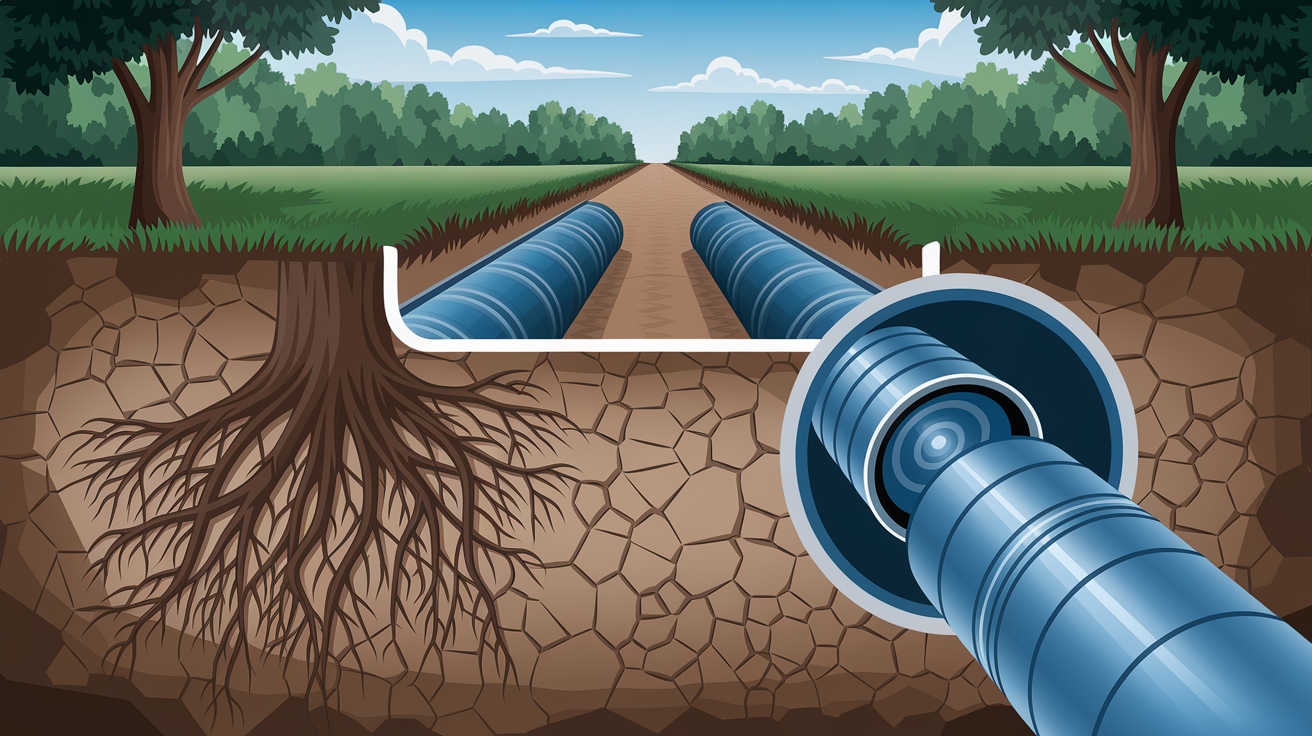
Figuring out whether your backup comes from municipal infrastructure failure or private property blockage determines both who pays for repairs and what solutions will prevent it from happening again.
Common sewage backup causes include tree root intrusion into clay or concrete sewer laterals where roots enter through pipe joints seeking water and nutrients. Aging deteriorated pipes that crack or collapse from soil pressure and ground settling. Main line clogs from accumulated grease that hardens and traps debris like wipes and paper products. Broken or offset pipe sections from ground movement or heavy vehicle traffic over lateral paths. Municipal collection system overload during heavy rainfall when combined sewer systems can’t handle stormwater volume and sanitary waste at the same time. For comprehensive guidance on diagnosing whether your issue is sewage specific or part of broader basement moisture problems, see Why Your Basement Keeps Getting Wet (And How to Fix It for Good).
Property line responsibility splits at the connection point between your private sewer lateral and the public sewer main, typically located under or near the street. The municipality owns and maintains the public main along with the connection wye or tap where your lateral joins the system. Everything from that connection point to your home stays the property owner’s responsibility for maintenance, repairs, and replacement costs. This distinction matters because municipal main backups may trigger city liability for damages, while private lateral failures always remain the homeowner’s financial burden.
Inspection and diagnosis starts with contacting your municipality’s public works or wastewater department when backup occurs. They dispatch emergency crews to check the public main first. If workers find and clear a main blockage, service restores immediately and the city typically handles associated damage claims. If the public main operates normally during inspection, the problem lies in your private lateral and you have to hire a licensed plumber or drain service company to clear the blockage. Professional camera inspection provides definitive diagnosis by threading a waterproof video camera through your lateral to identify the exact blockage type, location, and overall pipe condition. Request a copy of the inspection video before agreeing to repair recommendations. This visual evidence proves the actual problem and prevents unnecessary work.
Preventing Future Sewer Backups in Your Home
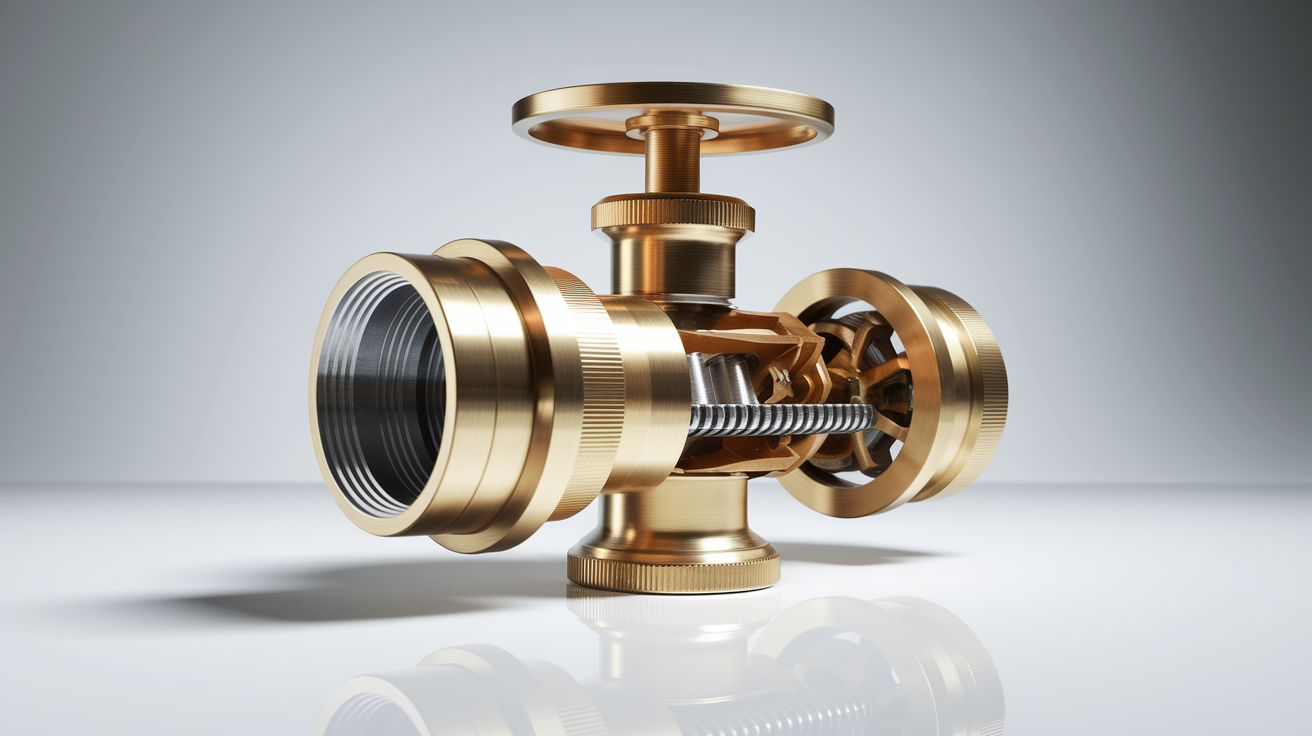
Most sewage backups result from preventable maintenance failures and household habits rather than unavoidable system failures. That makes prevention strategies highly effective at eliminating recurrence risk.
Backwater valve installation provides mechanical protection against sewage flowing backward into your home when the municipal main surges or backs up during heavy storms. The valve installs in your main building drain line, usually near where the lateral exits the foundation, and contains a flapper or ball mechanism that allows wastewater to flow out toward the sewer but automatically closes when pressure reverses direction and sewage tries to flow back in. Current plumbing codes have required backwater valve installation as standard equipment in floor drain systems for more than 50 years, but many older homes built before code adoption lack this critical component. Check your basement floor drain for a cleanout plug access point near the drain. A backwater valve typically installs at this location. Inspect and maintain existing backwater valves at least twice per year by removing the access cover and checking that the flapper or ball moves freely without sticking open from solids buildup, corrosion, or debris lodged in the mechanism.
Lateral line maintenance through professional camera inspection and cleaning every 3 to 5 years identifies developing problems like root intrusion, pipe deterioration, or debris accumulation before they cause complete blockage and backup. Hydro jetting service uses high pressure water to scour the pipe interior clean, removing grease buildup, scale deposits, and small root tendrils while camera inspection before and after cleaning documents pipe condition and work results. This proactive approach costs $300 to $600 typically, far less than emergency backup cleanup and repairs ranging into thousands of dollars.
Never flush inappropriate items including paper towels, feminine hygiene products, wet wipes labeled “flushable,” cloth diapers, cotton swabs, or dental floss that take longer to disintegrate than toilet paper designed for sewers. Dispose of cooking grease and oil properly by pouring into heat resistant containers, letting cool completely, then placing in trash. Never pour fats, oils, or grease down kitchen drains where they solidify and accumulate. Grease causes more than 50% of sewer backups in many cities. Don’t connect sump pumps or foundation drain systems to sanitary sewers. These flood control systems discharge large water volumes containing sediment and debris that overwhelm and clog sewer lines. Install mesh drain screens over all basement floor drains, shower drains, and sink drains to catch hair and debris before they enter drain pipes. Use gradual toilet paper amounts per flush rather than large wads, especially with low flow toilets that use less water for waste transport. Monitor for early warning signs including slow draining fixtures, gurgling sounds from drains when other fixtures run, sewage odors from drains or yard areas, and lush grass patches over the lateral line path indicating leak locations.
Final Words
Knowing how to clean up after sewer backup means following safety protocols first, removing contaminated materials completely, and drying everything thoroughly before rebuilding.
The work is physically demanding and carries real health risks, but breaking it into manageable phases keeps you moving forward safely.
If the backup affects multiple rooms or you’re dealing with elderly or immunocompromised household members, calling certified professionals is the right move.
For smaller backups handled with proper PPE and EPA-registered disinfectants, you can restore your space and prevent long-term damage.
Document everything, maintain your lateral line, and install a backwater valve if you don’t have one yet.
FAQ
Is it safe to stay in a house after sewage backup?
Staying in a house after sewage backup is not safe until all contaminated water is removed, affected areas are thoroughly cleaned and disinfected, and complete drying is verified. Sewage contains harmful bacteria, viruses, and pathogens that pose serious health risks through direct contact and airborne particles.
How do I clean my house after a sewer backup?
To clean your house after a sewer backup, first remove all standing water using a wet vacuum or pump, then discard all porous materials that contacted sewage. Wash all hard surfaces with hot soapy water, then disinfect using a bleach solution (½ cup bleach per gallon of water). Run dehumidifiers and air movers until areas are completely dry.
How long do sewage bacteria last on surfaces?
Sewage bacteria can last on surfaces for days to weeks depending on moisture, temperature, and surface type. Proper cleaning with hot soapy water followed by EPA-registered disinfectants kills pathogens on hard surfaces, but porous materials that absorbed sewage cannot be adequately disinfected and must be discarded.
What to clean floors with after sewer backup?
Clean floors after sewer backup by first hosing down surfaces to remove sludge, then washing with hot soapy water and a mop. After the cleaning step, disinfect using a solution of ½ cup bleach per gallon of water, applying thoroughly and allowing proper contact time before rinsing.
When should I call a professional for sewage backup cleanup?
Call a professional for sewage backup cleanup when contamination affects more than one room, standing water exceeds 2 inches deep, sewage has been present over 24 hours, or household members are immunocompromised. Category 3 blackwater requires certified restoration specialists with commercial-grade extraction equipment and EPA-registered antimicrobials.
Do I need to remove drywall after sewage backup?
You need to remove drywall after sewage backup because drywall is porous and absorbs contamination that cannot be adequately cleaned or disinfected. Cut and remove drywall at least 12 inches above the waterline to ensure all sewage-soaked material is eliminated before reconstruction.
Will homeowners insurance cover sewage backup damage?
Homeowners insurance typically does not cover sewage backup damage under standard policies, but affordable sewer backup endorsements are available as add-on coverage. Contact your insurance company immediately after a backup to understand your specific coverage and required documentation procedures before starting extensive cleanup.
How long does it take to dry out after sewage cleanup?
Drying out after sewage cleanup can take several weeks depending on the extent of water intrusion and environmental conditions. Use high-capacity dehumidifiers, industrial air movers, and open windows for ventilation. Verify complete dryness with a moisture meter before starting any reconstruction to prevent mold growth.
Can carpet be saved after sewage backup?
Carpet cannot typically be saved after sewage backup because both carpet and padding are porous materials that absorb contamination. Padding always requires replacement, and carpet would need professional shampooing after complete drying, but this is only appropriate for small areas with minimal sewage contact.
What equipment do I need for sewage backup cleanup?
For sewage backup cleanup, you need waterproof rubber boots, heavy-duty rubber gloves, N95 respirator mask, face shield, and waterproof coveralls before entering affected areas. For water removal, use a wet/dry vacuum with the dry filter removed for small backups or rent a pump for deeper flooding.
Why does my house still smell after cleaning sewage?
Your house still smells after cleaning sewage because odor-causing particles and gases penetrate porous surfaces beyond what surface cleaning can address. Professional ozone or hydroxyl treatments neutralize odor molecules at the molecular level, while air fresheners only temporarily mask smells without eliminating the source.
How do I know if sewage backup is from my plumbing or the city sewer?
To determine if sewage backup is from your plumbing or the city sewer, contact your municipality first to inspect the public main. If the public main operates normally, the blockage is in your private lateral line between your home and street connection. Property owners are responsible for maintaining this lateral connection.
What should I never flush down the toilet to prevent backups?
Never flush paper towels, feminine products, cloth diapers, wipes, or excessive toilet paper down the toilet to prevent backups. These items take longer to disintegrate than regular toilet paper and are common causes of blockages. Also never pour cooking grease down kitchen drains as grease is a leading cause of sewage backups.
What is a backwater valve and do I need one?
A backwater valve is a device installed in your sewer line that prevents wastewater from flowing backward into your home during municipal system overload or blockages. Plumbing codes have required them for over 50 years, but older homes may lack this protection and should consider installation as a prevention measure.