

You’ve probably heard you should rip out any drywall that gets wet, but that’s not always true. If you catch it early, use clean water, and dry aggressively, you might save it. The difference between a salvage job and a full replacement comes down to three things: how long the drywall stayed wet, what kind of water soaked it, and how deep the saturation goes. Miss the 48 hour window or guess wrong about moisture levels, and you’re replacing panels while fighting mold.
Immediate Assessment and Quick Triage for Wet Drywall
Yes, you can save wet drywall IF you act within 24 to 48 hours, the water is clean (Category 1), saturation isn’t complete, and you begin aggressive drying immediately. Beyond 48 hours or with contaminated water, replacement is required.
The moment you discover wet drywall, the clock starts. Here’s what to do right now:
- Stop the water source immediately. Shut off the supply line, stop the overflow, or patch the leak
- Check the clock. Note exactly when water exposure began
- Identify water source type (clean pipe vs. sewage vs. flood)
- Press on wet areas to assess saturation depth. If it’s spongy more than a half inch deep, you’re looking at replacement
- Begin emergency water removal with towels or wet vac
Key factors determining whether wet drywall can be salvaged:
Water category matters. Clean supply line water vs. contaminated sewage or flood water creates completely different scenarios. Saturation depth tells you if you’re dealing with surface dampness or complete soaking. Time exposed is critical. Under 48 hours vs. over 48 hours makes the difference between salvage and replacement. Drywall location counts too. Wall sections behave differently than ceiling panels (ceilings are higher risk). Structural compromise shows in the texture. Still firm vs. sagging or soft guides your next move. And immediate response taken, whether you acted within hours or discovered it days later, determines your options.
The 48 hour threshold matters because mold spores germinate rapidly in damp gypsum and paper backing. Drywall is made mainly of gypsum with glued paper, and gypsum retains water and moisture for lengthy periods. Once mold takes hold, salvage becomes impossible and health risks escalate. Every hour of delay increases the likelihood that what started as a drying project becomes a replacement job.
Replacement is non-negotiable in these scenarios: contaminated water from sewage or flooding, extended exposure beyond 72 hours, visible mold growth already present, structural sagging or crumbling texture, or complete saturation that has penetrated through to the wall cavity. If moisture is present, walls need to be cut 2 or 4 feet up and wet insulation removed. When any of these conditions exist, skip the salvage attempt and move directly to safe removal and replacement.
Critical Signs That Drywall Has Been Compromised by Water

Thorough visual and physical inspection determines whether wet drywall has a chance at salvage or needs immediate replacement. The faster you identify damage, the better your decision making.
Some damage announces itself with obvious discoloration or sagging, while other signs require closer examination. Touching surfaces, checking behind baseboards, or inspecting from multiple angles reveals problems you’d otherwise miss.
Key warning signs to look for:
Discoloration or staining shows up as yellow, brown, or dark patches. Paint bubbling or peeling away from the surface signals moisture underneath. Sagging or bowing is especially dangerous on ceilings. Soft or spongy texture when pressed firmly means water has penetrated deep. Crumbling edges where drywall meets framing indicate structural breakdown. Musty or moldy odor in the room often appears before visible growth. Visible mold spots (black, green, or white fuzzy growth) mean you’re past the salvage window. Swelling or warping that changes the wall’s flat plane shows the gypsum core has absorbed too much.
Multiple signs typically indicate replacement is necessary, while a single minor sign caught early (like slight discoloration with no softness) may allow salvage if drying begins immediately. Odd discoloration in wet drywall indicates mold has already taken hold, which moves the situation from “salvage candidate” to “remove and replace.” Drywall loses structural integrity when exposed to water too long, becoming soft and weak. If you can push your thumb into the drywall surface, or if it crumbles when touched, the gypsum core has absorbed too much water and will continue to deform and fall apart even after drying.
How to Assess Moisture Levels in Wet Drywall

Accurate moisture assessment is essential before attempting salvage. It tells you whether the water damage is limited to the surface or has penetrated deep into wall cavities where it will remain trapped.
Surface Moisture Testing Methods
A non-penetrating moisture meter reads moisture content without damaging the drywall surface. Hold it flat against the wall and take readings at multiple heights: low near the baseboard, middle, and high. Readings above 17% moisture content indicate the material is too wet to leave in place.
If you don’t have a moisture meter, remove baseboards to check behind walls and use a screwdriver to test texture. Push the screwdriver tip gently into the drywall at the wall base. Soft drywall that dents easily or allows the screwdriver to penetrate indicates water retention. Firm drywall that resists pressure may only have surface dampness.
Interior Wall Moisture Detection
Penetrating moisture meters use pins that pierce the drywall surface to measure moisture deeper in the material. Insert the pins at various points to map wet zones.
Creating small inspection holes (about 2 inches across) lets you check studs, insulation, and cavity areas for hidden moisture that isn’t visible on the surface. Drill or cut the hole at least 12 inches above the baseboard and shine a flashlight inside. If you see wet insulation, water stained studs, or standing water in the cavity, the wall must be opened further for drying or replacement.
If moisture readings are high or insulation is wet, replacement sections must be cut out regardless of surface appearance. Walls wet for several days should be cut open regardless of whether insulation is present. Surface dryness can be misleading. Moisture trapped behind creates ideal mold conditions while the face of the wall looks fine.
Step by Step Process to Dry Out Wet Drywall
Drying must begin within hours of water exposure for salvage to succeed. Every hour of delay allows moisture to spread deeper into wall cavities and increases mold probability.
Follow these steps immediately after discovering wet drywall:
- Stop the water source immediately. Close valves, repair leaks, or stop overflow
- Remove standing water with rags or wet vac. Soak up puddles and surface water first
- Remove baseboards to expose wall base and allow air circulation at floor level
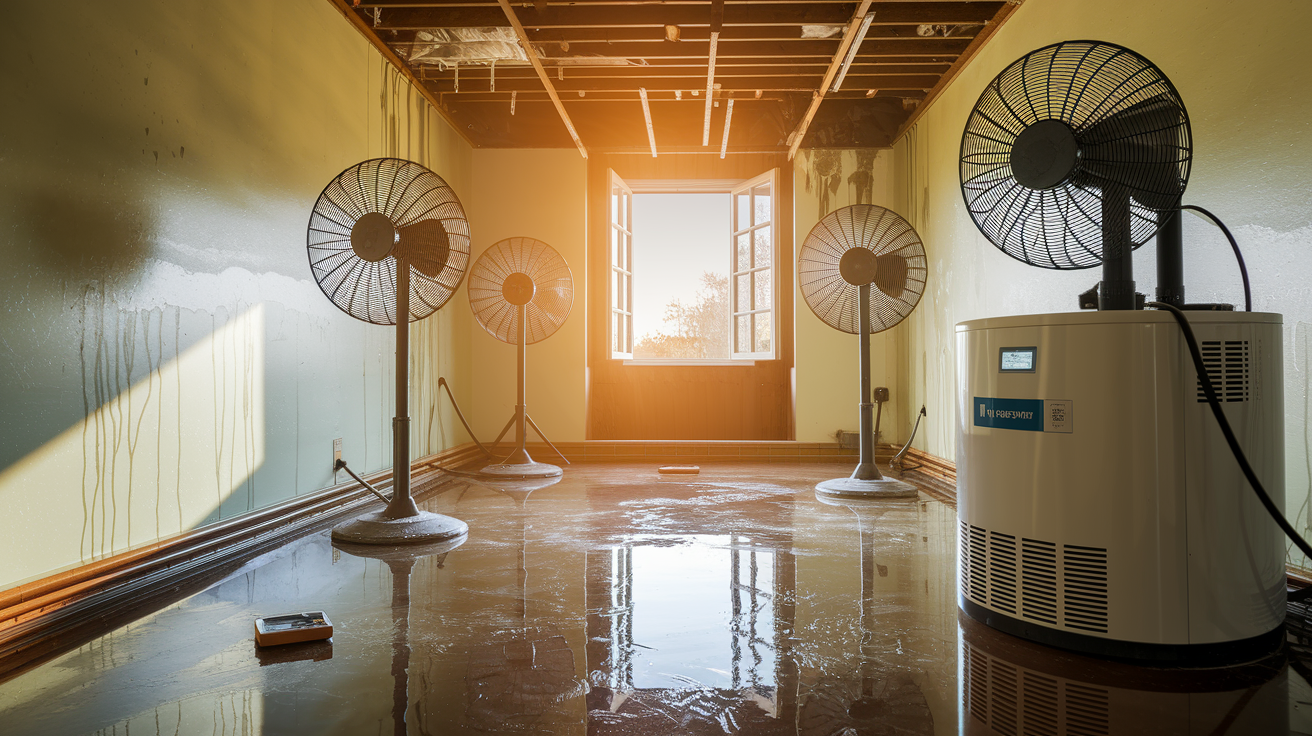
- Position high velocity fans aimed at wet areas. Place them 3 to 4 feet from walls, angled upward
- Run dehumidifiers continuously in affected rooms. Empty collection tanks regularly
- Open windows if outdoor humidity is low (below 60%). Fresh air exchange helps
- Monitor moisture levels daily with meter. Track readings to confirm progress
If drywall is discovered wet shortly after soaking, use drying rags to soak up standing water, then apply a fan and dehumidifier to remove airborne moisture and encourage air circulation. This immediate response can slow mold growth until you complete a full assessment or bring in professional help.
Professional equipment significantly improves salvage success rates. Industrial dehumidifiers remove 10 to 20 times more moisture than residential units, air movers create faster evaporation, and thermal imaging cameras identify hidden wet zones you can’t see or reach. Call water damage restoration equipment professionals when the affected area exceeds one room, when you’re uncertain about the extent of damage, or when initial DIY drying shows minimal progress after 24 hours. Professional contractors have specialized drying equipment and techniques that may save drywall in some cases, particularly when the response is fast and the water category is clean.
Salvage Thresholds vs. Replacement Requirements

If drying efforts fail or moisture persists after 48 hours, removal becomes necessary. At that point, attempting further salvage only delays the inevitable while mold begins forming in hidden cavities.
Standard cutting procedure involves cutting 2 feet above visible damage for minor exposure, 4 feet for extensive saturation. This prevents hidden mold from remaining in wall cavities above the cut line. Moldy drywall must be replaced entirely or partially and removed quickly as water damage worsens over time. Cutting higher than the visible damage zone accounts for wicking, which is water traveling upward through capillary action in porous gypsum. If you cut exactly at the water line, moisture above that line continues creating problems.
Remove baseboards first and drill weep holes as temporary measures in some situations. Weep holes (small holes drilled at the base of the wall) allow trapped water to drain out and improve air circulation for drying. This approach works when surface wetness is minimal and you’re attempting aggressive drying within the first 24 hours. Full section removal becomes necessary when weep holes don’t provide enough drainage, when moisture readings stay high, or when the 48 hour mark approaches with no significant drying progress.
Decision factors include time wet, water category, structural integrity, and moisture meter readings. Time wet matters most. Drywall wet for more than 48 hours should be promptly removed and replaced to keep homes mold free. Water category determines contamination risk. Structural integrity shows in the texture. Sagging or crumbling means replacement regardless of timeline. Moisture meter readings above 17% after 48 hours of drying indicate salvage has failed.
| Exposure Duration | Saturation Level | Recommended Action |
|---|---|---|
| Under 24 hours | Minimal surface wetting | Aggressive drying attempt acceptable |
| 24 to 48 hours | Moderate penetration | Dry immediately or cut if moisture persists |
| 48 to 72 hours | Heavy saturation | Cut out affected sections 2 to 4 feet high |
| Over 72 hours | Any level | Remove and replace all wet sections |
| Any duration | Contaminated water Category 2 or 3 | Complete removal mandatory |
Dealing With Wet Insulation Behind Drywall
Insulation behind wet drywall often stays saturated long after the surface dries. You can’t see it, can’t feel it from the front, and moisture meters sometimes miss it if you’re only testing the drywall face.
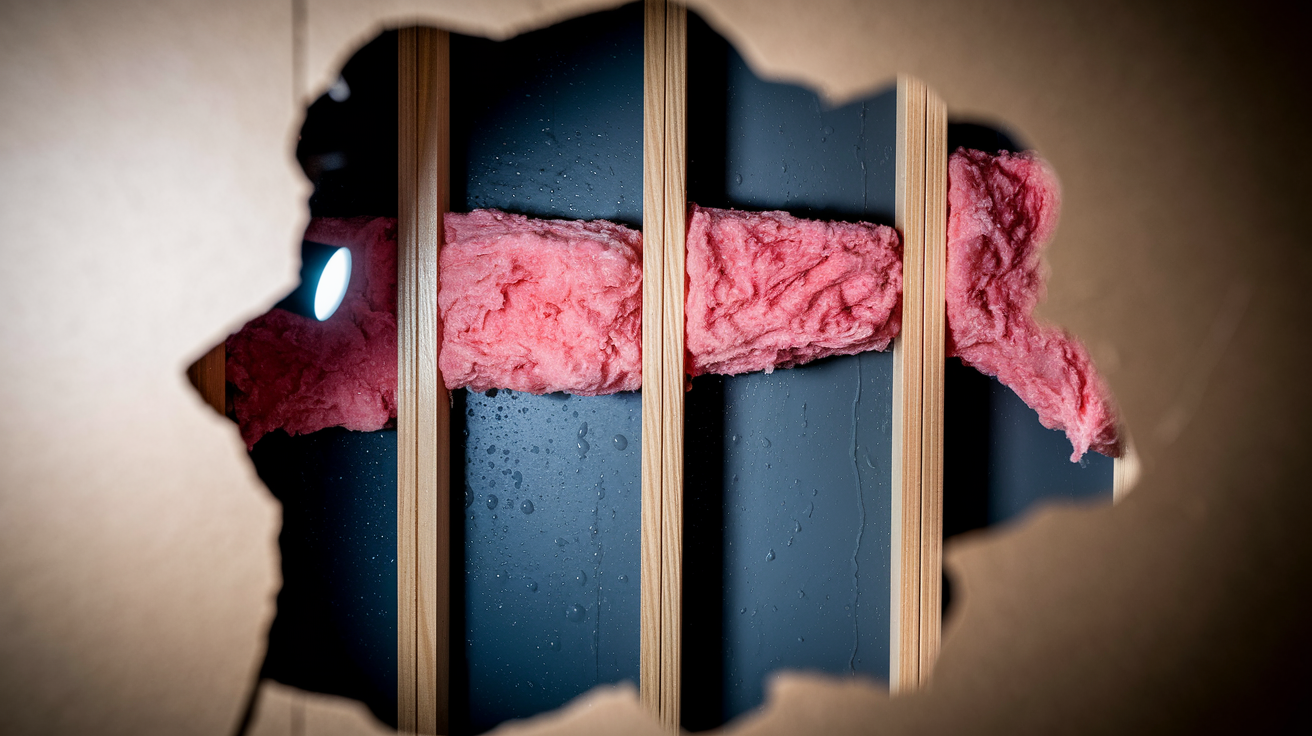
Wet fiberglass, cellulose, or foam loses R value and becomes a mold incubator. Wet insulation loses its R value and becomes a liability. Fiberglass compresses when wet and doesn’t spring back even after drying. Cellulose holds moisture for weeks. Spray foam can trap water against studs and sheathing. All three create long term moisture problems that guarantee mold growth inside your walls.
Check insulation condition by creating access holes to inspect the wall cavity. Use a penetrating moisture meter or make larger holes to examine studs and insulation for moisture. Cut a section of drywall about 4 inches square between studs, pull it out, and look inside with a flashlight. Squeeze the insulation if you can reach it. If water drips out or it feels heavy and damp, it must come out.
Wet insulation must be removed and replaced, which typically requires removing drywall sections regardless of surface condition. If moisture is present, walls need to be cut 2 or 4 feet up and wet insulation removed. You cannot dry wet insulation in place effectively. Leaving it guarantees mold clusters will form inside walls where you can’t see them until the smell becomes obvious or health problems develop. Remove the drywall, pull the wet insulation, let the stud cavity dry completely, then install new insulation before closing the wall back up.
Mold Growth Timeline and Comprehensive Remediation Requirements
If drywall has been wet for over 48 hours, there is a chance of mold growth. This industry standard 48 hour window is critical for salvage decisions. It’s the point where attempting to save wet drywall shifts from reasonable to risky.
In the first 24 to 48 hours, bacteria begin multiplying and ideal conditions develop for spore germination on paper backing and gypsum. Mold spores are everywhere in normal air, but they need moisture and organic material to germinate. Wet drywall provides both. The paper face and backer are cellulose, which mold loves. The gypsum core holds moisture in contact with that paper for extended periods.
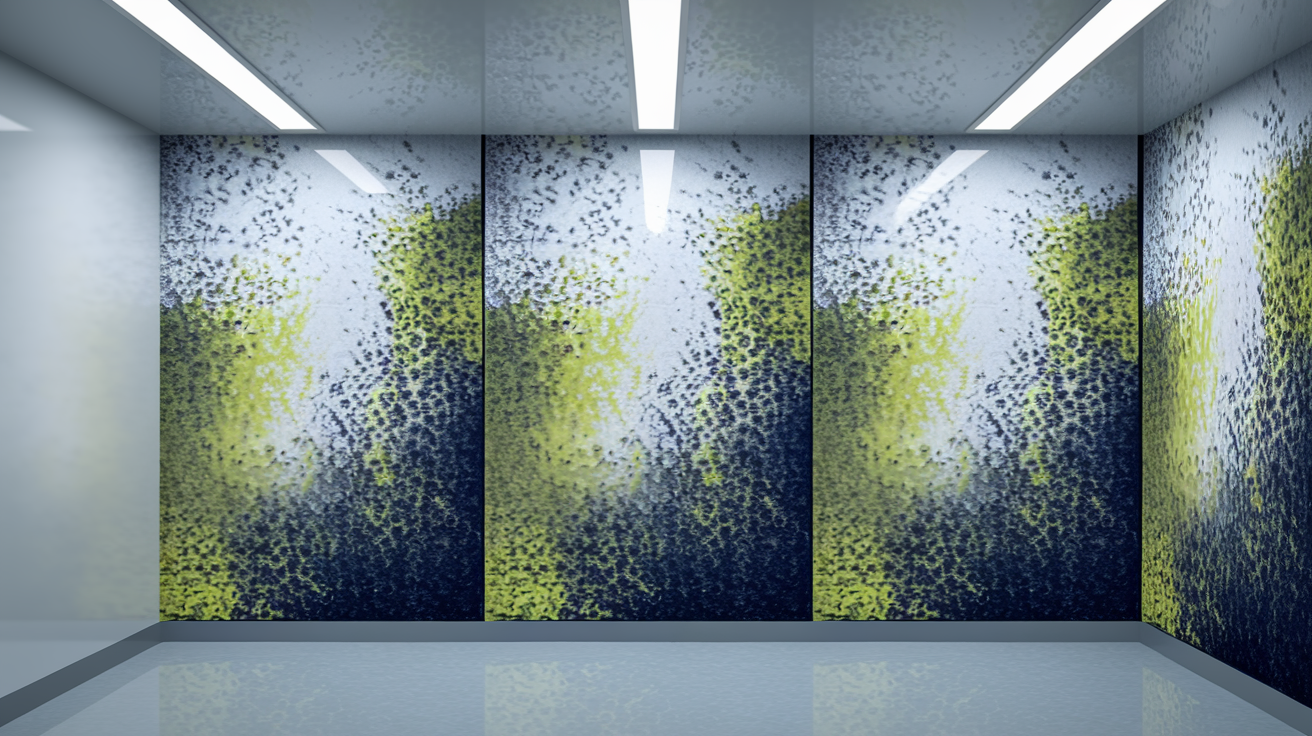
During the 48 to 72 hour timeframe, visible mold colonies begin forming, especially in hidden cavities behind walls and on insulation. Wet walls and insulation hold moisture for extended periods, allowing mold clusters to form inside walls. You might not see anything on the surface yet, but if you open the wall you’ll find fuzzy growth on the back of the drywall, on studs, and throughout wet insulation.
Beyond 72 hours, extensive mold growth occurs, air quality becomes compromised, replacement becomes mandatory, and health risks escalate. When mold grows, it releases spores into air circulation that can trigger allergic reactions ranging from congestion to severe asthma attacks. The longer contaminated drywall remains in place, the more spores spread throughout the home via HVAC systems and natural air movement.
Visible mold or musty odors indicate salvage is no longer an option. Removal and remediation are required. Drywall wet for more than 48 hours should be promptly removed and replaced to keep homes mold free. Once you can see or smell mold, the contamination has progressed beyond surface cleaning.
Proper remediation protocols include:
Containment with plastic sheeting and negative air pressure to prevent spore spread to clean areas. HEPA filtration during removal to capture airborne spores. Protective equipment (N95 masks minimum, respirators preferred for extensive contamination). Proper disposal in sealed bags taken directly outside. Antimicrobial treatment of studs and framing after drywall removal. IICRC certified professional services for areas larger than 10 square feet.
DIY mold removal often fails and creates larger contamination problems. Improper mold removal can spread spores throughout the home. Without proper containment, pulling down moldy drywall releases millions of spores that travel through air ducts, settle on furniture, and contaminate rooms far from the original damage. Incomplete removal allows regrowth from spores and mycelia left behind on studs, subfloor, or remaining materials. Professional removal by IICRC certified technicians is recommended because they understand containment, have proper equipment, and know how to verify complete removal before reconstruction begins.
Water Categories and Their Impact on Salvageability and Health Risks

Water source matters critically for salvage decisions. Contamination determines whether salvage is even safe to attempt. Not all water damage carries the same risk or allows the same response.
Category 1 is clean water from supply lines, burst pipes, or roof leaks. This offers the best salvage potential if dried quickly within 48 hours, and it presents minimal health risk during the drying process. You can handle wet materials without major safety concerns beyond electrical hazards and slip risks.
Category 2 is grey water from appliances, toilet overflow (no feces), or washing machines. It requires sanitizing, careful assessment, and often professional treatment because bacterial contamination is present. You shouldn’t attempt DIY salvage with Category 2 water unless the exposure was brief and you can sanitize all affected surfaces thoroughly. Gloves and eye protection become mandatory.
Category 3 is black water from sewage, flooding, or standing water. Drywall must be removed and replaced entirely due to severe health hazards and pathogen contamination. No salvage is possible. Category 3 water contains bacteria, viruses, parasites, and toxic chemicals. Any porous material that contacts it must be discarded. Attempting to save Category 3 damaged drywall creates serious illness risk for anyone living in the home.
Health and safety hazards from wet drywall and water damage include:
Mold spore inhalation and respiratory issues that worsen over time. Bacterial contamination from grey or black water exposure causing infections. Electrical shock risk from wet walls near outlets and wiring. Structural instability and potential collapse risk, especially with ceiling drywall. Allergen concentration triggering asthma and allergic reactions. Cross contamination to HVAC systems spreading throughout the home.
Electrical hazards deserve special attention. Power should be shut off to affected areas before any assessment or work begins. Water conducts electricity, and wet drywall in contact with energized wiring creates shock risk when you touch the wall surface, cut into it, or handle wet materials. The risk of energized wiring in wet wall cavities means you should never cut into a wet wall without confirming power is off at the breaker panel.
Drywall Repair Techniques After Water Damage

This guidance applies only after complete drying and when salvage has been deemed safe. If moisture readings are still elevated, if mold is present, or if the water category was 2 or 3, skip to replacement instead.
When minor water damage has been dried successfully within 24 to 48 hours and surfaces show no structural compromise, follow these repair steps:
- Sand any raised edges or bubbled areas with 120 grit sandpaper until smooth
- Apply stain blocking primer to prevent watermarks from bleeding through new paint
- Fill minor cracks or holes with joint compound using a putty knife
- Sand smooth when dry, feathering edges to blend with surrounding wall
- Apply finish primer over repaired areas
- Paint to match existing wall color
Repairs work only for minor water exposure with no structural compromise. Surface dampness that was caught immediately, dried within hours, and left no soft spots or discoloration can often be sanded and repainted successfully. Use a stain blocking primer. It stops tannins and water stains from showing through topcoat paint even after the wall is dry.
Anything beyond surface damage requires cutting out and replacing sections. For drywall repair techniques on larger holes or replaced sections, the process involves cutting clean edges, installing backer support, screwing in new drywall, taping seams, applying multiple coats of joint compound, sanding between coats, and finishing with primer and paint. If the damaged area exceeds 2 feet in any direction, or if multiple scattered areas need repair, consider hiring professional drywall contractors for faster, cleaner results.
Cost Considerations: DIY Drying vs. Professional Restoration

Typical DIY costs include dehumidifier rental at $30 to $50 per day, box fans you may already own or can buy for $20 to $40 each, and a moisture meter ranging from $30 to $150 depending on features. Add another $50 to $100 for supplies like contractor bags, cleaning materials, and protective equipment. A complete DIY drying attempt for a single room water event might run $100 to $300 if you act immediately and own some equipment already.
Professional restoration costs range from $500 to $3,000 or more depending on extent, and they include industrial equipment, labor, mold testing, and guaranteed results. A professional team brings truck mounted dehumidifiers, multiple air movers, moisture mapping technology, antimicrobial treatments, and the ability to complete drying in 3 to 5 days instead of the 7 to 14 days DIY methods typically require. You’re paying for speed, certainty, and equipment you can’t match with rental gear.
Hidden costs of failed DIY attempts include mold remediation later ($1,500 to $6,000), extensive replacement of materials you tried to save ($2,000 to $8,000), health issues from mold exposure, and insurance complications when delayed reporting allows damage to worsen. Attempting to save wet drywall risks mold growth if any moisture remains behind, so replacement is highly recommended when you’re uncertain about your ability to achieve complete drying. Many homeowners spend $200 on a DIY drying attempt, watch it fail over two weeks, then spend $3,500 on professional mold remediation and reconstruction. That turns a $700 professional drying job into a $3,700 total expense.
| Approach | Typical Cost Range | Best For |
|---|---|---|
| DIY drying and salvage | $100 to $300 | Clean water Category 1 caught within 24 hours with surface wetting only |
| Professional drying and assessment | $500 to $1,500 | Moderate damage 24 to 48 hours or uncertainty about extent |
| Full professional restoration | $1,500 to $5,000 or more | Category 2 or 3 water, any timeframe over 48 hours, or visible mold |
Preventing Future Water Damage to Drywall
Prevention is far more cost effective than remediation. A $200 investment in preventive maintenance beats a $3,000 water damage restoration bill every time.
Common water intrusion points homeowners should monitor include supply line connections under sinks and behind toilets, roof valleys and flashing, basement foundation walls during heavy rain, washing machine hoses, water heater connections, and HVAC condensate lines.
Prevention strategies that reduce water damage risk:
Regular roof inspection and maintenance, especially before winter and after storms. Pipe insulation in cold climates to prevent burst pipes during freezes. Sump pump installation and testing in basements prone to groundwater infiltration. Proper grading around foundation to direct water away from the home. Bathroom and kitchen waterproofing with proper ventilation and sealed surfaces. Leak detection system installation that alerts you to water flow when you’re away. Humidity control and ventilation in basements and crawl spaces. Regular plumbing inspection of supply lines, drain connections, and appliance hoses.
For homes in flood prone areas, basement waterproofing methods include interior and exterior drainage systems, sealant application, sump pump redundancy, and battery backup systems that continue operating during power outages that often accompany flooding events.
When Professional Assessment Is Non-Negotiable
Some water damage scenarios exceed DIY capabilities and require professional expertise from the start. Trying to handle them yourself wastes time during the critical first 48 hours and often makes damage worse.
Situations requiring professionals:
Category 2 or 3 water contamination from any source. Water exposure exceeding 48 hours before discovery. Visible mold growth already present. Ceiling drywall damage (collapse risk and difficult access). Structural sagging or instability in walls or floors. Electrical wiring concerns or water near the service panel. Insurance claim documentation needs requiring certified estimates.
Professional assessment offers benefits DIY approaches can’t match. Thermal imaging cameras identify hidden wet zones behind walls and under floors that you can’t see or reach with basic tools. Industrial dehumidifiers remove moisture in days instead of weeks. Certified mold testing provides lab results showing spore counts and species identification. Documentation for insurance includes moisture maps, photos, and detailed estimates that support your claim. Guaranteed restoration timelines get your home back to normal faster. Code compliance ensures repairs meet local building standards, which matters for safety and resale value.
Professional contractors have specialized drying equipment and techniques that may save drywall in some cases, particularly when response is immediate and equipment is deployed within hours. Check drywall condition as soon as possible before mold appears, and if the situation exceeds your equipment or expertise, call professionals immediately rather than attempting salvage and failing. Professional removal by IICRC certified technicians is recommended for all mold situations, all Category 2 or 3 water damage, and any scenario where you’re uncertain about the extent of damage or your ability to achieve complete drying within 48 hours.
Final Words
Can you save drywall that got wet? Yes, but only if you act fast with clean water and the right approach.
Stop the source, check the clock, and start drying within 24 hours. Past 48 hours or with contaminated water, cut it out and move to replacement.
Watch for soft spots, discoloration, and musty smells. Use a moisture meter or make small inspection holes to check what’s happening behind the surface.
Wet insulation and hidden mold turn salvage attempts into bigger problems. When in doubt, remove the damaged section and rebuild it right.
You’ve got the timeline, the tools, and the decision points. Now go handle it before it gets worse.
FAQ
Q: Is drywall ruined if it gets wet?
A: Drywall is not automatically ruined if it gets wet, but salvage depends on acting within 24-48 hours, the water being clean (Category 1), and saturation not being complete. Beyond 48 hours or with contaminated water, replacement becomes necessary.
Q: How to fix drywall that got wet?
A: To fix wet drywall, stop the water source immediately, remove standing water with towels or a wet vac, position high-velocity fans and run dehumidifiers continuously, and monitor moisture levels daily with a meter until completely dry.
Q: Can wet drywall be salvaged if dried?
A: Wet drywall can be salvaged if dried within 24-48 hours when exposed to clean water with only surface saturation. If drywall stays wet beyond 48 hours, contains contaminated water, or shows structural sagging, replacement is required.
Q: How long does it take drywall to dry after getting wet?
A: Drywall typically takes 3-5 days to dry completely when using fans and dehumidifiers continuously, but drying time depends on saturation depth, air circulation, humidity levels, and whether insulation behind the wall is also wet.
Q: What are the signs that wet drywall cannot be saved?
A: Wet drywall cannot be saved when showing discoloration or staining, sagging or bowing, soft spongy texture when pressed, crumbling edges, musty moldy odor, visible mold spots, or paint bubbling and peeling across large areas.
Q: Do I need to remove wet insulation behind drywall?
A: Wet insulation behind drywall must be removed and replaced because it stays saturated long after surfaces dry, loses its R-value, and creates a mold incubator even if the drywall appears salvageable on the surface.
Q: When does mold start growing on wet drywall?
A: Mold starts growing on wet drywall within 48-72 hours of water exposure. Bacteria begin multiplying in the first 24 hours, spores germinate on paper backing within 48 hours, and visible mold colonies form after 72 hours.
Q: What is the difference between Category 1, 2, and 3 water damage?
A: Category 1 water damage comes from clean supply lines with best salvage potential, Category 2 grey water from appliances requires sanitizing and careful assessment, and Category 3 black water from sewage or flooding requires complete drywall removal.
Q: How high should I cut wet drywall for removal?
A: Cut wet drywall 2 feet above visible damage for minor exposure and 4 feet high for extensive saturation. This cutting height prevents hidden mold from remaining in wall cavities and ensures complete removal of compromised material.
Q: Can I dry wet drywall myself or do I need professionals?
A: You can dry wet drywall yourself if it’s clean Category 1 water caught within 24 hours with surface wetting only. Professional restoration is necessary for moderate damage, exposure beyond 48 hours, contaminated water, or visible mold.
Q: What equipment do I need to dry wet drywall?
A: To dry wet drywall you need high-velocity fans aimed at wet areas, dehumidifiers running continuously, a moisture meter to monitor progress, towels or a wet vac for standing water removal, and access after removing baseboards.
Q: Should I replace ceiling drywall that got wet?
A: Replace ceiling drywall that got wet because ceiling materials pose collapse risk when saturated, hold moisture longer than walls, and create serious safety hazards. Professional assessment is non-negotiable for wet ceiling drywall regardless of water category.
Q: How do I test moisture levels in drywall?
A: Test moisture levels in drywall using a non-penetrating moisture meter on surfaces, or remove baseboards and use a screwdriver to test texture (soft indicates saturation). For interior walls, use penetrating meters or create inspection holes.
Q: What causes wet drywall to fail structurally?
A: Wet drywall fails structurally when water breaks down the gypsum core and paper backing, causing the material to become soft, weak, and unable to support its own weight. Complete saturation leads to sagging, bowing, and eventual collapse.
Q: Does homeowners insurance cover wet drywall replacement?
A: Homeowners insurance typically covers wet drywall replacement from sudden events like burst pipes but may exclude gradual leaks or flood damage requiring separate flood insurance. Professional assessment provides necessary documentation for claims and code compliance verification.
