
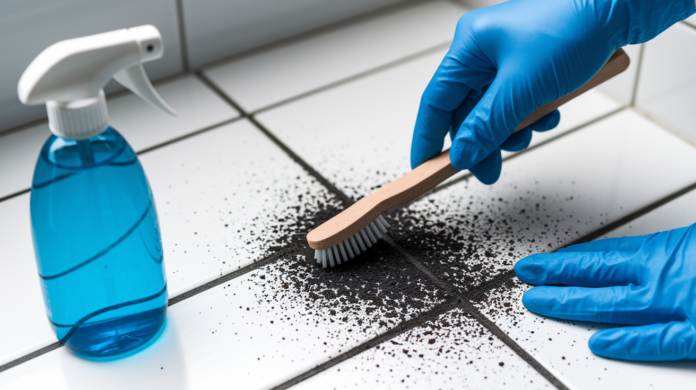
You probably think a little mold on tile is no big deal. But here’s the truth: if it’s visible, it’s already spreading roots into your grout, and surface wiping won’t stop it. Mold grows fast in damp spaces, and grout’s porous structure holds moisture like a sponge, feeding the problem even when everything looks dry. The good news? You can clean it safely and stop it from coming back if you use the right process, the right solutions, and skip the guessing.
Complete Guide to Removing Mold from Tile and Grout
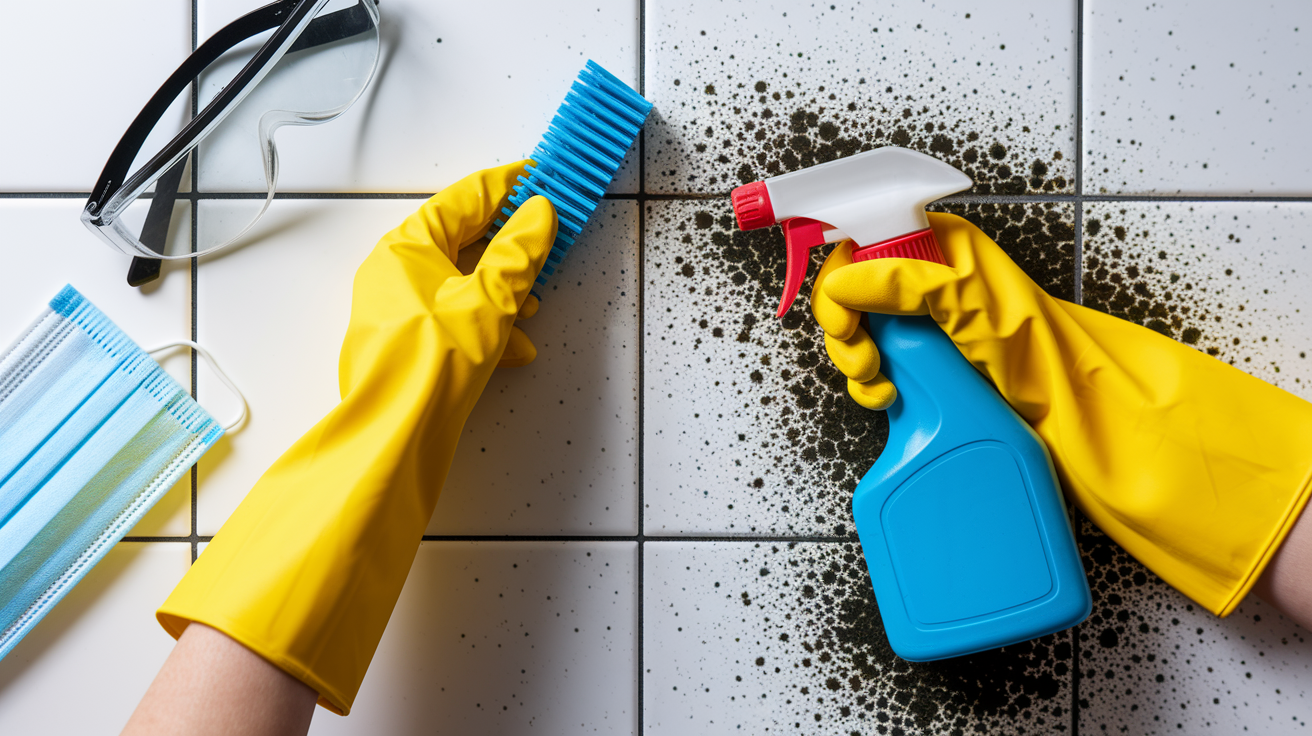
Mold on your tile needs attention now. You need a clear plan that gets you from prep through cleanup without backtracking.
Here’s the process:
-
Prepare safety equipment and ventilate the area. Put on rubber gloves, protective eyewear, and an N95 mask to protect against mold spores and fumes. Open windows in the room and adjacent spaces to create airflow. Turn on the exhaust fan if you’ve got one. Proper ventilation keeps spore levels low while you work.
-
Gather cleaning materials before you start. You’ll need a spray bottle or bucket, a stiff nylon brush for tile surfaces, an old toothbrush for grout lines and corners, several microfiber cloths, and a sponge. Having everything within reach prevents interruptions once you apply cleaning solution.
-
Select and prepare cleaning solution based on mold severity. For light mold, use undiluted white vinegar straight from the bottle or make a baking soda paste by mixing baking soda with just enough water to form a spreadable consistency. For moderate mold, grab 3% hydrogen peroxide solution (standard drugstore stuff). For stubborn black or green mold, mix diluted bleach at ⅓ cup bleach per 1 gallon of water. Never mix bleach with vinegar or ammonia. Doing so creates dangerous fumes that can cause serious respiratory harm.
-
Apply solution generously to all affected tile and grout surfaces. Spray or sponge the solution onto every visible spot of mold, whether it’s black, green, gray, or brown. Cover the entire affected area, not just the darkest spots. Mold you can’t see may still be there.
-
Allow proper dwell time for solution to penetrate mold structure. This step matters. Vinegar needs 1 hour to work into the mold. Hydrogen peroxide requires 10 minutes. Bleach solution needs 10 to 15 minutes. Baking soda paste only needs a few minutes. Don’t skip this. The solution breaks down mold’s structure during dwell time, making removal far more effective.
-
Scrub thoroughly using appropriate tools. Use your stiff brush on tile surfaces with circular motions and moderate pressure. Switch to the old toothbrush for grout lines and tight corners where the larger brush won’t fit. Avoid metal brushes. They erode grout surfaces and create more places for mold to hide later.
-
Rinse completely with clean water. Use a sponge and fresh water to remove all cleaning residue and loosened mold particles. Rinse the sponge frequently in clean water. Any solution left behind can leave residue that attracts dirt.
-
Dry surfaces thoroughly and completely. Use absorbent microfiber cloths to wipe down all walls and surfaces. Remove every bit of moisture you can reach. Damp surfaces invite mold back within 24 to 48 hours.
Bathroom tile mold appears most often in shower corners, along grout lines near fixtures, and at tub edges where constant steam and poor ventilation create ideal conditions. Vertical shower walls need different handling than floor tiles. Solution runs down walls before dwell time completes, so you may need to reapply partway through the waiting period. Target areas where water pools or where moisture hangs around after showers, like the lip where tile meets the tub.
Complete drying and visual inspection come next. Check grout lines closely with good lighting. Grout is porous and absorbs moisture deep inside, so surface cleaning may not reach embedded mold. If you still see dark spots in grout after scrubbing and rinsing, the mold has penetrated below the surface. Run your exhaust fan for 20 minutes after cleaning to pull remaining moisture from the air and surfaces. The area should feel dry to the touch before you consider the job done.
Understanding Grout Porosity and Mold Penetration
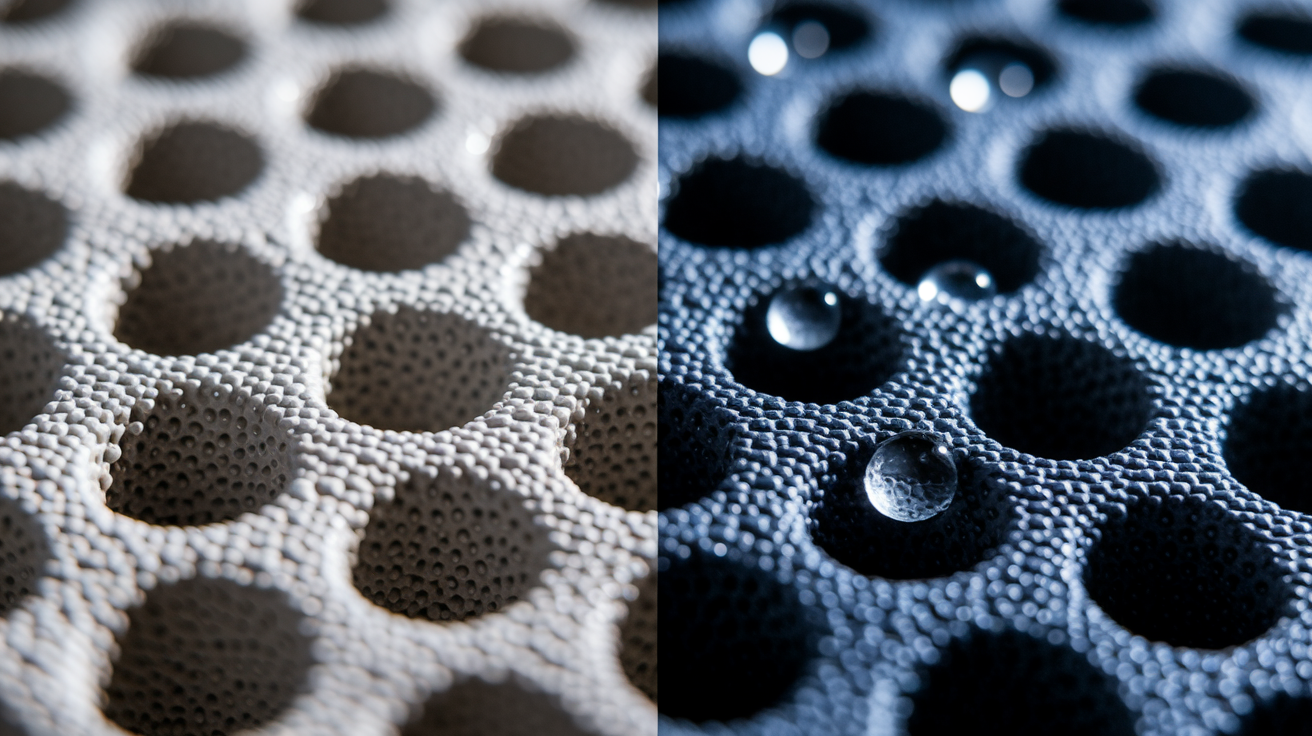
Grout absorbs water like a sponge because of its porous structure. Unlike smooth, non-porous tile surfaces that shed water, grout lines soak up moisture and hold it inside tiny air pockets throughout the material. This creates an ideal breeding ground for mold in moisture prone areas like bathrooms and kitchens. Even if tile surfaces look dry, grout can stay damp inside for hours or days.
The EPA states mold can begin growing on wet grout within 24 to 48 hours if moisture isn’t controlled. That’s why a single wet weekend or a few days of high humidity can turn clean grout lines into a mold problem. Once mold establishes itself inside porous grout, surface cleaning may kill visible growth but leave roots embedded deeper in the material. This is why the same spots keep coming back even after you clean them.
Sealing grout creates a moisture repelling barrier that prevents water absorption in the first place. Apply grout sealer once or twice a year after cleaning and drying the area completely. The sealer soaks into the grout and fills those tiny pockets, blocking water and mold spores from penetrating. You’ll know it’s time to reseal when you notice water soaking into grout instead of beading up on the surface. Most sealers come in spray or brush on forms and take just minutes to apply per section of tile.
Preventing Mold Regrowth on Tile and Grout

Prevention takes less effort than repeated scrubbing, and small consistent actions stop mold before it starts.
Here are six steps that address the root causes:
-
Maintain humidity between 30 and 50 percent. Use a dehumidifier in moisture prone rooms and a hygrometer to monitor levels. High humidity feeds mold growth even when surfaces look dry.
-
Run your exhaust fan for 20 minutes or more after showering or bathing. This pulls steam and moisture out of the room before it settles into grout lines and corners.
-
Squeegee tile surfaces immediately after water exposure. A quick pass with a squeegee after every shower removes standing water before it soaks into grout. It takes 30 seconds.
-
Clean tiles weekly with a mild solution. A light spray of diluted vinegar or a quick wipe with soapy water removes soap scum and organic material that mold feeds on, especially in grout lines and corners.
-
Ensure proper air circulation. Keep bathroom doors open when not in use, crack windows during showers if weather permits, and don’t block vents with shower curtains or storage items.
-
Fix leaks and water damage promptly. A dripping faucet or loose showerhead may seem minor, but constant moisture around fixtures creates perfect conditions for mold. For broader guidance on addressing water issues before they cause lasting damage, see Preventing Water Damage in Your Home.
Consistent small actions prevent the kind of major mold problems that require bleach, hours of scrubbing, and potential health concerns. A few minutes of maintenance each week beats spending an afternoon attacking stubborn black stains with harsh chemicals.
Tile Types and Mold Cleaning Considerations
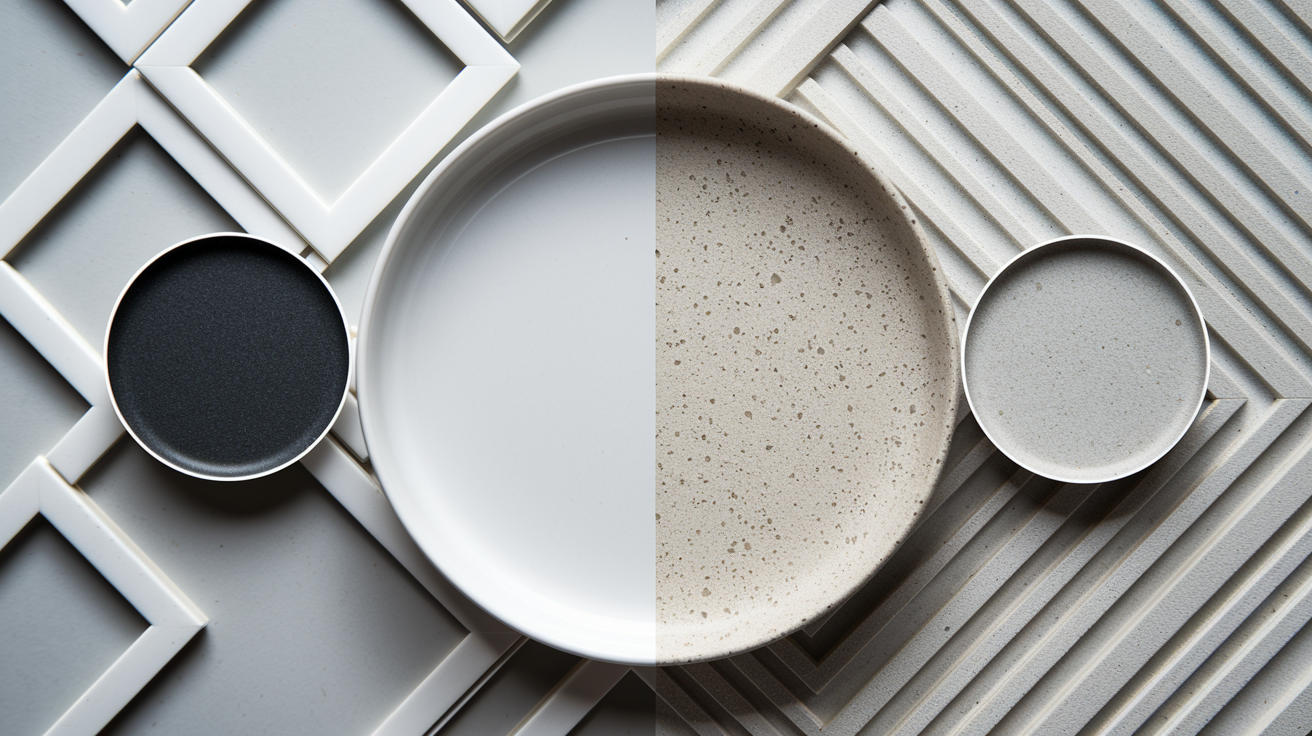
Ceramic and porcelain tiles respond differently to mold and cleaning methods. Ceramic tile has a more porous surface that can absorb moisture if the glaze is damaged or worn, making it slightly more vulnerable to mold in high moisture areas. Porcelain tile is denser and less porous, so it resists water absorption and mold growth better over time. Both clean effectively with the same solutions, but older ceramic tile with surface cracks may need gentler scrubbing to avoid enlarging existing damage.
Floor tiles and wall tiles require different approaches even when mold looks the same. Floor tiles deal with standing water, foot traffic, and water that pools in low spots, so mold often appears in grout joints and areas where water doesn’t drain quickly. Wall tiles in showers face constant splash and steam, with mold concentrating in top corners, along caulk lines, and near fixtures where water runs down and collects. Vertical surfaces also mean cleaning solution runs off faster, so you may need to reapply to maintain proper dwell time.
Specialty tiles like natural stone, travertine, or unsealed Mexican tile require gentler cleaning methods. Acidic solutions like vinegar can etch natural stone surfaces, and harsh scrubbing can damage softer materials. If you’re working with anything other than standard glazed ceramic or porcelain, test your chosen cleaning solution on an inconspicuous spot first or stick with pH neutral cleaners designed for natural stone.
Dealing with Stubborn Mold Stains and Black Mold
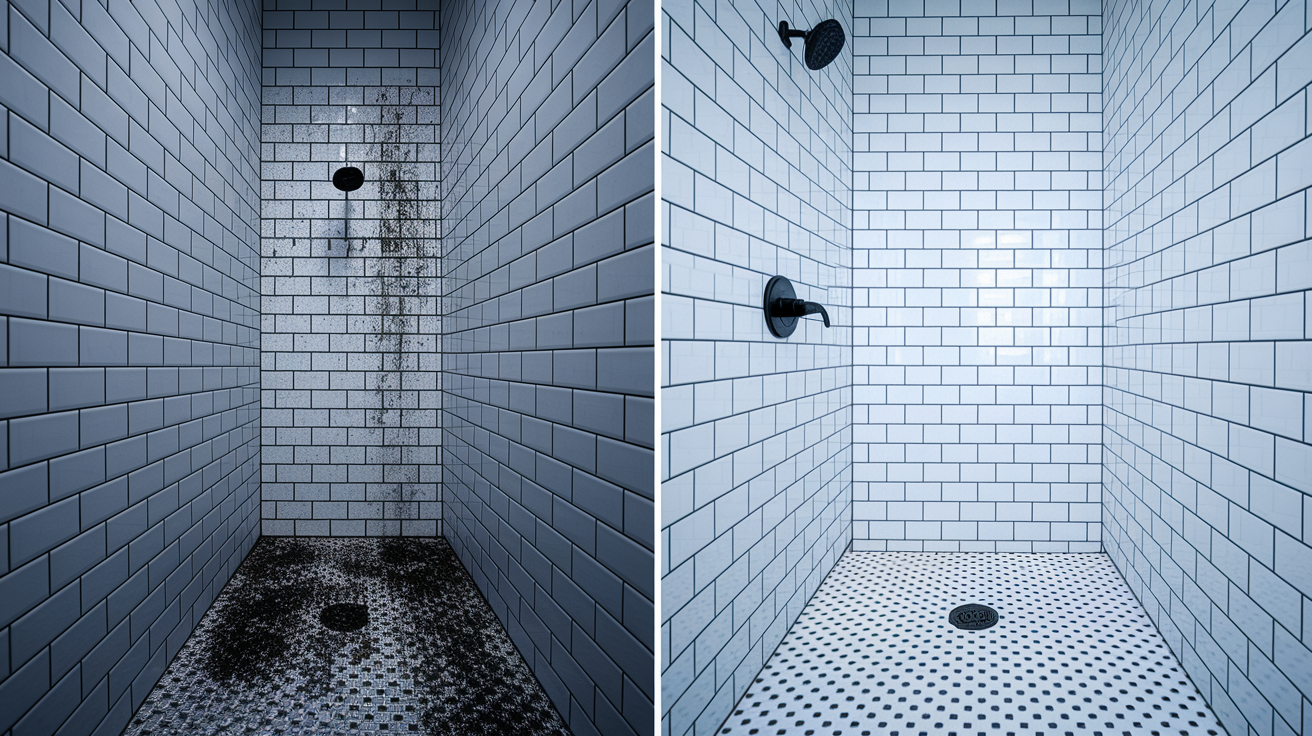
Some mold stains resist your first cleaning attempt, especially in grout that hasn’t been cleaned regularly or where mold has been growing for weeks or months.
| Mold Severity | Recommended Solution | Contact Time | Repeat Treatment |
|---|---|---|---|
| Light surface mold | Undiluted white vinegar or baking soda paste | 1 hour (vinegar) or few minutes (paste) | Usually not needed |
| Moderate staining | 3% hydrogen peroxide sprayed directly | 10 minutes | Second application if stains remain |
| Stubborn/deep stains | Bleach solution (⅓ cup per gallon water) | 10 to 15 minutes | May require 2 to 3 treatments over several days |
Black mold (which can appear dark green or black) often indicates growth that has penetrated into grout or is feeding on organic material like soap scum buildup. It typically feels slimy or looks fuzzy rather than just appearing as a flat stain. Black mold requires more aggressive treatment because surface cleaning may not reach the roots. If light cleaning doesn’t remove it, escalate to hydrogen peroxide or a bleach solution and increase dwell time to the full recommended duration.
Signs that mold has penetrated beyond surface level include stains that return within days after cleaning, discoloration that goes deep into grout lines even after scrubbing, or a musty smell that persists after the area is cleaned and dried. When mold has rooted this deep, you may need to remove and replace affected grout sections rather than continuing to clean the same spots repeatedly.
Health Risks and Warning Signs of Tile Mold Exposure

Mold exposure causes respiratory issues, skin irritation, and allergic reactions through spores released into the air when mold is disturbed or actively growing. Common symptoms include coughing, sneezing, throat irritation, watery eyes, and skin rashes after spending time in affected areas. Even small amounts of mold can trigger these reactions in sensitive individuals.
Children, older adults, and people with respiratory conditions like allergies or asthma face higher risks from mold exposure. Those with compromised immune systems may develop more severe reactions, including respiratory infections. The CDC warns that extended mold exposure can trigger asthma attacks, allergic reactions, and chronic sinus problems even in people who previously had no respiratory issues.
If you experience worsening symptoms when entering a room with visible mold, difficulty breathing that starts after cleaning moldy areas, or persistent respiratory problems that improve when you leave the house, these warrant immediate action. Small surface mold generally isn’t harmful if you clean it promptly with proper protection, but heavy exposure during cleaning or living with active mold growth for extended periods creates real health risks. When symptoms are severe or persistent, remove yourself from the affected space and consider professional assessment before attempting further cleaning.
When to Call Professional Mold Remediation Services
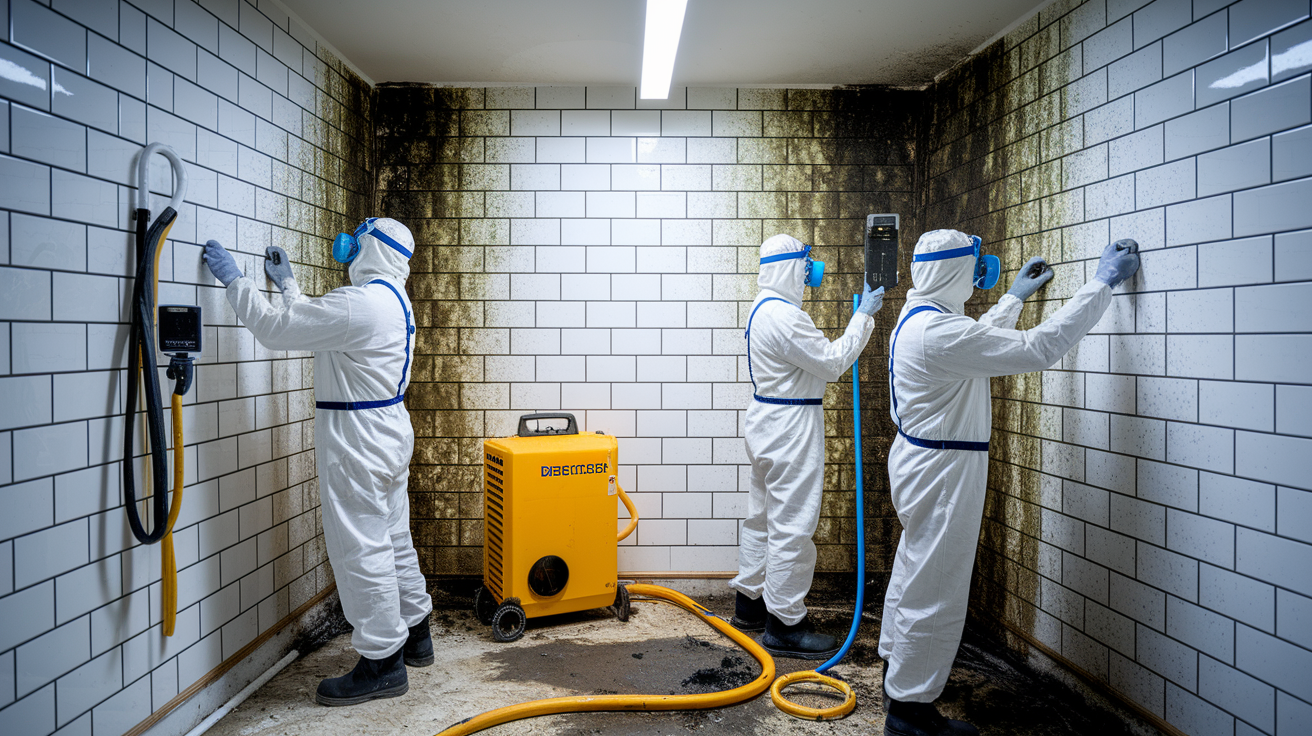
Some mold situations exceed what you can safely and effectively handle with household cleaning supplies and basic tools.
Watch for these warning signs that indicate professional help is necessary:
Mold covering more than 10 square feet of surface area. Mold returns within weeks after thorough cleaning and drying. Visible water damage or active leaks behind tiles or in walls. Musty odor persists even after cleaning all visible mold. Mold discovered in your HVAC system or behind walls during renovation. Health symptoms worsen when spending time in the affected room. Uncertainty about mold type or concern about potential toxic black mold.
Professional remediation services follow EPA and IICRC standards for complete mold containment and elimination. They use high grade equipment like commercial steam cleaners, EPA approved fungicides, and negative air machines that prevent spore spread during removal. Professionals also identify hidden mold growth within porous surfaces and behind tiles that you can’t see from surface inspection. They can preserve tile and grout integrity during removal without causing damage that creates more moisture entry points. If recurring mold indicates hidden water leaks, poor ventilation, or structural moisture problems, professional assessment identifies and addresses the underlying cause. For situations involving significant water intrusion or uncertainty about next steps, see When to Call a Professional for Water Damage.
Maintenance Schedule for Mold Free Tile Surfaces
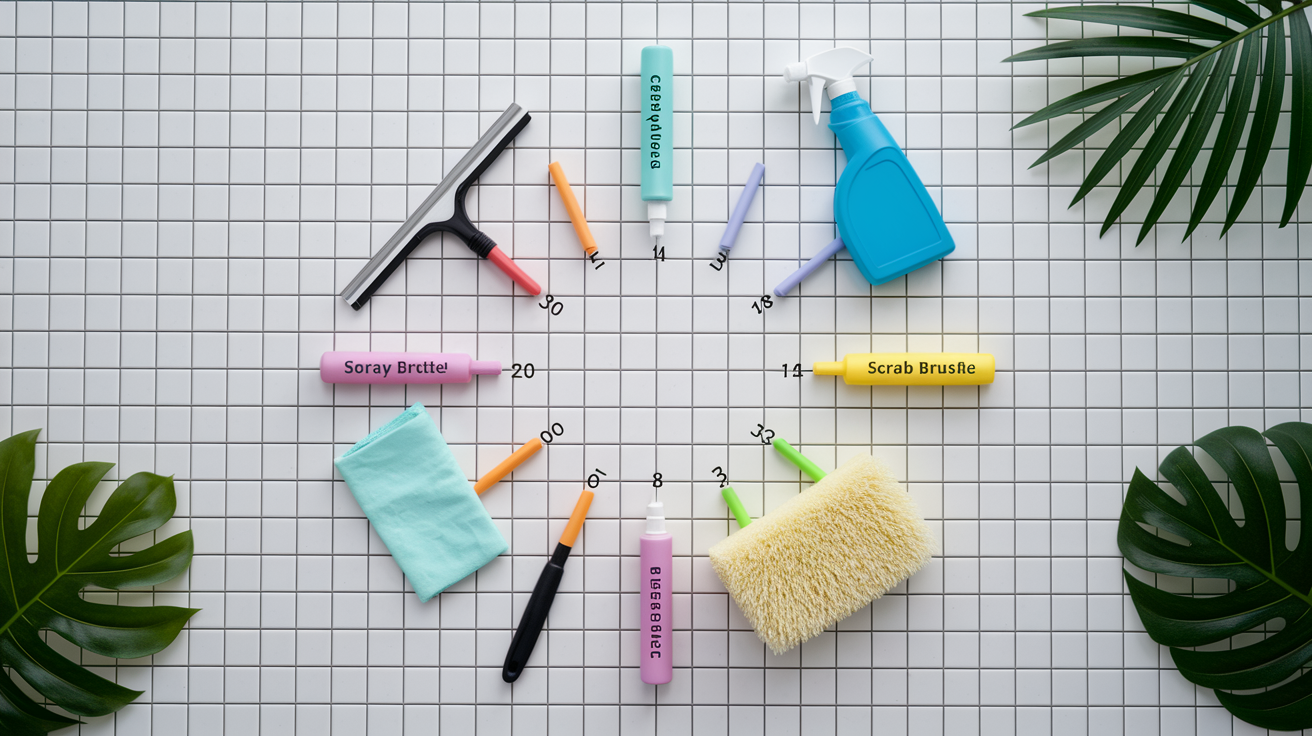
Preventive maintenance is easier than facing a major mold problem later, and a simple schedule keeps tile surfaces clean without constant deep cleaning sessions.
| Task | Frequency | Time Required | Purpose |
|---|---|---|---|
| Squeegee and wipe down after use | Daily | 2 minutes | Remove standing water before it soaks into grout |
| Light spray cleaning | Weekly | 10 minutes | Remove soap scum and prevent organic buildup |
| Deep scrub with cleaning solution | Monthly | 30 to 45 minutes | Clean grout lines thoroughly and treat early mold spots |
| Grout line inspection | Quarterly | 5 minutes | Check for damage, missing sections, or persistent dampness |
| Grout resealing | Annual (or twice yearly in high moisture areas) | 20 to 30 minutes | Restore moisture repelling barrier in porous grout |
Routine maintenance saves time and money over the long run by preventing the kind of embedded mold growth that requires harsh chemicals, multiple treatment cycles, or grout replacement. A few minutes each day and a slightly longer session once a month keeps mold from ever becoming a serious problem in the first place.
Alternative Tile Mold Removal Methods and Tools
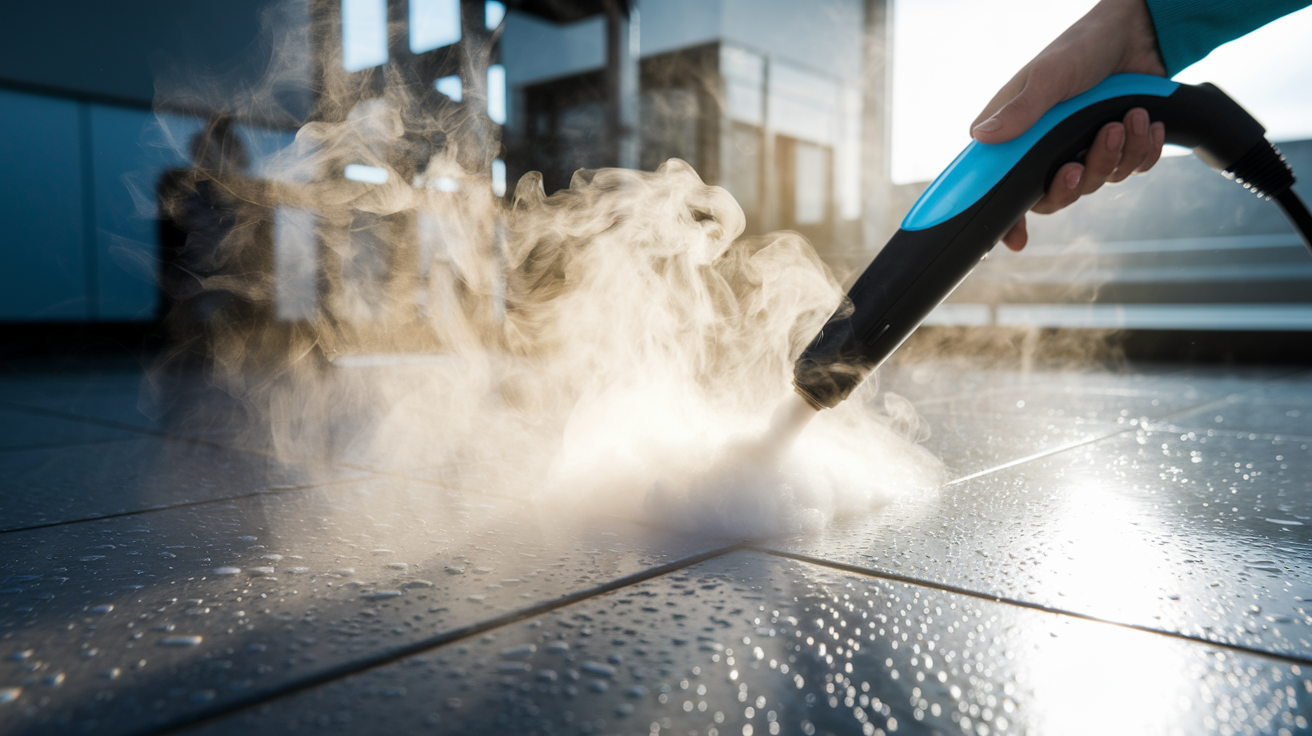
Steam cleaning kills mold with high temperature heat rather than chemicals, making it an effective option for people sensitive to cleaning solutions or concerned about chemical use around children and pets. A steam cleaner heats water above 200°F and directs pressurized steam at tile and grout surfaces. The heat penetrates porous grout and kills mold spores on contact without leaving residue. Steam cleaning works best for regular maintenance and light to moderate mold growth, though it may not remove deep staining in grout.
Oxygen bleach offers a safer alternative to chlorine bleach with less odor and no toxic fumes. Mix oxygen bleach powder with warm water according to package directions (typically 1 to 2 tablespoons per gallon). Apply the solution to affected areas, allow 15 to 20 minutes of dwell time, then scrub and rinse. Oxygen bleach breaks down into water and oxygen, making it environmentally friendly. It won’t work as quickly on heavy mold as chlorine bleach, but it’s gentler on grout and safer to use in enclosed spaces.
Borax solution provides natural mold inhibition properties that prevent regrowth after cleaning. Mix ½ cup borax powder with 1 gallon of hot water, stirring until dissolved. Apply with a sponge or spray bottle, scrub affected areas, and rinse lightly. You can leave a thin borax residue on the surface to discourage future mold growth. Borax has low toxicity compared to bleach and doesn’t produce harmful fumes, though you should still wear gloves during application.
Commercial anti-fungal sprays and mold inhibitors are formulated specifically for bathroom surfaces and often contain ingredients that both kill existing mold and prevent new growth. These ready to use products typically require 5 to 10 minutes of contact time when sprayed 4 to 6 inches from the surface. Read labels carefully, as some products are designed for prevention only and won’t remove heavy staining, while others combine cleaning and inhibiting properties in one formula.
Fixing Underlying Issues Causing Tile Mold Growth

Cleaning mold without fixing the moisture source guarantees it’ll come back, usually within a few weeks and often in the exact same spots.
Here are five common moisture sources and how to address them:
-
Leaking shower valve or faucet. Drips behind the handle or at the spout create constant moisture on tile surfaces. Replace worn cartridges or washers, or hire a plumber if the valve body itself is damaged. A steady drip wastes water and feeds mold growth 24 hours a day.
-
Damaged grout lines. Cracks, gaps, or crumbling grout let water seep behind tiles and into wall cavities where you can’t reach it. Remove damaged grout with a grout saw or oscillating tool, clean the joint thoroughly, and apply fresh grout. Let it cure completely before getting the area wet again.
-
Failed caulking around tub or shower. Old caulk shrinks, cracks, or pulls away from surfaces, allowing water to run behind the tub surround or shower pan. Remove all old caulk with a utility knife or caulk removal tool, clean and dry the joint, then apply fresh 100% silicone caulk. This is one of the most common water entry points.
-
Cracked or broken tiles. Individual damaged tiles let water reach the substrate underneath. Carefully remove the broken tile, scrape away old thinset, and install a replacement tile. Make sure to seal the new grout joints once they cure.
-
Hidden plumbing leaks. Slow leaks from supply lines, drain connections, or pipes inside walls often go unnoticed until mold appears. If you have recurring mold with no obvious source, or if walls feel soft or damp to the touch, you need professional inspection. A plumber can use moisture meters and thermal imaging to locate hidden leaks without unnecessary demolition.
Waterproofing and structural repairs are investments in preventing mold long term. Spending a few hours and modest money on proper repairs now prevents the much larger expense of extensive mold remediation, tile replacement, or structural damage from ongoing water intrusion later.
Final Words
Knowing how to clean mold off tile comes down to the right sequence: ventilate first, pick the right solution for the severity, let it work, scrub thoroughly, and dry completely.
If you stay consistent with weekly cleaning and keep humidity in check, you’ll spend a lot less time scrubbing grout lines down the road.
And if mold keeps coming back or covers more than you can safely handle, don’t wait. Call a pro, fix the leak, and move on with a dry, clean space.
FAQ
What gets rid of mold on tile?
Mold on tile gets rid of most effectively using white vinegar, hydrogen peroxide, or diluted bleach solutions applied with proper dwell time and scrubbing. Allow the cleaning solution to sit for 10 to 15 minutes before scrubbing with a stiff-bristled nylon brush.
Is bleach or vinegar better for killing mold?
Bleach or vinegar depends on the mold severity and surface type. Vinegar kills up to 80% of mold species safely without toxic fumes, while diluted bleach (⅓ cup per gallon of water) removes stubborn stains but creates dangerous fumes when mixed with other cleaners.
What kills 100% of mold?
No single household product kills 100% of all mold species, but hydrogen peroxide at 3% concentration penetrates and kills mold at the roots when left for 10 minutes before scrubbing. Professional remediation uses EPA-approved fungicides and specialized equipment for severe infestations beyond DIY capability.
Does Clorox kill mold on tiles?
Clorox kills mold on tiles when diluted properly at ⅓ cup bleach per gallon of water and allowed to remain wet on surfaces for 10 to 15 minutes. Never mix bleach with vinegar, ammonia, or other cleaners as this creates dangerous toxic fumes requiring proper ventilation and protective equipment.
How long should cleaning solution sit on moldy tile before scrubbing?
Cleaning solution should sit on moldy tile for 10 to 15 minutes for bleach or hydrogen peroxide, or up to 1 hour for white vinegar. This dwell time breaks down mold structure and allows the solution to penetrate porous grout lines where mold embeds.
What’s the safest way to remove mold from bathroom tile?
The safest way to remove mold from bathroom tile involves wearing rubber gloves, protective eyewear, and an N95 mask while ventilating the room with open windows and exhaust fans. Use undiluted white vinegar or baking soda paste for light mold to avoid harsh chemical exposure.
Why does grout get moldy faster than tile?
Grout gets moldy faster than tile because grout is porous and absorbs moisture easily, creating ideal conditions for mold growth in humid bathroom conditions. Sealed tile surfaces repel water while unsealed grout lines absorb it, allowing mold spores to penetrate and establish growth within 24 to 48 hours.
How often should you clean tile to prevent mold?
You should clean tile weekly with mild natural solutions to prevent mold growth by removing soap scum and moisture that mold feeds on. Monthly deep cleaning with proper scrubbing of grout lines and corners prevents mold establishment before it becomes visible.
Can you use a toothbrush to clean mold from grout lines?
You can use an old toothbrush to clean mold from grout lines effectively by applying cleaning solution and scrubbing with circular motions. The small bristles reach tight corners and narrow grout lines where larger brushes cannot access embedded mold spores.
When should you call a professional for tile mold removal?
You should call a professional for tile mold removal when mold covers more than 10 square feet, returns within weeks after thorough cleaning, or appears alongside visible water damage. Professional remediation follows EPA and IICRC standards using specialized equipment beyond DIY capability.
How do you dry tile completely after cleaning mold?
You dry tile completely after cleaning mold by wiping down all walls and surfaces with absorbent microfiber cloths to remove moisture immediately. Run the exhaust fan for 20 minutes after cleaning to ensure the area is completely dry and prevent mold regrowth.
What humidity level prevents mold on bathroom tile?
Humidity levels between 30% and 50% prevent mold on bathroom tile by creating conditions too dry for mold establishment. Use a hygrometer to monitor levels and run dehumidifiers or exhaust fans for at least 20 minutes after showering to reduce moisture.
Should you seal grout after removing mold?
You should seal grout after removing mold by applying grout sealer once or twice a year to create a moisture-repelling barrier. This sealing process prevents water absorption in porous grout and makes future cleaning easier while reducing mold recurrence.
What causes black spots on shower grout?
Black spots on shower grout are caused by mold growth fed by excess moisture from frequent steam, poor ventilation, and lingering water on porous grout surfaces. Grout absorbs water easily, creating warm, damp conditions ideal for black, green, or gray mold establishment.
Can steam cleaning remove mold from tile?
Steam cleaning can remove mold from tile using high-temperature steam that kills mold with heat penetration without chemicals. Professional cleaners use high-grade steam cleaners for thorough mold eradication, though DIY methods with proper cleaning solutions work for most surface mold.