

Your primary sump pump works great until the power goes out or the pump itself fails. Then what? Standing water starts creeping up your basement floor while you scramble for solutions. A battery backup sump pump kicks in automatically when your main pump can’t, giving you protection during storms and outages when you need it most. Installing one yourself takes about three to four hours if you follow the right sequence, connect the plumbing correctly, and set up the battery system so it actually works when called on.
Tools and Materials Required for Installation

Getting everything together before you start saves time and keeps you from running to the hardware store halfway through the job. Installing a battery backup sump pump needs basic hand tools plus specific parts that work as one complete system.
Tools:
- Screwdriver set (flathead and Phillips)
- Adjustable wrench or socket set
- Hacksaw or PVC pipe cutter
- Drill with assorted bits
- Measuring tape
- Level
- Bucket for water removal
- Wire brush (for cleaning battery terminals)
Materials:
- Battery backup sump pump kit
- 12-volt deep-cycle marine battery
- Protective plastic battery box
- Battery charger with monitoring circuit
- Check valve (if not included in kit)
- 1.5-inch diameter PVC pipe
- Rubber connectors (multiple sizes)
- Stainless steel hose clamps
- Teflon tape (thread seal tape)
- PVC cement and primer
- Pipe straps or hangers
Most kits include the pump unit, float switch assembly, and basic mounting hardware. Some come with check valves and short sections of connecting pipe. The deep-cycle marine battery and charger are almost always sold separately. You’ll need to buy PVC piping based on your specific discharge setup. If your existing discharge uses different pipe sizes or needs major changes, plan to grab additional fittings, adapters, and longer pipe sections.
Preparing Your Existing Pump and Sump Pit
Solid prep work prevents headaches during installation and makes sure both pumps can operate without getting in each other’s way.
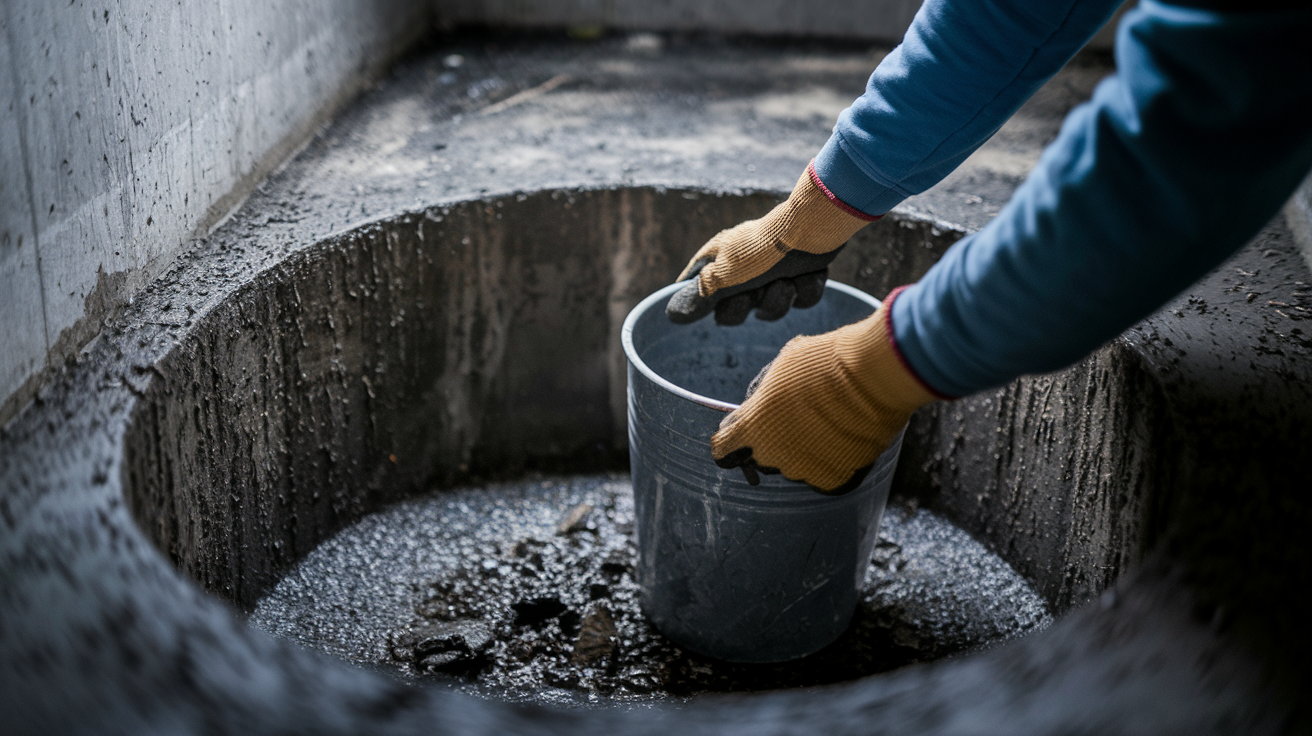
Unplug the primary sump pump first. Check the pit for debris like gravel, dirt, or sediment sitting on the bottom. Scoop out any buildup and wipe down the pit walls. Look for cracks or damage to the liner that might need fixing before you install new equipment. Measure your pit’s depth and diameter to confirm the backup pump fits properly alongside the primary without crowding.
Take a good look at your current discharge pipe setup. Note where the primary pump discharge connects to the main PVC line carrying water out of the basement. You’ll install the check valve somewhere in this vertical section, typically right above the primary pump outlet. Measure the distance between the pump discharge and any elbows or horizontal runs. This tells you how much space you’ve got for adding the check valve and connecting the backup pump.
Make sure there’s enough room in the pit for both float switches to move freely. The primary pump typically has a tethered float or vertical float rod, and the backup adds a second float mechanism. These need to operate at slightly different water levels without tangling or blocking each other.
Complete Plumbing Connection Process
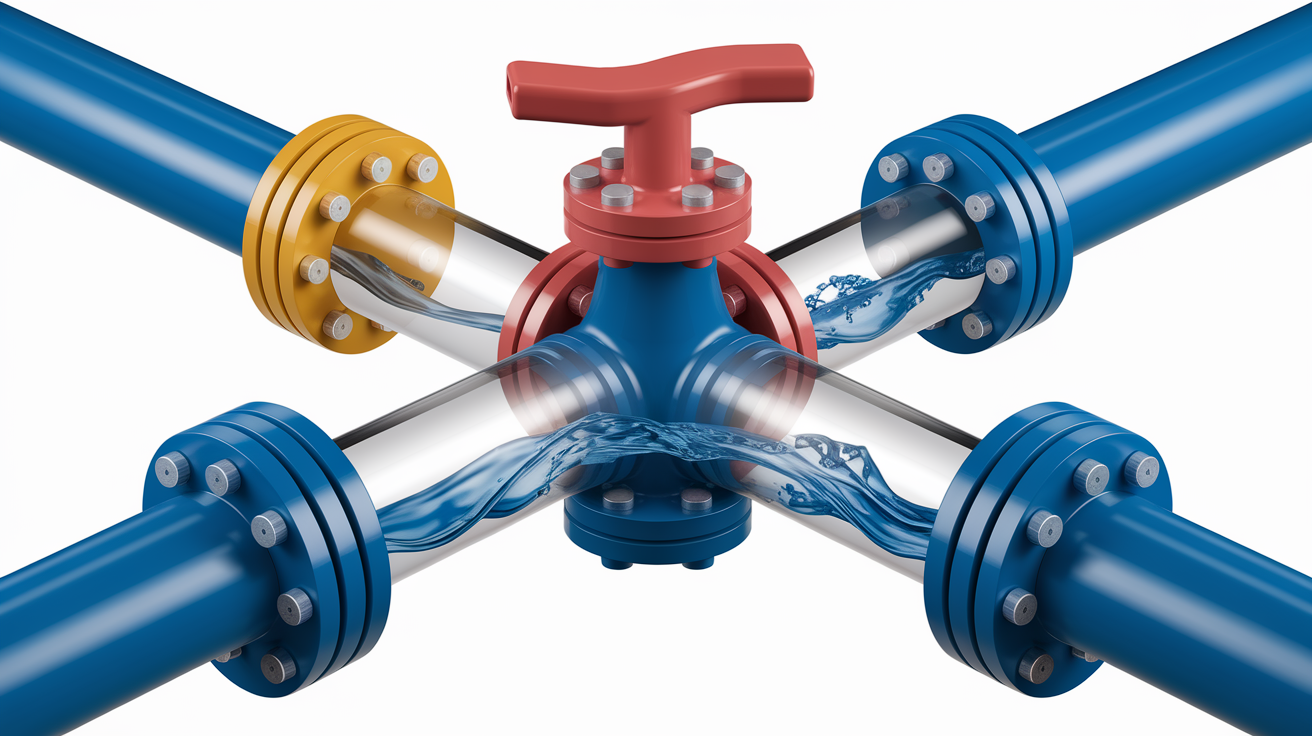
The check valve stops water from flowing backward through the system after a pump shuts off, which would refill the pit and cause unnecessary pump cycles.
Check Valve and Pump Connections
Wrap Teflon tape around the threaded connection on top of your primary pump’s discharge. Wind the tape clockwise (when looking down at the threads) three to four complete wraps. Thread the inlet side of the check valve onto the primary pump discharge and tighten firmly with an adjustable wrench. The arrow stamped or printed on the check valve body should point upward, showing the direction water flows.
Apply Teflon tape to the threads on the outlet side of the check valve using the same clockwise wrapping method. Thread the backup pump’s inlet connection onto the check valve and tighten securely. Some backup pumps connect directly with threaded fittings, while others use a short section of flexible pipe with hose clamps. Follow your specific pump kit’s connection method, but always verify that check valve arrow points up toward the discharge line.
Discharge Pipe Configuration
Measure from the backup pump’s outlet to where you’ll connect into the existing discharge line. Cut a section of 1.5-inch diameter PVC pipe to this length using a hacksaw or PVC pipe cutter. Make the cut as straight as possible. Use sandpaper or a deburring tool to smooth rough edges inside and outside the cut pipe. Rough edges catch debris or create turbulence that reduces pump efficiency.
Slide a stainless steel hose clamp over one end of a rubber connector, then push the rubber connector onto the backup pump outlet. Position the hose clamp over the ribbed section of the rubber connector and tighten evenly with a screwdriver or nut driver. Connect the other end of the cut PVC pipe to the existing discharge line using another rubber connector and hose clamps. Make sure both connections are tight but don’t over-tighten the clamps, which can split the rubber connector. The rubber connectors create flexible joints that absorb vibration and allow for slight misalignment.
Securing Vertical Piping
Dry-fit all your PVC connections first without cement. Push everything together to check alignment and make sure your measurements are correct. If everything lines up properly, mark each joint with a pencil so you can quickly realign them during gluing. Apply PVC primer to both the pipe end and the fitting socket, then apply PVC cement to both surfaces. Work quickly because PVC cement sets fast. Push the pipe and fitting together firmly, twist a quarter turn to spread the cement evenly, and hold the joint still for 30 seconds. Let the cement cure for at least two hours before adding water to the system.
Secure the vertical discharge pipe to the basement wall using pipe straps or hangers every 4 to 6 feet. This prevents the pipe from moving or vibrating when pumps activate, which stresses connections and can eventually cause leaks.
Battery Selection and Proper Battery Setup
Deep-cycle marine batteries deliver steady power over several hours and handle repeated charging cycles, making them specifically suited for backup sump pump systems.
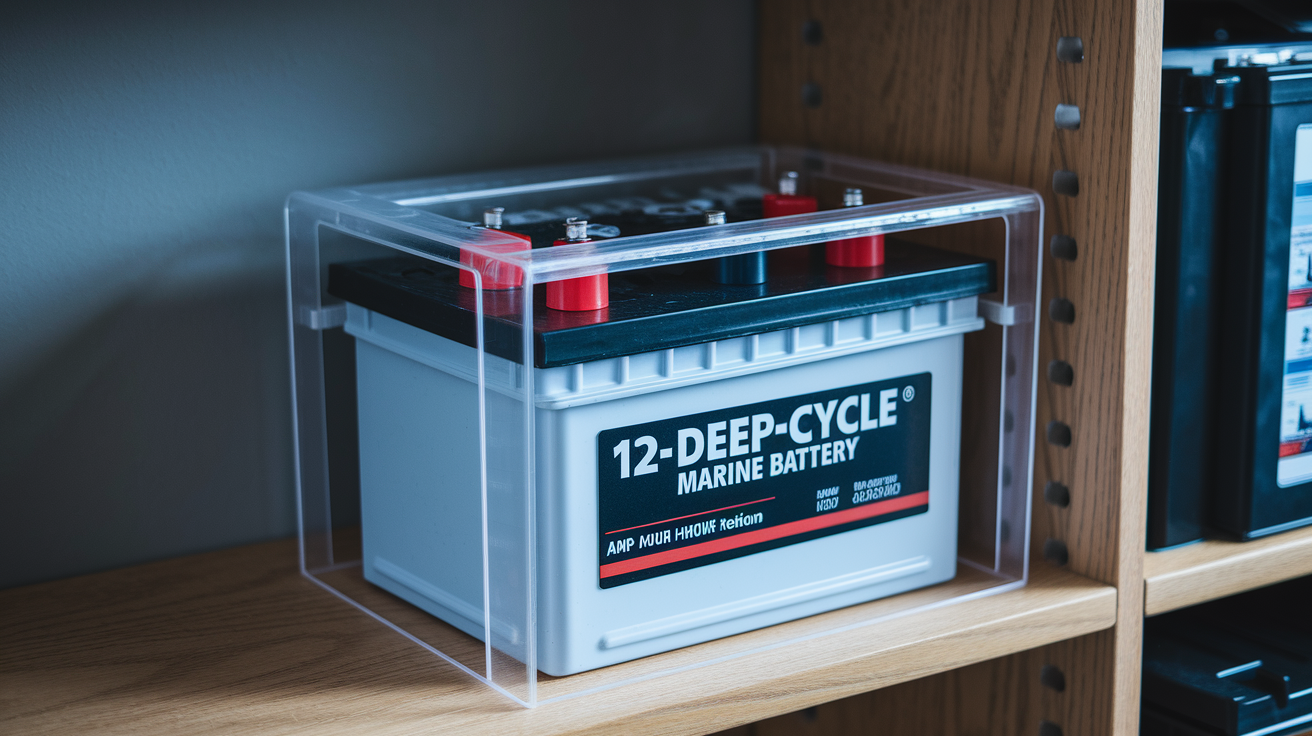
Choose a 12-volt deep-cycle marine battery with an amp-hour (AH) rating that matches your backup pump’s power draw. Most backup sump pumps work well with batteries rated between 40 and 75 amp-hours. Higher AH ratings provide longer runtime during extended power outages. You’ll see three main battery types at the store: sealed AGM (Absorbed Glass Mat), sealed gel, and flooded lead-acid. Sealed batteries cost more but never need water added and can be positioned in any orientation. Flooded batteries cost less but require monthly water level checks.
Place the battery inside a protective plastic battery box. The box prevents accidental short circuits if metal objects contact the terminals and contains any acid spills from flooded batteries. Set the battery box on a shelf or sturdy platform at least 12 inches above the basement floor. This keeps the battery above potential water levels if the sump pit overflows during a system failure. Make sure the shelf or platform can support the battery’s weight, which typically ranges from 40 to 60 pounds. Position the battery within 6 feet of the backup pump to avoid excessive voltage drop in the connecting cables. Leave at least 2 inches of clearance around the battery for air circulation, especially important for flooded batteries that release small amounts of hydrogen gas during charging.
| Battery Type | Lifespan | Maintenance Required |
|---|---|---|
| Sealed AGM | 3-5 years | None (sealed) |
| Sealed Gel | 3-5 years | None (sealed) |
| Flooded Lead-Acid | 3-5 years | Monthly water level checks |
Making Electrical Connections and Wiring the Backup System
Keep the primary pump unplugged throughout the electrical connection process, and only work when the basement floor is dry.
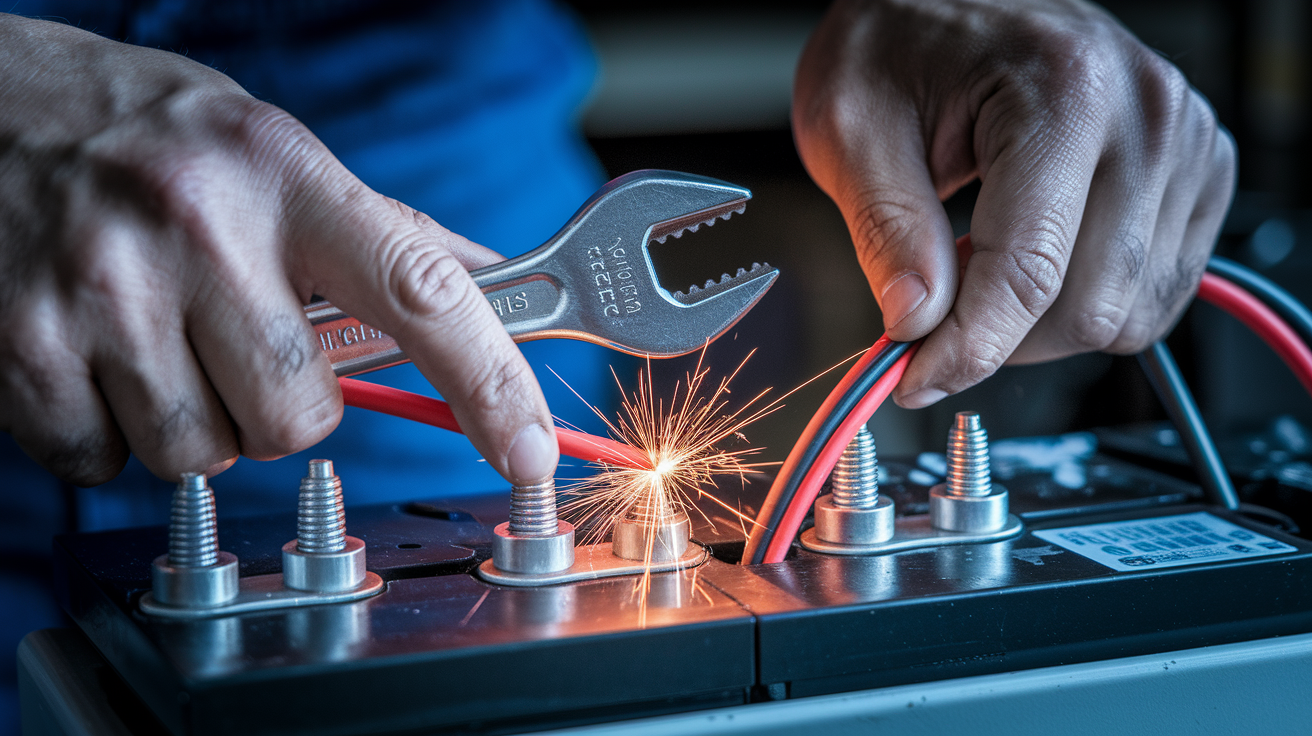
Find the positive (red) and negative (black) low-voltage DC cables coming from your backup pump control unit. Connect the red cable to the positive terminal on the battery first. Loosen the terminal bolt, slide the cable lug onto the post, and tighten firmly. Then connect the black cable to the negative terminal using the same method. Always connect positive first and negative second. This sequence reduces the chance of creating a spark if tools accidentally contact the battery case. Make sure the terminal connections are tight because loose connections create electrical resistance that generates heat and reduces system performance.
Locate the battery charger output cables. These also have red (positive) and black (negative) leads. Connect the charger’s red cable to the positive battery terminal and the black cable to the negative terminal, positioning the cable lugs so they don’t interfere with the pump’s connections on the same terminals. Route the battery charger’s AC power cord to a nearby electrical outlet. Plug the charger into a standard 110-volt outlet, preferably a GFCI-protected outlet for added safety. Check the charger’s indicator light to verify it shows the charging status. Most chargers have LED lights that indicate whether the battery is charging, fully charged, or experiencing a fault condition.
If your backup pump kit includes an audible alarm system, connect the alarm wires to the control unit according to the manufacturer’s wiring diagram. The alarm typically connects using simple push-in terminals or screw terminals on the control board. The alarm sounds when the backup pump activates, alerting you that the primary pump has failed or power is out. Some systems also trigger the alarm when battery voltage drops too low to operate the pump effectively.
Testing Your Battery Backup Sump Pump System
Don’t assume the installation works correctly without testing both pumps and verifying the automatic switching system activates properly.
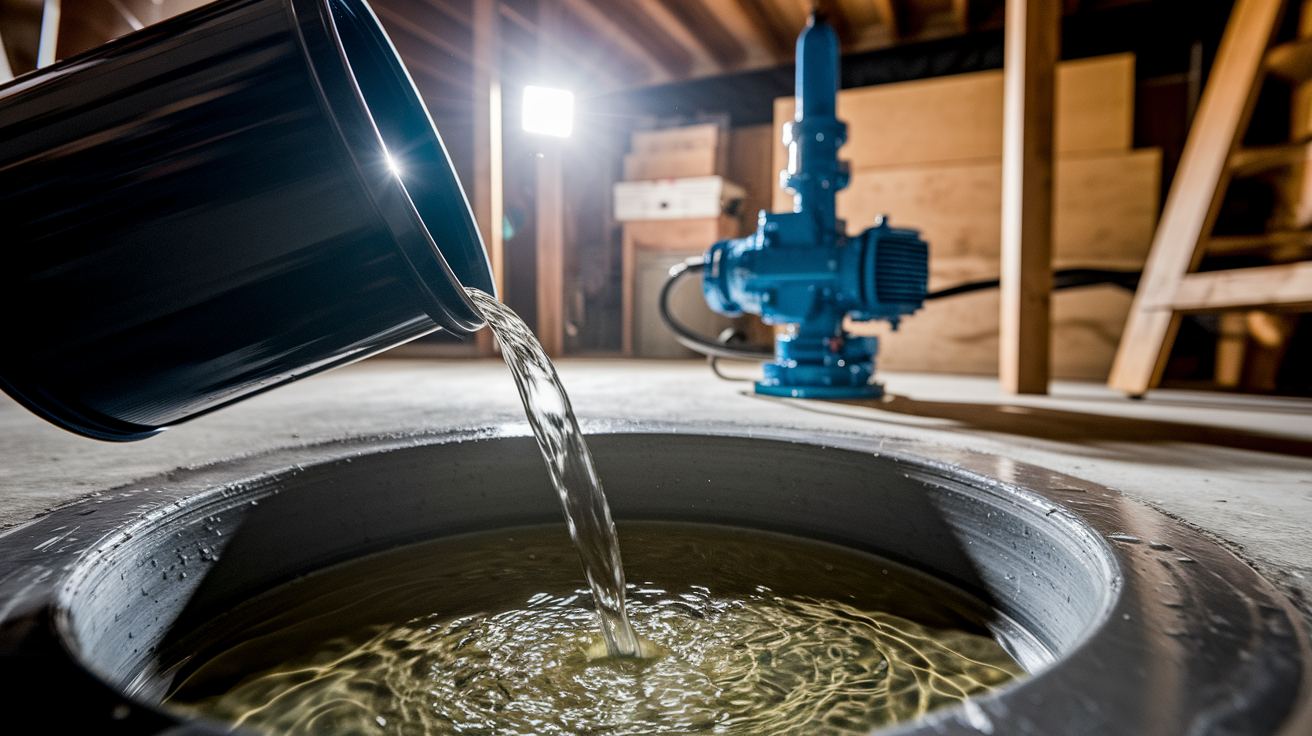
Plug in the primary sump pump and the battery charger. Use a garden hose or carry buckets of water to the sump pit, adding water slowly. Watch the water level rise until the primary pump’s float switch lifts and activates the pump. The pump should start quickly and discharge water through the pipe system you just installed. Listen for any unusual noises and watch the discharge pipe connections for leaks. Let the primary pump run through a complete cycle, pumping the pit down until the float switch drops and the pump shuts off.
Unplug the primary pump to simulate a power outage. Add more water to the pit, filling it past the level where the primary pump would normally activate. Keep adding water until the backup pump’s float switch rises enough to trigger the backup pump. The pump should start running on battery power, and you should hear water moving through the discharge line. Verify that water exits the discharge pipe properly and that the backup pump continues running until the water level drops. When the backup pump shuts off, watch to make sure the check valve prevents water from flowing backward through the system. You shouldn’t hear water draining back into the pit.
You can also test pump activation without adding water by manually lifting the float switches. Plug in the primary pump, lift its float, and verify the pump starts immediately. Unplug the primary pump, then lift the backup pump’s float switch to verify it activates on battery power. This quick test method works well for maintenance checks, but full water testing during installation ensures the float switches are positioned correctly for your specific pit depth and water levels.
Ongoing Maintenance for Battery Backup Sump Pump Systems

Regular maintenance makes the difference between a backup system that works when you need it and one that fails during the worst possible moment.
Check your battery charger’s indicator lights every month to verify the battery stays fully charged. If you have a flooded lead-acid battery, remove the cell caps and check the water level in each cell. The water should cover the lead plates inside. If the level is low, add distilled water (never tap water) until it reaches the fill line or just covers the plates. Look at the battery terminals for white or blue-green corrosion buildup. Clean corroded terminals by disconnecting the cables (negative first, then positive) and scrubbing the terminals and cable lugs with a wire brush dipped in a solution of baking soda and water. Rinse with clean water, dry thoroughly, and reconnect the cables. Check the sump pit for debris like gravel, leaves, or sediment that could interfere with float switches or clog pump inlets.
Every three months, perform a complete system test by simulating a power failure. Unplug the primary pump and add water to the pit until the backup pump activates. Let the system run through a full pumping cycle. Test the alarm by triggering the backup pump and verifying you can hear the alert. Inspect all the PVC pipe connections for signs of moisture or white mineral deposits that indicate small leaks. Test both float switches by manually lifting them to confirm the pumps respond immediately. Look at the check valve for any signs of water seepage from the valve body, which might indicate a worn seal.
| Maintenance Task | Frequency |
|---|---|
| Battery visual inspection and charger check | Monthly |
| Full system test with power simulation | Every 3 months |
| Battery terminal cleaning (if corrosion present) | As needed, check monthly |
| Battery replacement | Every 3-5 years |
| Complete pump and discharge system inspection | Annually |
Keep a simple maintenance log noting when you tested the system, replaced the battery, or performed cleaning. Write down the battery installation date on the battery box with a permanent marker so you know when it’s approaching replacement time.
Safety Precautions and Building Code Considerations

Safety must guide every decision during installation and throughout the system’s lifetime.
Always plug the battery charger and primary pump into GFCI-protected outlets. GFCI outlets shut off power instantly if they detect current leaking to ground, which happens when water contacts energized electrical components. Keep all AC electrical connections at least 6 inches above the basement floor and away from areas where standing water might collect during severe flooding. Never stand in water while working on electrical connections or testing the system. Even low-voltage DC battery connections can deliver dangerous current levels. A 12-volt battery carries enough current to create sparks, cause burns, or weld a metal tool to the terminals if you accidentally create a short circuit. Wear safety glasses when working with batteries, and remove metal jewelry like rings and watches that could contact battery terminals.
Check your local building codes before starting installation. Some municipalities require permits for sump pump installations or modifications to existing plumbing systems. Certain areas mandate that discharge pipes connect to specific drainage systems rather than dumping directly onto the property. If local codes require professional plumber installation and certification for any plumbing work, factor that into your project planning. Verify that your discharge pipe routing complies with local drainage regulations. Some areas prohibit discharging sump pump water into sanitary sewer lines or require minimum distances from property lines and building foundations.
Keep children and pets away from battery and pump equipment. Flooded batteries contain sulfuric acid that burns skin and damages eyes. Never use automotive starting batteries or general-purpose batteries in place of deep-cycle marine batteries because they’re not designed for the discharge and recharge cycles that backup sump pumps require. Understand that backup system runtime depends on battery condition, water inflow rate, and total water volume. A backup pump running continuously in a heavy storm will drain even a fully charged battery faster than the 7 to 8 hours of rated capacity.
Final Words
Installing a battery backup sump pump gives you real protection when the power goes out during the storm that matters most.
You’ve got the plumbing connections, battery setup, and electrical wiring mapped out. The testing procedure shows you exactly how the system will respond when your primary pump can’t run.
Monthly battery checks and quarterly system tests keep everything ready. When you know how to install a battery backup sump pump correctly, you’re not just adding equipment. You’re building reliable flood prevention that works when you need it.
FAQ
Can you install a battery backup on an existing sump pump?
You can install a battery backup on an existing sump pump without replacing your current primary pump. Most battery backup systems connect to the existing discharge pipe through a check valve, allowing both pumps to share the same drainage line. The backup pump sits alongside your primary pump in the sump pit and activates automatically when power fails or the primary pump cannot keep up with water inflow.
How do you hook up a battery backup for a sump pump?
Hooking up a battery backup for a sump pump involves connecting the backup pump to your existing discharge pipe using a check valve, running low-voltage cables from a 12-volt marine battery to the backup pump, and plugging the battery charger into a standard outlet. The backup pump sits in the sump pit next to your primary pump and uses rubber connectors with hose clamps to tie into the discharge line above the primary pump’s check valve.
How much does it cost to install a battery backup sump pump?
A battery backup sump pump installation typically costs between $400 and $800 for DIY installation, covering the backup pump kit, deep-cycle marine battery, battery charger, and plumbing materials. Professional installation by a licensed plumber adds $300 to $600 in labor costs. The backup pump kit itself runs $150 to $400, while a quality marine battery costs $100 to $200 depending on capacity.
What do you need for a battery backup sump pump system?
A battery backup sump pump system needs a backup pump with float switch, 12-volt deep-cycle marine battery, battery charger with protective housing, check valve to prevent backflow, and plumbing connections including 1.5-inch PVC pipe and rubber connectors with stainless steel clamps. You also need basic tools like an adjustable wrench, screwdriver set, PVC cutter, and Teflon tape. Most kits include the pump and basic hardware, but batteries and extensive plumbing materials are sold separately.
How long does a sump pump battery backup last during a power outage?
A sump pump battery backup lasts 5 to 8 hours during a power outage when using a fully charged deep-cycle marine battery, depending on how frequently the pump cycles and the battery’s amp-hour rating. Runtime decreases significantly if the pump runs continuously due to heavy water inflow. Battery condition, age, and capacity directly affect how long the backup system can operate without AC power.
How often should you test a battery backup sump pump?
You should test a battery backup sump pump at least once every three months by unplugging the primary pump and filling the sump pit with water to trigger the backup pump’s float switch. Monthly visual inspections of the battery charger indicator lights and battery terminals help catch problems early. Testing confirms the backup pump activates properly, the check valve prevents backflow, and the alarm sounds when the system switches to battery power.
When do you need to replace a sump pump backup battery?
You need to replace a sump pump backup battery every three to five years depending on usage frequency, battery type, and manufacturer recommendations. Sealed AGM and gel batteries typically last longer than flooded lead-acid batteries with proper maintenance. Check the installation date regularly and watch for signs of reduced runtime, slow charging, or corrosion around terminals indicating the battery is reaching end of life.
Do battery backup sump pumps require a check valve?
Battery backup sump pumps require a check valve to prevent water from flowing backward through the discharge pipe when the pump shuts off. The check valve installs between the primary pump and backup pump, with the directional arrow pointing upward in the flow direction. Without a check valve, water would drain back into the sump pit after each pump cycle, wasting battery power and reducing system efficiency.
