

Don’t trust a dry look.
Wood can look fine and still hide enough moisture to cause mold and rot.
Grab a moisture meter and aim for studs at 12% to 14% before you hang drywall.
Pressure-treated pieces can sit a bit higher, but anything 18% or above is a stop sign.
This post shows exactly how to test (what meter, where to probe, and how often), how to read the numbers, and what to do next so you don’t seal a problem into your walls.
Measuring Framing Dryness: Target Moisture Levels and Testing Methods
Your framing lumber needs to hit specific moisture targets before you close it up. For standard kiln-dried framing, you’re looking for readings at or below 15% before drywall goes up. Ideally, studs should read between 12% and 14%. Pressure-treated lumber gets a bit more room, 17% is okay, but anything at 18% or higher means it’s too wet and needs more time. Once moisture climbs above 19%, you’re in trouble. That’s where mold starts growing and wood rot kicks in. These aren’t suggestions. They’re hard limits that separate a wall that’ll be fine from one that’s going to give you problems after you seal it up.
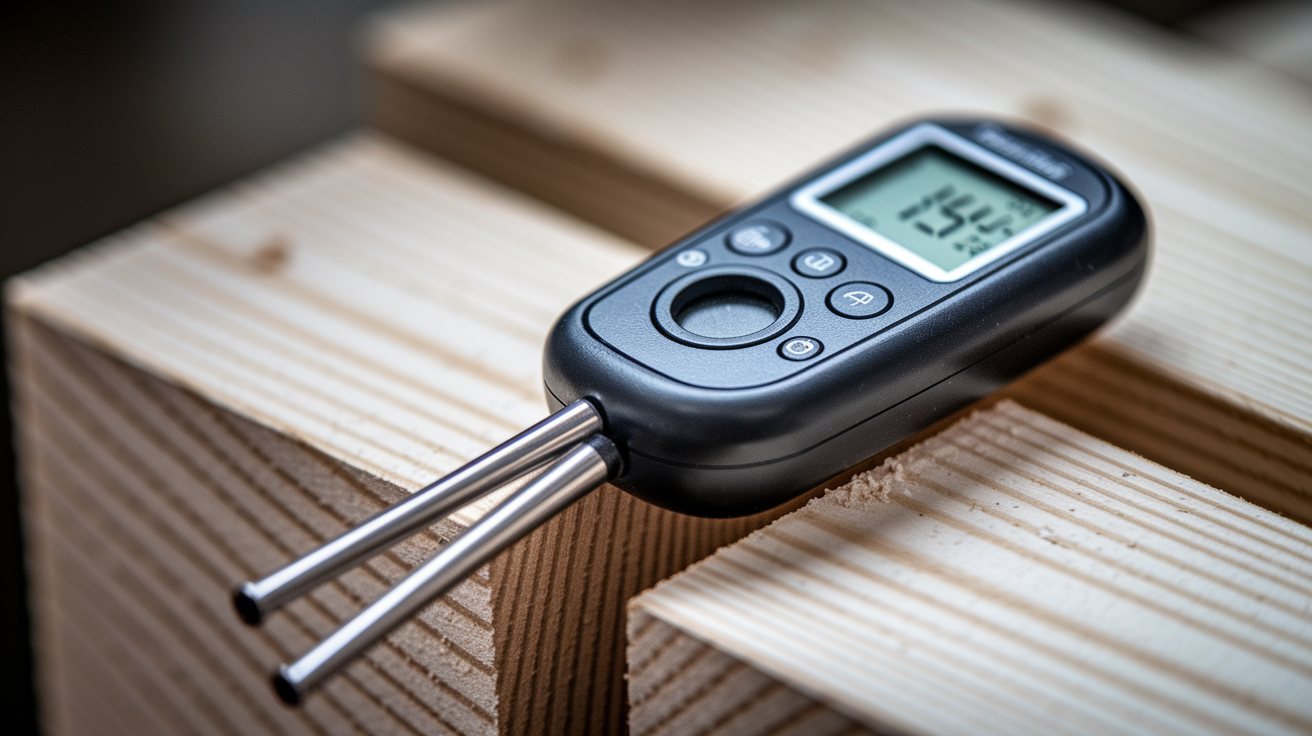
You need a moisture meter to check these numbers. Can’t just eyeball it or guess based on how long the lumber’s been sitting there.
Pin-type and pinless meters work differently. Pin-type meters stick two metal probes into the wood and measure electrical resistance between them. You get precise readings at the probe depth, but you’re only measuring a shallow layer. Pinless meters use electromagnetic sensors and claim to read moisture up to 3/4 inch deep, but they’re less accurate on framing where you actually need precision. For framing work, pin-type is standard. Models like the Extech MO220 (runs about $150), GE Protimeter, Lignomat, and Delmhorst all work well. The Extech MO220 can be calibrated for hardwood versus softwood and adjusted for different species, which matters because oak and pine don’t conduct electricity the same way. Premium meters with data storage and Bluetooth connectivity can cost $500 or more. Useful for contractors managing multiple jobs, overkill if you’re just fixing one house. Proper technique means burying the pins all the way into the stud. Shallow insertion only gives you surface readings that don’t show what’s happening deeper in the lumber.
Reading the meter is straightforward. If it shows 12% to 14%, you’re good. Readings between 15% and 17% are acceptable for pressure-treated lumber but marginal for kiln-dried. Anything at 18% or above means stop and start drying actively. Take readings at multiple spots on each piece because moisture doesn’t spread evenly. The bottom of a stud will almost always read higher than the middle.
Strategic Testing Locations for Accurate Framing Moisture Assessment

Moisture doesn’t settle evenly in framing. Bottom plates soak up water from wet subfloors. King studs around openings hold moisture longer because there’s more wood mass. If you only test one spot at shoulder height, you’ll miss the wet lumber sitting at the bottom of your wall.
| Framing Element | Testing Frequency | Priority Level |
|---|---|---|
| Wall studs | Every 10th stud | High |
| Bottom plates | Every 4th stud | Critical |
| King studs (door/window) | Every opening | Critical |
| Floor joists | Every 8th joist | Medium |
| Headers | Every header | High |
| Sill plates | Every foundation section | Critical |
For each stud you test, take three readings. One at the bottom plate connection, one about six inches up from there, and one at chest height. The bottom reading will almost always be highest because bottom plates absorb moisture from concrete slabs and damp subfloors. Sometimes moisture gets trapped between the slab and sill plate, so you need to test from the side rather than straight down through the plate.
Use a permanent marker to write the moisture percentage and date directly on each stud you test. When you come back three days later and test again, add the new reading next to the old one. Seeing “18% 4/12” drop to “16% 4/15” then “14% 4/18” gives you visual proof that drying is working and helps you predict when you’ll hit target levels.
Test every three to four days while you’ve got fans or dehumidifiers running. If you’re drying plywood subfloors, check those daily. Plywood can hold moisture longer than solid lumber and needs closer watching. As you get close to target moisture content, test more often. Once you’re sitting at 16% trying to get to 14%, check every two days instead of every four.
King studs need special attention because they’re doubled or tripled lumber with more wood mass. They take the longest to dry and will shrink the most once the HVAC system runs for a year. Test every king stud at every window and door opening.
Drying Timeline Expectations Based on Climate and Conditions
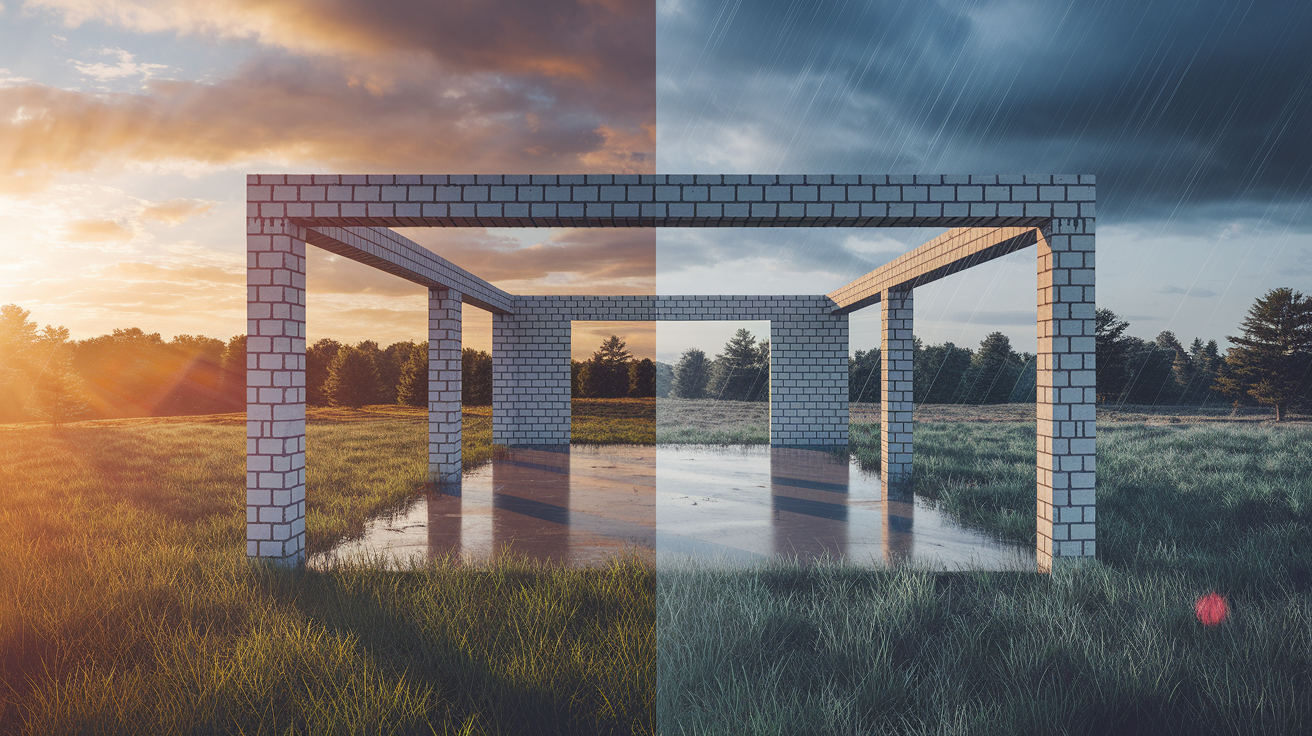
How long wet framing takes to dry depends on temperature outside, outdoor humidity, and whether you’re running any drying equipment. Passive drying on warm, dry days works fine but takes patience. Cold or humid conditions stretch timelines from weeks into months.
When outdoor temperatures stay above 60°F and humidity is reasonable, lumber will naturally drop from 18% moisture content down to 14% in three to five weeks without any fans or dehumidifiers. You’re relying on air circulation from natural wind and low humidity to pull moisture out of the wood.
Warm weather above 60°F with low humidity gets you from 18% to 14% in three to five weeks. Moderate weather between 45°F and 60°F takes four to eight weeks for the same drop. Cold and rainy conditions stretch it to six to twelve weeks, sometimes longer if the weather doesn’t break. Freezing temperatures below 32°F basically stop drying. Moisture evaporation stalls until temperatures rise. Starting moisture content matters too. Kiln-dried lumber that arrives at 12% to 14% and gets rained on a few times will dry faster than green lumber starting at 25%.
Cold temperatures don’t just slow drying. They stop it. Wood doesn’t release moisture when the air temperature hovers at or below freezing, even if there’s low humidity. The vapor pressure differential between the wood and the surrounding air disappears. You can leave wet framing exposed to winter air for months and come back to find moisture readings barely changed.
If you’re framing in late fall and hit a cold, wet November, relying on passive drying means you won’t close walls until February or March. Most people don’t have that kind of schedule flexibility, which is why active drying with fans and dehumidifiers becomes necessary outside the warm, dry summer months.
Accelerated Drying Methods: Air Movement and Ventilation Techniques

Running fans drops drying time from weeks to days. Active air movement pulls saturated air away from wet lumber and replaces it with drier air, which keeps evaporation running instead of stalling out.
When daytime temperatures stay above 45°F, fans reduce moisture content by about 0.5% to 1% per day. If your framing is reading 18% to 20% moisture content, plan on running fans 24/7 for a solid week to hit 14% and below. Three to four fans running continuously can pull out 5 percentage points of moisture in roughly seven days. Larger homes or severely wet conditions might need more equipment. One builder in Portland runs 10 fans for a 2,500-square-foot house during the pre-insulation drying stage.
Carpet blowers (also called air movers) and conch-shell style fans both work. Mixing both types gives better coverage than using all one style. Commercial-grade fans like the Quest C1000 two-speed model move 2,700 CFM and pull 2.4 to 2.8 amps, so you can run multiple units on one circuit. Purchase costs start around $300 for commercial-grade fans built for job site conditions. Rental runs about $10 per day or $150 per month, which makes renting cost effective for single projects and buying makes sense if you do this regularly. Security matters. Chain and padlock fans to the framing because job site theft is common, and losing fans mid-dry means starting your timeline over.
Position fans around the house so airflow reaches all the framing, not just the areas near windows. A 50/50 mix of carpet blowers placed low and box-type air movers positioned higher creates circulation that hits both bottom plates and upper wall sections. Point fans toward exterior walls if windows are open, or aim them to create circular airflow patterns if you’re running dehumidifiers with the house closed up.
Run fans 24/7 without interruption until moisture readings hit target levels. Shutting fans off at night to save electricity costs you drying time and extends the overall timeline. Continuous operation is what drops moisture content consistently day over day.
Dehumidification Strategies for Controlling Moisture in Wet Framing
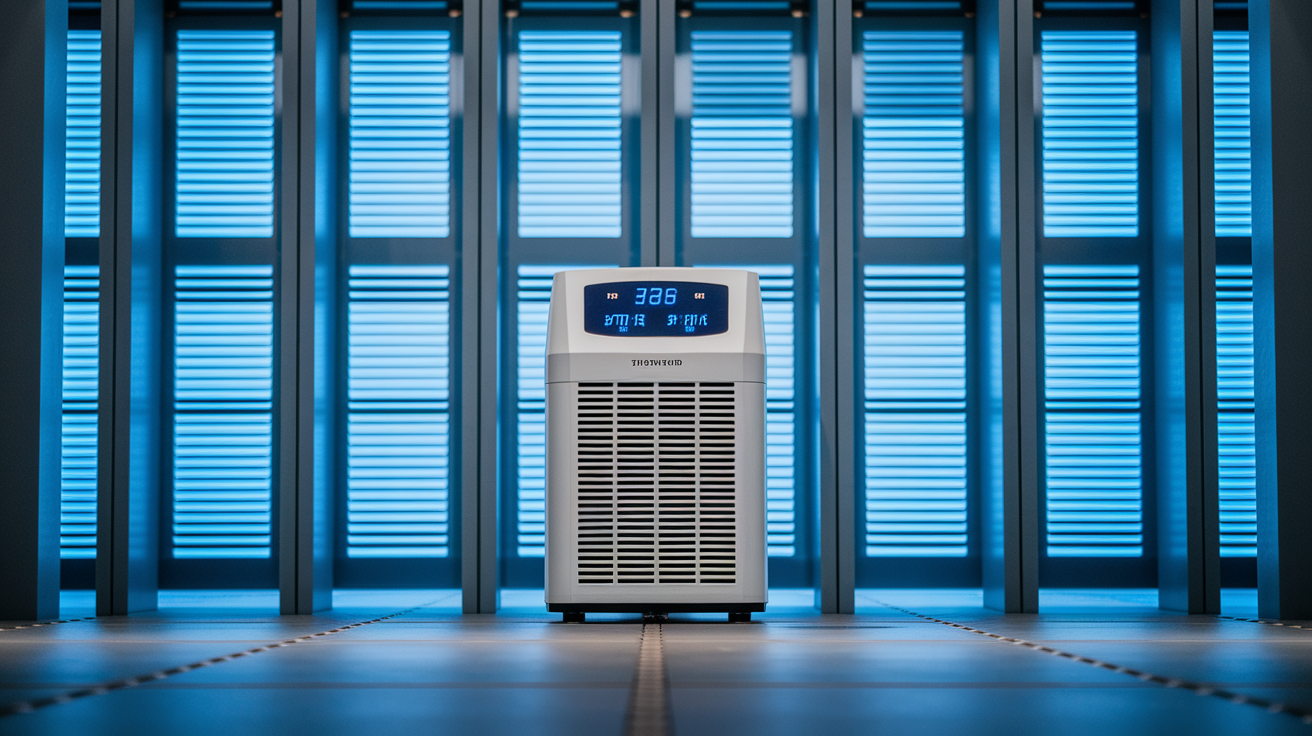
Fans only work when the ambient air has somewhere to dump the moisture they’re pulling out of the lumber. If outdoor humidity climbs above 60%, adding more air movement doesn’t help. At 100% relative humidity, no drying occurs regardless of how many fans you’re running. The air is already saturated and can’t absorb any more water vapor.
When outdoor humidity readings exceed 60%, close the windows and doors and bring in a dehumidifier. The dehumidifier pulls moisture out of the indoor air, lowering the relative humidity inside the structure so fans can keep pulling moisture from the framing into the air. The air carries that moisture to the dehumidifier, which condenses it into a drain pan or hose, and the cycle keeps running.
Models like the Quest PowerDry 4000 and Dri-Eaz LGR Evolution are built for construction job sites with built-in hygrometers and adjustable humidity controls from 30% to 70% RH. Set the unit to “Always On” during the framing drying stage to run continuously regardless of humidity level. That maximizes moisture removal. Once you start drying drywall joint compound or paint, dial back to 55% RH to avoid over-drying and cracking. During trim installation and finish work, maintain 45% RH for dimensional stability in wood trim and flooring.
Running fans plus a dehumidifier with the structure closed up brings framing moisture content down in roughly one week, matching or slightly beating fan-only drying in ideal weather. The combination works in any season and any humidity conditions, which gives you control over the schedule instead of waiting for the right weather window.
Empty the dehumidifier’s condensate pan daily or run a drain hose to a floor drain or sump. A working dehumidifier in a damp structure can pull gallons of water per day. If the pan overflows, you’re putting moisture back into the space you’re trying to dry.
Heat Application Methods for Drying Wet Framing Safely

Adding heat speeds up evaporation, but most on-site heaters make the moisture problem worse instead of better. Propane construction heaters are everywhere on job sites, and they’re completely wrong for drying wet framing.
Every hour a propane heater runs, it adds one gallon of moisture to the air. Propane combustion produces water vapor as a byproduct, which means you’re pumping humidity into the space while trying to dry it out. You might feel warmth and assume things are drying, but moisture meter readings will stay flat or even climb.
Proper drying heat requires combustion happening outside the structure with only dry, hot air being blown inside. Indirect-fired heaters keep the flame and exhaust outside while ducting heated air into the building.
| Heater Type | Suitable for Drying | Key Specifications |
|---|---|---|
| Indirect-fired heaters | Yes | 90,000 to 100,000 BTU; external combustion; dry heat only enters structure |
| Diesel heaters | Yes | External fuel tank; runs 3 days on one tank; trailer-mounted models available |
| Propane heaters | No | Adds 1 gallon moisture per hour of runtime; creates humidity instead of removing it |
| Homeowner furnace | No | Running during construction voids manufacturer warranty; dust and debris damage system |
Equipment like the Dri-Eaz Dragon X2 is a 100,000 BTU mobile furnace mounted on a trailer that’s designed specifically for construction drying work. It replaced an earlier 85,000 BTU model. These units burn diesel or kerosene in an external combustion chamber and blow clean, dry, heated air into the structure through flexible ducting.
Diesel-powered indirect-fired heaters can run up to three days on one fuel tank. Because the tank sits outside the structure, there’s no risk of fuel odors or combustion byproducts getting inside. External fuel tanks also mean you don’t have to shut down the system every time you need to refuel.
Don’t use the homeowner’s furnace to dry out framing during construction. Running a residential HVAC system before the house is fully enclosed and cleaned voids the manufacturer’s warranty. Construction dust, drywall particles, and debris will clog filters, coat coils, and damage blower motors. The furnace is designed to condition a finished, clean home, not dry wet lumber on an active job site.
Understanding Equilibrium Moisture Content and Regional Variations
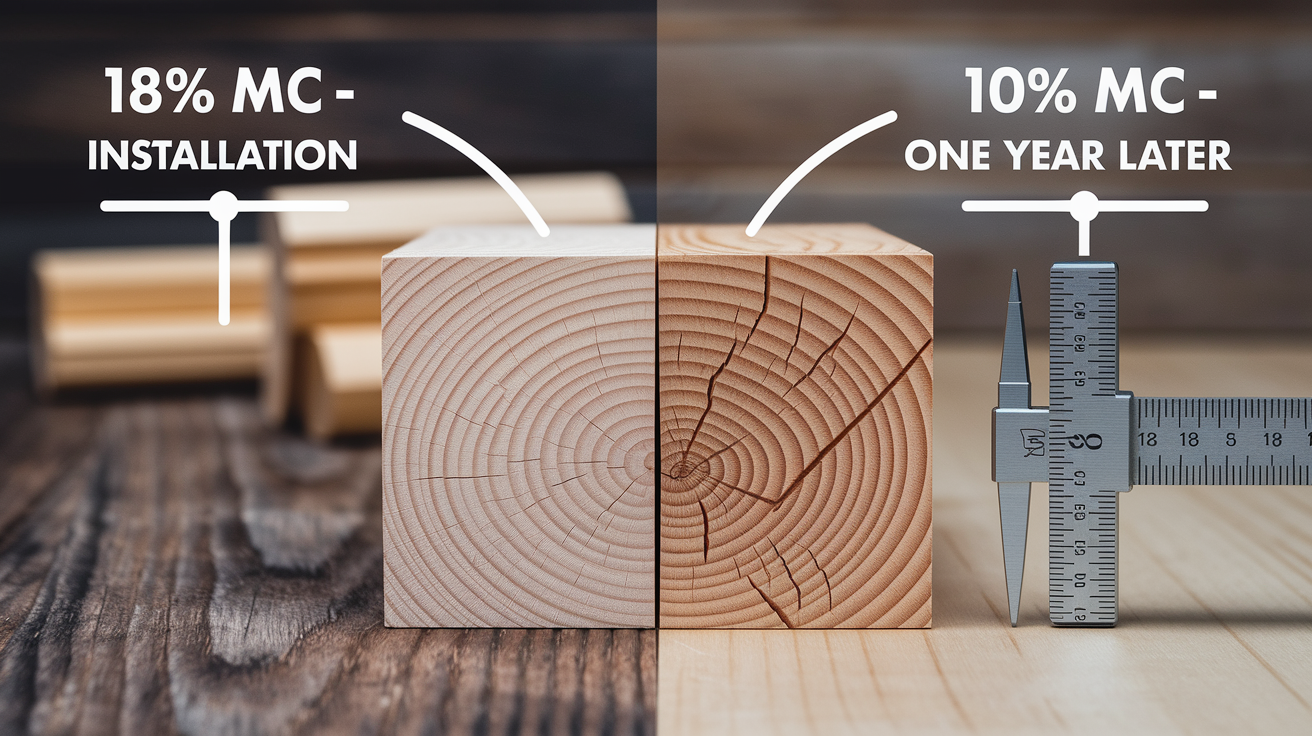
Equilibrium moisture content (EMC) is the moisture level wood naturally reaches when it balances with the surrounding air’s temperature and relative humidity. Framing lumber doesn’t stay at whatever moisture content it had when you installed it. Over time, it adjusts up or down to match the local climate conditions.
After about one year of HVAC operation in an occupied home, wall studs typically stabilize at 10% to 12% moisture content. That’s the long-term equilibrium point for most climate-controlled interior spaces in North America. If you install drywall over framing that’s sitting at 18% moisture, those studs will spend the next year shrinking 6 to 8 percentage points as they dry down to equilibrium.
Shrinkage beyond 5 percentage points after drywall installation causes visible finish defects. As studs lose moisture and shrink, drywall screws and nails stay in place while the wood pulls away from them. That creates nail pops, drywall cracks around window and door headers, gaps in trim joints, and stress cracks in caulking.
Regional EMC differences mean coastal and humid climates stabilize at higher moisture levels than desert or mountain regions. A home in Seattle might see framing equilibrate at 11% to 13%, while the same construction in Phoenix could settle at 8% to 10%. Winter indoor heating drops EMC lower than summer conditions with higher outdoor humidity.
Use EMC reference charts for your region to set realistic pre-drywall moisture targets. If local climate data shows framing will equilibrate at 11% to 12% in your area, getting studs down to 15% before drywall means they’ll only shrink 3 to 4 percentage points during the first year. That keeps you under the 5-point threshold where major finish problems start showing up. In drier climates where EMC runs 9% to 10%, you might want framing at 14% or below before closing walls to maintain that same safety margin.
Risks and Consequences of Enclosing Wet Framing Prematurely

Once moisture content climbs above 19%, mold spores activate and wood rot starts. Installing drywall or insulation over framing that hasn’t dried enough traps that moisture in the wall cavity with no way to escape. The enclosed, damp environment becomes ideal for biological growth and material breakdown.
Mold growth behind drywall and insulation often goes undetected until it spreads enough to cause odors or visible staining on finished surfaces. Wood rot and structural decay in framing members happens particularly at bottom plates and around window openings where moisture concentrates. Nail pops show up where drywall fasteners push through the surface as studs shrink away from them during drying. Drywall cracks become especially noticeable around window heads, door headers, and at inside corners where shrinkage stress concentrates. Floors and stairs start squeaking as joists and stringers shrink and fasteners loosen. Interior trim joints open up, creating visible gaps at mitered corners and along walls. Caulking fails around trim, windows, and baseboards as materials pull away from each other during shrinkage. Indoor air quality gets compromised once mold growth reaches levels that release spores into living spaces.
Mold Prevention After Water Damage becomes nearly impossible once you’ve sealed moisture behind finished walls. You can’t see it developing, you can’t dry it out without tearing the wall apart, and you can’t treat it without full demolition back to the framing.
The cost extends beyond cosmetic repairs. Insurance companies routinely deny claims for moisture-related damage when construction records show walls were closed before framing reached acceptable dryness levels. That makes you liable for full remediation costs, which often means stripping drywall, treating or replacing contaminated framing, and rebuilding from studs forward.
Untreated framing lumber is particularly vulnerable to decay fungi when moisture lingers above 19%. The wood doesn’t have the chemical protection that pressure-treated lumber carries, so rot can establish quickly once conditions support fungal growth. Within months, structural framing can lose enough integrity to require replacement rather than simple drying and treatment.
Visual and Physical Indicators Beyond Moisture Meter Readings

Moisture meters give you numbers, but your eyes provide context those numbers need. Standing water, visible dampness, and discoloration all tell you construction shouldn’t move forward regardless of what a moisture meter says about one test point.
Standing puddles anywhere on the subfloor or ground surface means never proceed to the next stage. Water stains or dark streaks running down studs, joists, or sheathing indicate recent or ongoing moisture exposure. Visible surface moisture, condensation on framing members, or a wet sheen on lumber surfaces are obvious red flags. Mold growth appears as black, green, or white spots or fuzzy patches on wood surfaces. Warping, bowing, or twisting in dimensional lumber that wasn’t present when the material was installed signals moisture problems. Musty, earthy, or stale odors indicate trapped moisture or early-stage mold growth even if visual growth isn’t apparent.
Plywood and OSB subfloors need daily visual checks during the drying process. These sheet goods can delaminate, swell, or develop soft spots from moisture exposure before a moisture meter shows concerning readings. Surface checking, small cracks appearing in the face veneer, indicates the material went through a wet-dry cycle and may have compromised structural properties even after it dries.
Engineered products like AdvanTech OSB subfloor handle moisture exposure better than standard plywood because of higher glue content and manufacturing processes designed for weather resistance. But better performance during rain exposure doesn’t mean these products are immune to moisture problems. They still require complete drying before you trap them under finished flooring or seal them against a concrete slab with a vapor barrier.
A musty smell is trapped moisture signaling that it’s creating conditions for biological activity. Don’t ignore odors even if moisture meter readings look acceptable. Smell can detect problems in areas you haven’t tested yet.
Different Lumber Types and Their Drying Requirements

Not all framing lumber starts at the same moisture content or requires the same final targets. How the wood was processed before it reached the job site determines both where it begins and what “dry enough” means for that material.
| Lumber Type | Typical Starting MC | Target MC Before Enclosure | Drying Considerations |
|---|---|---|---|
| Kiln-dried lumber | 12% to 14% | 15% or below | Arrives near target; if wet from rain, dries relatively quickly |
| Pressure-treated lumber | 18% to 25%+ | 17% or below | Chemical treatment adds moisture; requires longest drying time |
| Green (air-dried) lumber | 20% to 30%+ | 15% or below | Never fully dried in mill; shrinks significantly during first year |
Kiln-dried framing lumber goes through industrial drying ovens that bring moisture content down to 12% to 14% before shipping. This is ideal for construction. The wood is stable, predictable, and ready to use. If kiln-dried lumber gets rained on during framing, it typically only absorbs moisture in the outer layers and dries back to acceptable levels relatively quickly with fans or passive air movement.
Pressure-treated lumber is different. The treatment process forces chemical preservatives deep into the wood fibers using high pressure, and that process saturates the lumber with liquid. Fresh pressure-treated lumber often arrives at 18% to 25% moisture content or even higher. It needs substantial drying time before you can enclose it, but building codes and industry standards recognize this by allowing up to 17% moisture content for pressure-treated framing before drywall installation. You’re still working with wet wood compared to kiln-dried material, but the chemical treatment provides rot resistance while it dries down to equilibrium over the first year.
Green lumber, lumber that was cut and either air-dried briefly or not dried at all before sale, can start at 20% to 30% moisture content. It’s less common in modern residential framing but still used in some regions and for certain agricultural or utility structures. Green lumber will shrink dramatically as it dries, which makes it unsuitable for modern tight construction unless you’re willing to accept significant movement in the finished structure.
Moisture meter calibration matters across these lumber types because hardwoods and softwoods conduct electricity differently, and that affects how pin-type meters calculate moisture content. Models like the Extech MO220 let you toggle between hardwood and softwood settings and select specific species when you know what you’re testing. Testing Douglas fir on a meter calibrated for oak will give you inaccurate readings off by several percentage points.
Building Code Requirements and Industry Standards for Framing Moisture
Building codes don’t always spell out specific moisture content percentages for framing lumber before enclosure, but industry standards, manufacturer warranties, and professional building practices establish clear thresholds that carry weight in most jurisdictions.
The International Residential Code (IRC) includes general provisions requiring framing and sheathing to be dry before concealing it with insulation or interior finishes, without defining exact moisture percentages. That vague language gets teeth through manufacturer specifications. Drywall manufacturers typically void product warranties if their materials are installed over framing exceeding 15% moisture content. Insulation manufacturers have similar limits. When a manufacturer warranty requires 15% maximum moisture content and an inspector knows that standard, it becomes an enforceable threshold even if the printed code doesn’t state the number.
IRC provisions require framing to be “dry” before enclosure but leave moisture percentage thresholds to industry standards and manufacturer specifications. Drywall manufacturer recommendations typically specify 15% maximum moisture content in framing before installation. Insulation manufacturer guidelines similarly call for dry framing, generally 15% or below, to prevent trapped moisture and product degradation. Professional builder standards and green building programs like LEED set ideal moisture content at 12% to 14% before closing walls. Regional code amendments in coastal or high-humidity climates sometimes add specific moisture testing and documentation requirements.
Building inspectors increasingly check moisture levels during framing and pre-drywall inspections, especially in jurisdictions that have seen moisture-related callbacks and failures. Some inspectors carry their own moisture meters and will test questionable framing before signing off on the insulation stage. If readings come back at 16% to 18%, expect a failed inspection and a requirement to dry the framing before proceeding.
Liability considerations make moisture documentation valuable even when not required by code. If a structure develops mold or moisture damage two years after construction, having dated moisture meter readings showing all framing was at or below 15% before drywall installation protects you from claims of negligent construction. Without that documentation, you may be held responsible for remediation costs regardless of whether you actually installed drywall over wet framing.
Installing drywall over wet framing can void material warranties and create insurance complications if damage occurs later. Product manufacturers explicitly exclude coverage for failures caused by installation over wet substrates, and property insurance policies often exclude coverage for damage resulting from poor construction practices or code violations.
Creating a Pre-Drywall Moisture Inspection Checklist
Before you schedule the drywall crew, walk the framing with a moisture meter and verify that everything meets the moisture requirements. Documented verification creates a clear decision point between wet framing that needs more time and dry framing that’s ready to close up.
Check that moisture meter readings taken at all critical stud locations show moisture content at or below target thresholds. That’s 15% for kiln-dried, 17% for pressure-treated, never above 19% for any lumber type. Document moisture readings marked directly on tested studs with percentages and dates written in permanent marker for project records. Confirm there’s no standing water, visible dampness, or wet spots anywhere in the structure including subfloors, sill plates, and framing cavities. Look for any mold growth, discoloration, or musty odors on any framing members or sheathing. Bottom plates need to be specifically tested and verified dry, with extra attention to areas where plates meet concrete slabs or damp subfloors. King studs at all door and window openings must be tested and approved, recognizing these doubled members take longest to dry. Headers over openings need testing, particularly engineered lumber headers which can hold moisture in their core layers. Subfloors should be tested across multiple locations and confirmed dry, with particular attention to plywood or OSB panels that may have been exposed to standing water. Adequate drying time should have elapsed based on initial moisture readings and weather conditions, with continuous moisture monitoring showing steady decline toward targets. HVAC, dehumidification, or forced-air drying systems should be operational and maintaining appropriate humidity levels if you’re relying on mechanical drying rather than passive air movement.
Photograph the moisture readings you’ve marked on studs throughout the structure. These photos become part of the project documentation showing construction sequencing was done correctly. If questions arise later about when framing was tested or what the readings showed, photos with metadata timestamps provide clear evidence.
Preparing Walls for Painting After Water Damage covers the complete sequence from wet framing through finished walls, including the drying verification steps that prevent moisture from being trapped during each construction phase.
This documented verification process protects against future disputes about whether framing was adequately dry before drywall installation. You can point to specific dated readings showing compliance with moisture standards. Homeowners have proof that reasonable care was taken to prevent moisture-related problems. If an insurance claim arises years later, documentation showing framing was tested and approved before enclosure strengthens the defense against claims of negligent construction.
Final Words
Start by measuring—get consistent moisture meter readings at the thresholds we covered: 12–15% for kiln-dried, up to 17% for treated, and never above 19%.
Test every 10th stud and bottom plates, use pin-type meters, mark readings, run fans and dehumidifiers, and avoid propane heaters that add moisture.
Document readings and use the pre-drywall checklist. If readings are in range and visual checks are clean, you’ll know how to know when wet framing is dry enough and can close walls with confidence.
FAQ
Q: How long does wet framing take to dry?
A: Wet framing takes about 3–5 weeks to drop from 18% to 14% in warm conditions (above 60°F); expect 6–12 weeks in cold, rainy weather and much longer if temperatures stay near or below freezing.
Q: Can you burn wood at 20% moisture?
A: You can burn wood at 20% moisture, but it burns poorly, produces more smoke and creosote; aim for 15% or lower for cleaner, hotter fires and safer chimney operation.
Q: Is 25 a high damp reading?
A: A 25% moisture reading is high for framing; readings above 19% raise mold and rot risk—do not enclose walls until readings reach target levels (12–15% for kiln-dried, up to 17% for treated lumber).
Q: How to dry out wet framing?
A: To dry out wet framing, stop water sources, remove standing water, run continuous fans plus a dehumidifier, consider indirect heat if needed, use a pin-type moisture meter, and document readings until targets are met.
