

Most people wait too long to pull up wet carpet, and by the time they start, mold’s already growing underneath. You’ve got maybe 24 to 48 hours before a wet carpet problem turns into a mold remediation job that costs thousands. The good news is pulling up wet carpet yourself is straightforward if you work fast, cut it into manageable sections, and get the subfloor completely dry before anything goes back down. This guide walks you through safe removal, what to check underneath, and how to avoid the mistakes that trap moisture and create bigger problems down the road.
Immediate Safety Assessment and Water Extraction

Before you touch anything, stop and assess the situation. Mold can start growing within 24 to 48 hours of water exposure, and standing water compromises subfloors, causes structural damage, and creates serious health hazards. First thing you need to determine is whether this job’s safe for you to handle yourself.
Turn off electricity to the affected area immediately if outlets, switches, or any electrical components are present. Never walk through standing water while power’s still on. Flip the breaker for that zone, then verify the power’s off before proceeding. If you’re uncertain which breaker controls that area, shut off the main breaker.
Next, identify what type of water you’re dealing with. Not all water damage is the same, and contamination level determines whether DIY removal is safe or if you need to stop and call professionals right now.
| Water Category | Source Examples | DIY Safe? |
|---|---|---|
| Clean/Category 1 | Broken supply pipes, overflowing sink, rainwater from open window, leaking water heater | Yes, proceed with proper safety gear |
| Gray/Category 2 | Washing machine overflow, dishwasher discharge, toilet overflow (urine only) | Caution, use extra protective gear, consider professional help |
| Sewage/Category 3 | Sewage backup, toilet overflow with feces, flooding from rivers or streams, any water that’s sat more than 48 hours | No, call professionals immediately, serious illness risk |
If you’ve determined the water’s clean and the power’s off, start extracting water immediately. Use a wet dry vacuum with consistent overlapping passes across the entire carpet surface. Empty the tank every 10 to 15 minutes because it won’t pull water effectively when full. Work from the outer edges toward the center of the room, making multiple passes over the same areas. Push down on the vacuum nozzle to compress the carpet and force water up where the suction can reach it. Don’t skip the padding underneath. If you can pull back a corner of the carpet, extract water directly from the padding as well.
After vacuuming, use clean towels to blot remaining surface moisture. Press firmly and move systematically across the floor. A squeegee can help push water toward the vacuum nozzle for a final extraction pass. Take photos of the damage from multiple angles, note the water source, and measure the affected area. If you’re filing an insurance claim, this documentation matters. Write down when you discovered the water and what time you started extraction.
Essential Tools and Safety Gear for Wet Carpet Removal

Gather everything you need before you start cutting or pulling carpet. Stopping mid project to run to the hardware store wastes critical drying time and leaves your subfloor exposed longer than necessary.
Wet carpet removal creates specific hazards. Tack strips have dozens of sharp nails pointing upward. Wet carpet weighs three to four times more than dry carpet and can strain your back. If the water source was questionable, you risk exposure to bacteria or mold spores during removal.
Essential equipment:
Safety gear. Waterproof work gloves, rubber boots with good traction, knee pads for cutting and pulling, N95 or better respirator mask (not just a dust mask), safety glasses or goggles.
Extraction tools. Wet dry vacuum (minimum 6 gallon capacity), extra vacuum filters.
Cutting tools. Heavy duty utility knife, package of replacement blades (at least 10), sharp scissors for detailed cuts.
Removal tools. Flat pry bar (12 inch works well), hammer, pliers with good grip, work gloves specifically for tack strip removal (leather palms).
Cleanup supplies. Heavy duty contractor trash bags (3 mil thickness minimum), spray bottle with cleaning solution, old towels, shop rags.
Most hardware stores rent wet dry vacuums for $30 to $50 per day if you don’t own one. Buying one costs $60 to $150 depending on capacity. For a one time project in a single room, renting makes sense. If you own property or have multiple rooms affected, purchasing saves money. You’ll use the other tools for future home projects, so buying a basic toolkit is worthwhile.
Preparing the Room and Clearing the Area

Once water extraction’s complete, remove all furniture and belongings from the affected area. Move items to a dry room or garage. If furniture’s been sitting in water, place plastic sheeting underneath it in its temporary location to prevent moisture transfer. Wipe down furniture legs and bases before relocating them.
Clear the entire floor to the walls. You need access to every edge and corner where carpet meets tack strips. Even a nightstand or small shelf left in place will slow you down and create obstacles when pulling carpet. Remove everything now.
Set up a staging area outside the room for rolled carpet sections and padding. If you’re working upstairs, figure out your removal path now. Wet carpet sections are heavy and awkward. You don’t want to navigate narrow hallways or stairs without a clear plan. Place heavy duty trash bags in your staging area and near your work zone for immediate bagging of removed materials.
Cutting Wet Carpet Into Manageable Sections

Wet carpet’s too heavy to remove in one piece, even in a small bedroom. Water adds significant weight, making a full room of carpet impossible for one or two people to handle safely. Cutting it into strips makes removal manageable and reduces injury risk.
Start in one corner of the room. Pull the carpet away from the tack strip by gripping it firmly and pulling straight up. You should feel it release from the pins. Once you have a section free, use your utility knife to score a straight line from that corner toward the opposite wall.
Cut carpet into three to four foot wide strips. Press the knife firmly but don’t force it through in one motion. Make several passes, cutting through the face fibers first, then the backing. Wet carpet dulls blades quickly, so change your blade after every few cuts. A dull blade requires more pressure and is more likely to slip.
Cutting process:
Pull carpet corner away from tack strip to create starting point. Score a straight line using a straightedge or chalk line as a guide. Make multiple passes with utility knife, increasing pressure with each pass. Cut through carpet backing completely before moving to next section. Keep fresh blades ready and swap them frequently.
If your room has carpet seams where two pieces were joined during installation, cut along those seams first. They separate easily and create natural breaking points. For transitions between rooms, cut right at the threshold or doorway. Don’t try to preserve transition strips if they’re in the affected area. Replace them during reinstallation.
Pulling Up Carpet Sections Safely
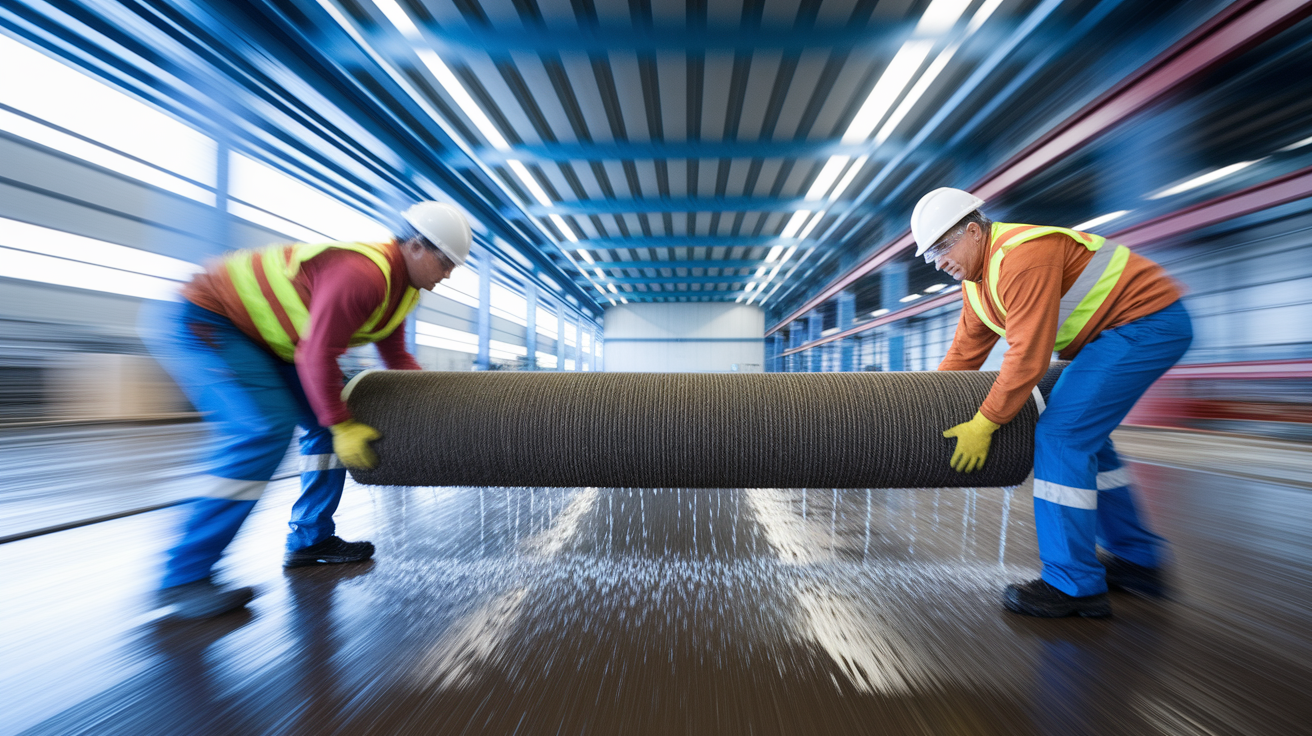
Wet carpet weighs considerably more than you expect. A 10 by 12 foot section of dry carpet weighs roughly 40 to 50 pounds. That same section when saturated can weigh 150 to 200 pounds or more. Don’t attempt this alone if the carpet’s heavily soaked.
Use proper lifting technique every single time. Bend at your knees, keep your back straight, and lift with your leg muscles, not your lower back. Grip the carpet firmly at the cut edge. If working with a partner, communicate before lifting and move together. One person pulls while the other steadies and guides.
Roll each cut section as you pull it up. Start from the corner where you made your first cut, fold the edge over itself, then continue rolling toward the opposite end. Rolling contains the water better than dragging flat sections and makes transport easier. Wet carpet drips continuously, so work quickly from pulling to bagging.
Place each rolled section directly into a heavy duty trash bag or onto a tarp for transport to your disposal staging area. Don’t leave wet carpet sitting in your house or garage. It’ll smell within hours and can spread mold spores. If you can’t dispose of it the same day, place it outside away from the house until pickup or drop off.
Removing Carpet Padding and Inspecting the Subfloor
Carpet padding must come out completely. It acts like a sponge, trapping moisture directly against your subfloor. Even if it feels only slightly damp, it’s holding more water than you realize and will cause mold growth underneath.
Padding typically staples to the subfloor or sometimes glues down partially. It tears easily when wet, which actually helps removal. Pull it up in sections, using pliers to grip edges if needed. Check for staples as you go and remove any that come loose. Like the carpet, bag padding immediately.
Once padding’s out, inspect your subfloor carefully. This step determines whether you have additional work before installing new flooring. Look for these warning signs:
Dark staining or discoloration. Indicates water penetration into the wood.
Warping or buckling. Boards lifting, cupping, or no longer flat.
Soft spots. Areas that give when you walk or press on them.
Visible mold growth. Spots or fuzzy patches.
Musty odor. Distinct smell even after carpet and padding removal.
Moisture readings above 15 to 20%. If you’re using a moisture meter.
Separation between boards. Gaps opening up where boards were tight.
Delamination. Plywood layers separating from each other.
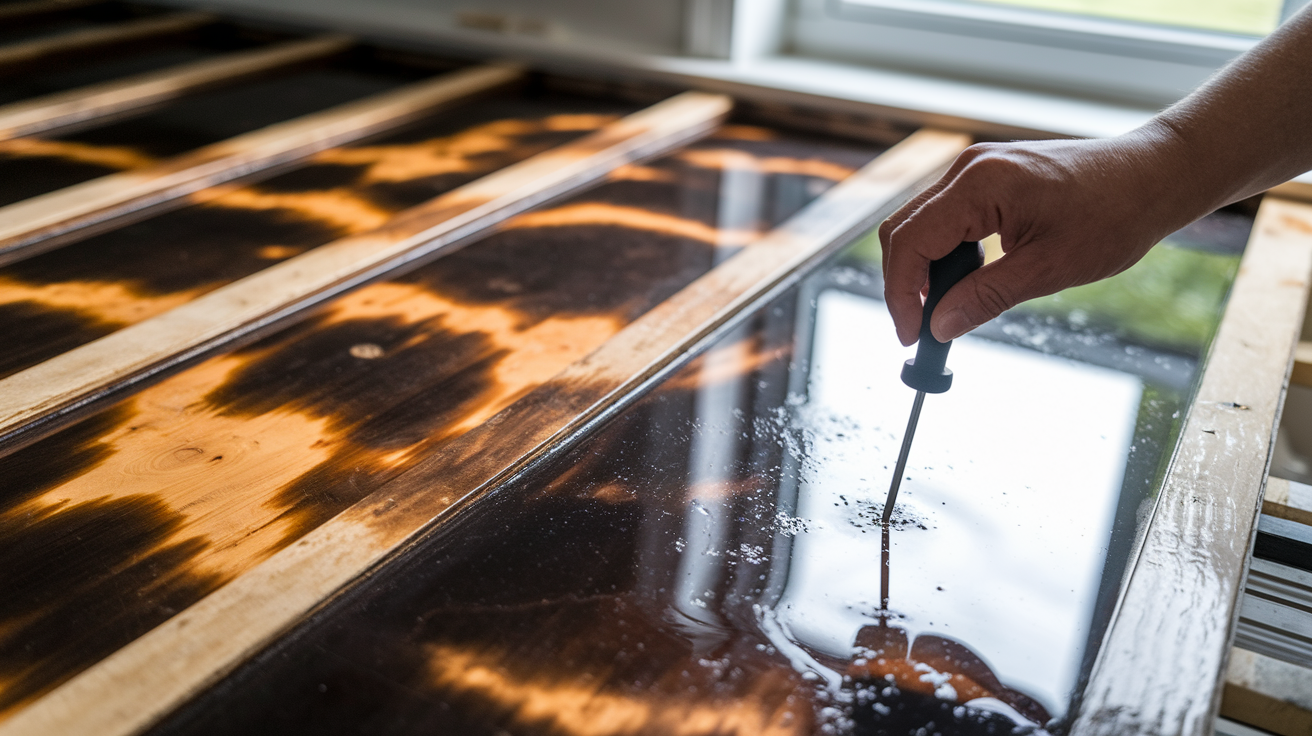
Wood subfloors require more attention than concrete. Wood holds moisture longer and is more susceptible to rot and mold. If you see any dark staining, test those areas with a screwdriver. Press the tip into the wood. If it penetrates easily or feels spongy, that section has water damage and needs replacement.
Concrete subfloors are more forgiving but still need inspection. Look for efflorescence (white chalky deposits), cracks that weren’t there before, or areas where water pooled. Concrete takes longer to dry than wood, sometimes several days even with fans and dehumidifiers running.
If you find significant damage, soft spots, or visible mold covering more than a few square feet, stop and consult a professional. Subfloor replacement or mold remediation requires specific expertise. Installing new carpet over compromised subflooring guarantees future problems.
Removing Carpet Tack Strips and Staples
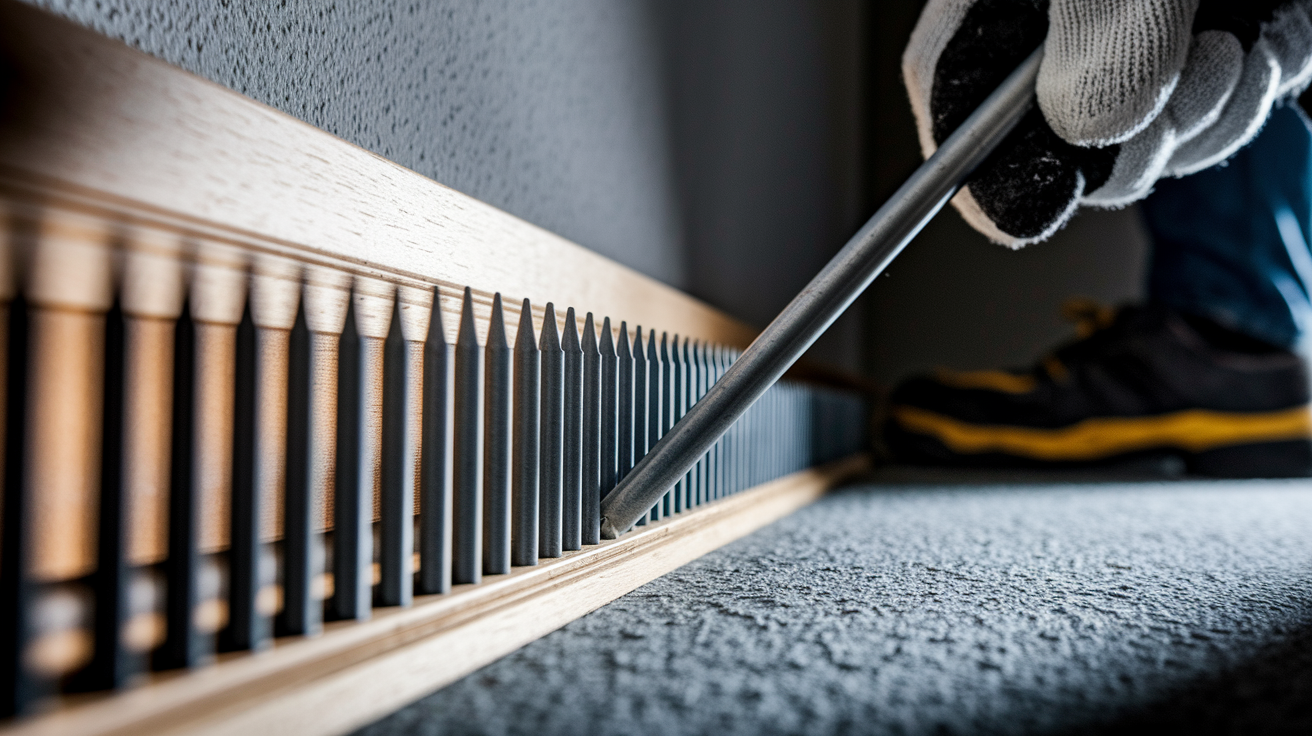
Tack strips line the perimeter of the room and hold carpet in place with dozens of angled nails pointing up. They’re sharp enough to puncture shoes and cause painful injuries. Put on heavy duty work gloves before handling them.
Slide a flat pry bar or small crowbar under the tack strip close to the wall. Apply gentle upward pressure to lift the strip away from the floor. The nails holding it down will release. Work along the entire length of each strip systematically.
Tack strip removal steps:
Position pry bar under strip near the wall end. Lift slowly with steady pressure until nails release. Move pry bar 6 to 12 inches down the strip. Repeat lifting process along entire length. Immediately place removed strip nail side down into trash bag.
Place each removed strip directly into a heavy duty trash bag with nails pointing down and inward. Don’t leave them lying on the floor even temporarily. One misstep onto exposed nails will end your workday.
After removing tack strips, inspect the floor for remaining staples from the padding. Use pliers to pull out each staple individually. Run your gloved hand carefully across the floor surface to feel for any you missed. Every staple needs to come out before you can clean and dry the subfloor properly.
Check your baseboards while the carpet’s up. If water wicked up into the baseboards or they show staining, warping, or damage, remove them for proper drying or replacement. Use a thin pry bar behind the baseboard, working carefully to minimize wall damage. If the baseboards are in good condition, leave them in place and clean them during the sanitization step.
Drying, Treating, and Sanitizing the Subfloor

Do not skip the drying phase. Installing new flooring over damp subflooring creates a sealed environment where mold thrives invisibly until it causes serious structural damage or health problems. The subfloor must be completely dry before any new materials go down.
Position fans around the room’s perimeter angled across the floor surface. Create cross ventilation by opening windows and doors if weather permits. Run a dehumidifier continuously in the affected room. Check and empty it regularly because it won’t function when the collection tank fills. The goal is moving air across the floor constantly and pulling moisture out of the air simultaneously.
Drying time varies significantly based on subfloor material, humidity levels, and how long water was present.
| Subfloor Type | Typical Drying Time | Equipment Needed |
|---|---|---|
| Concrete | 3 to 5 days | High capacity dehumidifier, multiple floor fans, moisture meter recommended |
| Plywood | 2 to 4 days | Dehumidifier, fans, moisture meter essential for verification |
| Oriented Strand Board (OSB) | 3 to 5 days | Dehumidifier, fans, moisture meter essential (OSB holds water longer than plywood) |
Check progress by touching the floor. It should feel dry and room temperature, not cool or clammy. A moisture meter provides objective readings. Wood subfloors should read below 12% moisture content. Concrete should be below 4 to 5%. If you don’t own a moisture meter, many hardware stores rent them for $20 to $30 per day.
Once the floor’s dry, clean it even if the water source was clean. Residual minerals, dirt tracked in during the water event, and potential bacterial growth need to be removed. For wood subfloors, use a mild detergent solution (dish soap and water works). Mop or wipe the entire surface, then dry it immediately with clean towels. Don’t introduce more moisture than necessary.
For concrete, use a concrete cleaner or a mixture of water and trisodium phosphate (TSP). Scrub with a stiff brush, rinse if needed, then use fans to dry it completely again. If the water source was questionable (washing machine overflow, groundwater seepage), use an antimicrobial cleaning solution instead of plain detergent.
Before considering the floor ready for new installation, do a final inspection. Is it completely dry? Is it clean with no visible residue or staining? Does it feel structurally sound with no soft spots or movement? Is there zero musty or damp odor? If you answer no to any of these, continue drying and treating the subfloor.
Proper Disposal Methods for Wet Carpet Materials

Wet carpet, padding, and tack strips go straight into heavy duty trash bags as soon as you remove them. Bagging immediately contains mold spores, bacteria, and odors. Don’t leave materials sitting in your garage or yard uncovered.
A typical 12 by 15 foot room generates roughly 200 to 300 pounds of wet carpet and padding. That’s a substantial volume. Plan disposal logistics before starting removal so you’re not stuck with bags of moldy materials.
Check your local waste management regulations before putting anything at the curb. Many municipalities require advance notice for bulk items or have restrictions on carpet disposal. Some require bagging, others accept bundled carpet sections.
Disposal options:
Curbside bulk trash pickup. Call your waste management provider 24 to 48 hours in advance, verify they accept wet carpet, confirm any preparation requirements (bagging, bundling, size limits), and schedule a pickup date.
Dumpster rental. Cost effective for whole home projects, typical rental runs $250 to $400 for a week, eliminates multiple trips and schedule coordination.
Municipal waste facility drop off. Usually accepts carpet and building materials, expect fees of $20 to $60 based on weight, bring ID and proof of residence.
Specialized hazardous waste disposal. Required if sewage contamination was involved, contact local health department for approved facilities.
Carpet recycling programs. Available in some areas for uncontaminated carpet only, check Earth911 or local recycling centers for availability.
Don’t try to cut corners by dumping materials illegally. It’s a health hazard, potential environmental violation, and can result in significant fines.
When to Call Professional Restoration Services

Some situations are beyond reasonable DIY scope, either because of contamination risks, scale, or the specialized equipment needed for safe and effective remediation.
Professional restoration companies bring commercial grade extraction equipment, air movers, dehumidifiers, antimicrobial treatments, and structural drying expertise that DIY methods can’t match. They also provide documentation for insurance claims and warranty protection if problems develop later.
Signs you need professional help:
Sewage or toilet backup involved. Contaminated water carries serious pathogens requiring professional grade disinfection and protective equipment.
Water’s been present more than 48 to 72 hours. Mold has likely established and requires professional assessment and remediation.
Visible mold growth covering large areas. More than 10 square feet of mold growth is beyond DIY scope per EPA guidelines.
Musty smell persists after removal and drying. Indicates hidden mold or moisture you haven’t addressed.
Subfloor shows significant warping or structural damage. Requires expert evaluation and potential structural repairs.
Water affected multiple rooms or floors. Scale makes DIY impractical and risks missing hidden moisture pockets.
Valuable or antique flooring underneath. Hardwood or specialty floors require professional restoration techniques.
Health concerns. Elderly residents, young children, or anyone with respiratory conditions shouldn’t be exposed to mold or cleaning chemicals.
Insurance claim complexity. Professionals provide detailed documentation that supports claims and prevents disputes.
Standing water deeper than 2 inches initially. Volume suggests larger plumbing or structural issues requiring professional diagnosis.
Hiring professionals for contaminated water scenarios isn’t excessive caution. Gray and sewage water contain bacteria, viruses, and chemicals that cause illness. Professional crews wear appropriate protective equipment and use EPA approved antimicrobials that eliminate pathogens DIY products don’t address.
The cost difference between DIY and professional services runs roughly $1,000 to $3,000 for a standard room versus $200 to $500 DIY. That gap narrows significantly when you factor in equipment rental, disposal fees, and the value of your time. If the damage involves multiple rooms or contaminated water, paying for professional expertise prevents health risks and ensures the job’s done correctly once.
Common Mistakes When Removing Wet Carpet Yourself
Errors during DIY carpet removal create problems that are more expensive and time consuming to fix than the original water damage. Most mistakes stem from rushing, skipping steps, or underestimating how thoroughly moisture must be addressed.
Mistakes to avoid:
Waiting too long to start removal. Every hour beyond 24 increases mold risk exponentially. Starting at 48 hours means mold’s likely already growing.
Skipping water extraction before cutting carpet. Increases weight dangerously and allows water to continue soaking into subfloor during removal process.
Leaving padding in place. Single biggest mistake. Padding holds moisture directly against subfloor guaranteeing mold growth and wood damage.
Not inspecting or drying subfloor thoroughly. Installing over damp subflooring seals in moisture creating perfect mold environment.
Reusing tack strips. Old strips are weakened, have bent nails, and rarely reinstall securely. New strips cost $15 to $30 per room.
Inadequate ventilation during drying. Running one small fan doesn’t move enough air. You need multiple fans plus a dehumidifier for effective drying.
Disposing materials without proper bagging. Mold spores spread throughout your house during transport. Bag everything immediately.
Not documenting damage for insurance. Take photos before and during removal. Insurance adjusters need documentation to process claims.
If you encounter carpet that was glued directly to the floor instead of laid over tack strips, you have additional work. Glued carpet requires more aggressive removal. Score it into smaller sections, then use a floor scraper to pry it up bit by bit. Adhesive residue stays behind and must be removed with adhesive remover solvent before new flooring installation.
Stubborn tack strips that won’t release sometimes break rather than lift cleanly. When this happens, use pliers to pull out the remaining nails individually, then pry out wood fragments. It takes longer but ensures a clean floor for reinstallation.
The biggest time saving approach is methodical preparation. Gather all tools, map your process, and work systematically from extraction through disposal. Shortcuts like partial padding removal or rushing the drying phase create work you’ll have to redo when problems surface.
Cost Breakdown and Time Investment for DIY Wet Carpet Removal
Removing wet carpet yourself requires a time investment that varies based on room size, carpet condition, and whether you’re working alone or with help. A small bedroom (10 by 12 feet) typically takes 4 to 6 hours from extraction through cleanup. A large living room (15 by 20 feet) can require 8 to 10 hours. Whole floor projects spanning multiple rooms run 2 to 3 days of intensive work.
Budget for equipment purchases or rentals, disposal fees, and cleaning supplies. If you already own basic tools, costs drop significantly.
| Expense Category | Estimated Cost | Notes |
|---|---|---|
| Tool purchases | $40 to $100 | Utility knife, pry bar, hammer, pliers if not already owned |
| Safety gear | $30 to $60 | Gloves, respirator mask, knee pads, safety glasses |
| Wet dry vacuum rental | $35 to $50/day | Or $80 to $150 to purchase, rentals available at hardware stores |
| Dehumidifier rental | $40 to $60/day | Commercial grade preferred, plan for 3 to 5 days minimum |
| Disposal fees | $30 to $100 | Bulk pickup, waste facility fees, or dumpster rental $250+ for large projects |
| Cleaning supplies | $20 to $40 | Heavy duty trash bags, cleaning solution, antimicrobial treatment |
| Total DIY cost | $195 to $410+ | Single room, assuming you already own basic tools |
Professional water damage restoration for the same room typically costs $1,200 to $2,500 depending on contamination level and extent of drying needed. That includes extraction, removal, antimicrobial treatment, professional drying equipment, disposal, and documentation. For clean water in a single room where you can do the physical work, DIY saves substantial money. For contaminated water, multiple rooms, or situations requiring structural repairs, professional costs often end up lower than DIY attempts that miss hidden moisture or contamination.
Preventing Future Water Damage and Carpet Issues
Going through water damage recovery once is enough to motivate serious prevention measures. Small investments in monitoring and maintenance prevent the entire cycle from happening again.
Prevention strategies:
Regular plumbing inspections and hose replacements. Check supply lines to washing machines, dishwashers, and toilets every 6 months. Replace rubber hoses with braided steel lines that resist rupture.
Water leak detector installation in high risk areas. Place battery operated or smart detectors near water heaters, under sinks, behind toilets, and near washing machines. Models start at $15 and send alerts to your phone.
Proper grading and drainage around foundation. Ensure ground slopes away from house. Clean gutters seasonally and extend downspouts 4 to 6 feet from foundation.
Regular HVAC and appliance maintenance. Service HVAC systems annually to prevent condensate line clogs. Inspect appliance connections and seals yearly.
Sump pump testing and backup systems. Test sump pump quarterly. Install battery backup system if basement’s prone to seepage. Cost runs $300 to $500 but prevents disaster.
Quick response protocols when leaks detected. Know where main water shutoff’s located. Keep wet dry vacuum accessible. Establish family communication plan for water emergencies.
Choosing water resistant flooring for basements and bathrooms. Luxury vinyl plank, tile, or sealed concrete prevent absorption that leads to mold. Carpet in basements is high risk.
Proper ventilation in moisture prone areas. Run bathroom exhaust fans during and 20 minutes after showers. Use dehumidifiers in basements during humid months.
Document your prevention measures and maintenance schedule. If you file an insurance claim, proving you took reasonable prevention steps strengthens your position. Take photos of new supply lines, leak detectors, and drainage improvements. Keep receipts for professional inspections and equipment purchases.
Consider increasing insurance coverage for water damage if you live in a flood prone area or have an older home with aging plumbing. Standard homeowner policies cover sudden internal water damage but often exclude flooding from external sources. Separate flood insurance through FEMA’s National Flood Insurance Program fills that gap.
Final Words
Pulling up wet carpet yourself is manageable if you act fast, prioritize safety, and follow the right sequence. Start with the power shutoff and water assessment, extract standing water immediately, and don’t skip the subfloor drying step.
The work is physical and time-sensitive, but it’s doable with basic tools and a clear plan.
If you catch Category 1 water damage early and give yourself enough drying time, you can save money and prevent mold from taking hold. When in doubt, stop and call a pro. You’ve already handled the hardest part by taking control of the situation quickly.
FAQ
How do you pull back wet carpet?
To pull back wet carpet, start by cutting the carpet into manageable 3-4 foot wide strips using a utility knife, beginning at one corner. Peel the cut sections away from the tack strips slowly, using a partner to help with heavily saturated pieces that weigh 3-4 times more than dry carpet.
Can you pull up carpet yourself?
You can pull up carpet yourself if the water came from a clean source like a broken supply line or overflowing sink and no electrical hazards are present. Stop and call professionals immediately if the water involves sewage backup, has been standing more than 48-72 hours, or shows visible mold growth.
What draws moisture out of carpet?
A wet-dry vacuum draws moisture out of carpet most effectively through repeated overlapping passes, emptying the tank every 10-15 minutes. After vacuuming, position fans across the floor and run a dehumidifier to extract remaining moisture from both the carpet and the air.
Can you vacuum up wet carpet?
You can vacuum up wet carpet using a shop vac or wet-dry vacuum designed for water extraction, not a regular household vacuum. Work from the edges inward with overlapping passes, and extract water from both the carpet surface and padding underneath for best results.
How long does wet carpet take to dry?
Wet carpet typically takes 24-48 hours to dry with proper extraction and air circulation, but padding and subfloor require additional drying time. Concrete subfloors may need 3-5 days while plywood can take 5-7 days depending on saturation level and ventilation.
When should wet carpet be removed?
Wet carpet should be removed immediately if water has been present for more than 48 hours, the source was contaminated (gray or black water), or you notice visible mold growth or persistent musty odors. Clean water damage caught within 24 hours may allow for drying without removal.
What tools do you need to remove wet carpet?
You need a wet-dry vacuum for extraction, utility knife with extra blades for cutting, pry bar and hammer for tack strips, heavy-duty gloves for safety, and knee pads to reduce strain. Additional supplies include waterproof boots, respirator mask, heavy-duty trash bags, and cleaning solution for the subfloor.
How do you cut wet carpet into sections?
To cut wet carpet into sections, start at one corner and score a straight line with a utility knife, then make repeated cuts through the backing without forcing the blade. Create 3-4 foot wide strips for easier rolling and handling, keeping fresh blades available since wet carpet dulls them quickly.
Do you have to remove carpet padding when carpet gets wet?
You must remove carpet padding when carpet gets wet because padding traps moisture against the subfloor and creates ideal conditions for mold growth within 24-48 hours. Wet padding cannot be effectively dried in place and will cause ongoing damage even if the carpet surface appears dry.
How do you check subfloor for water damage?
Check subfloor for water damage by looking for dark staining, warping, soft spots when walking, visible mold growth, musty odors, and moisture readings above 15-20% with a meter. Separation between boards, delamination, or buckling indicates serious damage requiring professional assessment before installing new flooring.
How do you remove carpet tack strips safely?
Remove carpet tack strips safely by wearing heavy-duty gloves and sliding a flat bar under the strip near the wall, then applying gentle upward pressure along the entire length. Place removed strips nail-side-down immediately in a heavy-duty bag to prevent injuries from the sharp upward-pointing nails.
How long to dry subfloor after water damage?
Drying subfloor after water damage takes 3-5 days for concrete and 5-7 days for plywood with proper fan placement and dehumidification. Never install new flooring until the subfloor moisture reading drops below 12-15% and the surface feels completely dry to the touch with no musty odor.
How do you dispose of wet carpet?
Dispose of wet carpet by immediately bagging all sections to contain mold spores, then arranging curbside bulk pickup, dumpster rental, or municipal waste facility drop-off according to local regulations. Sewage-contaminated materials require specialized hazardous waste disposal, not regular trash pickup.
When do you need professionals for wet carpet removal?
You need professionals for wet carpet removal when sewage or toilet backup is involved, water has been present more than 48-72 hours, visible mold covers large areas, or the subfloor shows significant structural damage. Gray or black water categories require immediate professional intervention due to contamination and health risks.
How much does DIY wet carpet removal cost?
DIY wet carpet removal typically costs $150-$400 for a standard room including tool rentals, safety gear, extraction equipment rental, disposal fees, and cleaning supplies. Professional services range from $500-$1,500 for comparison, but contaminated water situations always require certified professionals regardless of cost.
