

Most people think removing water damaged baseboards is just about prying them off the wall. Wrong. It’s about doing it without punching holes in your drywall, snapping reusable trim, or missing hidden mold that’ll cost you thousands later. This guide walks you through the actual sequence that works: the right tools, how to tell if you can handle it yourself, and the step-by-step process that protects your walls and keeps you safe from contaminated materials.
Essential Safety Gear and Tools for Baseboard Removal

Water damaged materials don’t just look bad. They hide things you don’t want to meet without protection. Mold spores, nails sticking out at weird angles, splinters ready to dig into your palm. Get your gear together before you start so you’re not making emergency runs to the store halfway through the job.
Safety Equipment:
- Safety glasses because debris flies when you’re prying things apart
- Work gloves for grip and keeping splinters out of your hands
- Dust mask or respirator (N95 minimum) if there’s any chance of mold
- Knee pads since you’ll be on the floor more than you think
- Closed toe shoes to protect your feet from dropped tools and nails
Required Tools:
- Sharp utility knife with extra blades
- Thin putty knife (1 to 2 inch width)
- Flat pry bar
- Hammer
- Wood block or scrap board for wall protection
- Pliers or nail puller
- Bucket for nail collection
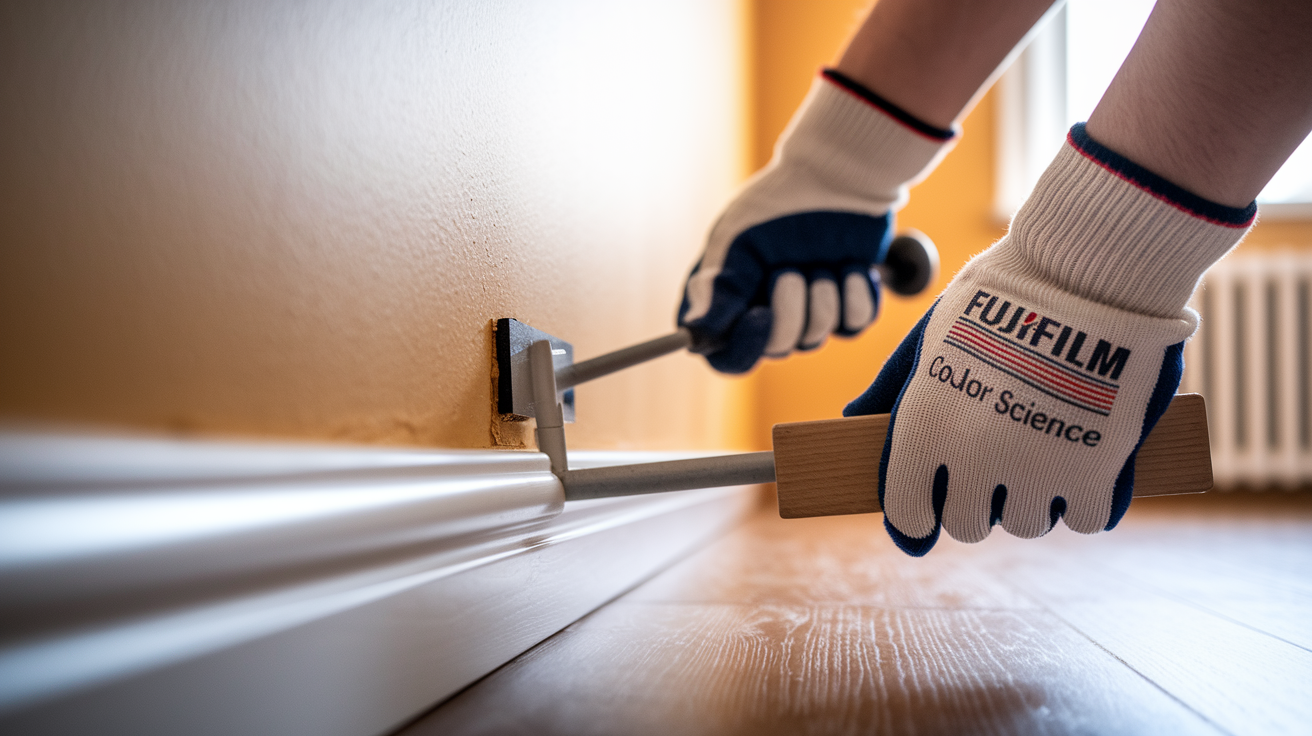
Use that wood block against the wall when you’re prying. It spreads the force out and keeps you from punching holes in your drywall. Spending two dollars on a scrap board saves you from patching and repainting later.
Assessing Water Damage and Determining DIY Feasibility

Look at what you’re dealing with before you start pulling boards. A careful assessment now prevents you from getting halfway through a project that’s actually way over your head or discovering safety issues you can’t handle.
Visible Signs of Water Damage:
- Paint peeling or bubbling on the baseboard
- Swelling or warping of the wood
- Discoloration or water stains
- Soft spots when you press on the wood
- Visible mold or mildew patches
- Musty smell indicating moisture you can’t see yet
- Baseboards pulling away from walls
You can probably handle the removal yourself if the damage stays in a small area with no structural problems. Minor mold under 10 square feet, no sewage involved, and damage caught within a day or two all point toward a manageable DIY job. Clean water from a supply line that you caught fast? Your odds just went up.
Situations Requiring Professionals:
- Mold growth over 10 square feet
- Water from sewage or contaminated sources
- Structural damage to wall framing or subfloor
- Electrical components near the water damage
- Historic or custom millwork that needs specialized matching
Take photos of everything before you touch anything. Document what the baseboards look like, what’s happening with the walls, how the flooring looks. These photos back up insurance claims and help you track what actually needs fixing. Note any buckling in the floor, discoloration creeping up the walls past the baseboard line, or spots where damage extends beyond just the trim.
Step by Step Baseboard Removal Process
Careful removal keeps your walls intact and might let you save the baseboards. Good technique saves time and cuts down on the reconstruction work waiting for you. Rush through this and you’ll crack baseboards, tear drywall paper, or damage trim that could have been reused.
There’s a sequence that works. Skip around and you’ll fight boards that won’t budge, tear up drywall, or snap trim that should have come off clean.
- Score the caulk and paint seal along the top edge with shallow utility knife cuts
- Run the knife along vertical seams or joints between baseboard sections
- Double check your scoring along the whole length to make sure everything’s separated
- Remove quarter round or shoe molding first if it’s there
- Start at an outside corner where you’ve got easier access to seams
- Slide the thin putty knife behind the baseboard at your starting point
- Tap the putty knife gently with a hammer to create a gap
- Put the wood block against the wall and work the pry bar into the gap
- Move along the board slowly, prying every 12 inches or so
- Pull the board away once it’s loose along the whole length
Patience matters. Work slowly and check as you go. If the board won’t budge, you probably missed a painted or caulked section still holding tight. Go back and score deeper. Forcing a stuck board just cracks the trim and gouges the drywall, which means patching, sanding, and repainting you didn’t need to do.
Removing Shoe Molding and Quarter Round from Baseboards

Shoe molding and quarter round are those small decorative trim pieces sitting at the bottom of the baseboard where it meets the floor. They’re thinner and more delicate than the main baseboard, so you need a gentler hand.
Start here if your baseboards have this trim. Slide the thin putty knife behind the molding and tap gently with your hammer. Work along the length, making small gaps every few inches. The molding should start separating without much force.
Pull finish nails through the back of the molding, not through the face. Grab the nail point with pliers and pull it back the way it came in. Pulling nails out the front splits thin molding almost every time. Get all the nails out of both the molding and the baseboard before moving on. Leftover nails are safety hazards and make reinstallation harder.
Inspecting Wall Cavities and Subfloor for Hidden Damage

Pulling baseboards off shows you what was happening behind the scenes. Water damage you can see on the baseboard face is often just the start.
What to Inspect:
- Drywall for staining, discoloration, or soft spots
- Mold colonies on wall surfaces and in corners
- Insulation inside the wall cavity for saturation or compression
- Wall studs for rot, dark staining, or structural weakness
- Subfloor and flooring edges for water damage or mold
- Efflorescence (white mineral deposits) showing moisture migration
Use a moisture meter if you’ve got one, or just do a touch test. Press on the drywall and subfloor. Does it feel damp? Does it give more than it should? Materials need to register below 16% moisture content before you can close things back up. Sealing up damp materials is like putting a lid on warm leftovers. It traps moisture and creates perfect conditions for mold.
Take detailed photos of what you find. Document water staining patterns, where mold’s growing, soft spots, any structural damage. These photos guide how much work you’ll need to do and back up insurance claims if you’re filing. Note which walls got hit and how far up the damage goes.
Salvaging vs. Replacing Water Damaged Baseboards

Whether you can save the baseboards depends on how bad things are and what they’re made from. Solid wood’s got the best shot at recovery. MDF and composite materials usually need replacing once water gets in.
Signs Baseboards Must Be Replaced:
- Severe warping or twisting that won’t straighten out
- Crumbling or soft wood showing rot
- Visible mold growing into the wood fibers
- Big cracks or splits along the length
- MDF baseboards with significant swelling
- Laminate or veneer layers separating
| Baseboard Material | Salvage Potential After Water Damage |
|---|---|
| Solid wood | Good if caught early; can often be dried, sanded, and refinished |
| MDF | Poor; swells permanently and loses structural integrity |
| Composite/finger joint | Fair; depends on extent of swelling and joint separation |
| Vinyl/PVC | Excellent; can be cleaned and reinstalled in most cases |
Number each salvaged piece on the back with permanent marker. Use room abbreviations like BR1 for Bedroom, LR for Living Room, or RR1, RR2, RR3 for Rec Room. Mark the wall locations with painter’s tape and matching numbers. Note any cut angles, special features, or measurements that’ll matter when you’re putting things back.
Bundle and label baseboards by room, then store them flat in a safe, dry spot while you finish repairs. Leaning baseboards against a wall for weeks can warp them in ways water damage never did.
Drying and Cleaning the Area After Baseboard Removal
Complete drying before you put anything back isn’t optional. Seal up damp walls and you’re growing mold behind your brand new baseboards.
Get any standing water out first with a wet vac or towels. Then set up actual air movement and moisture removal.
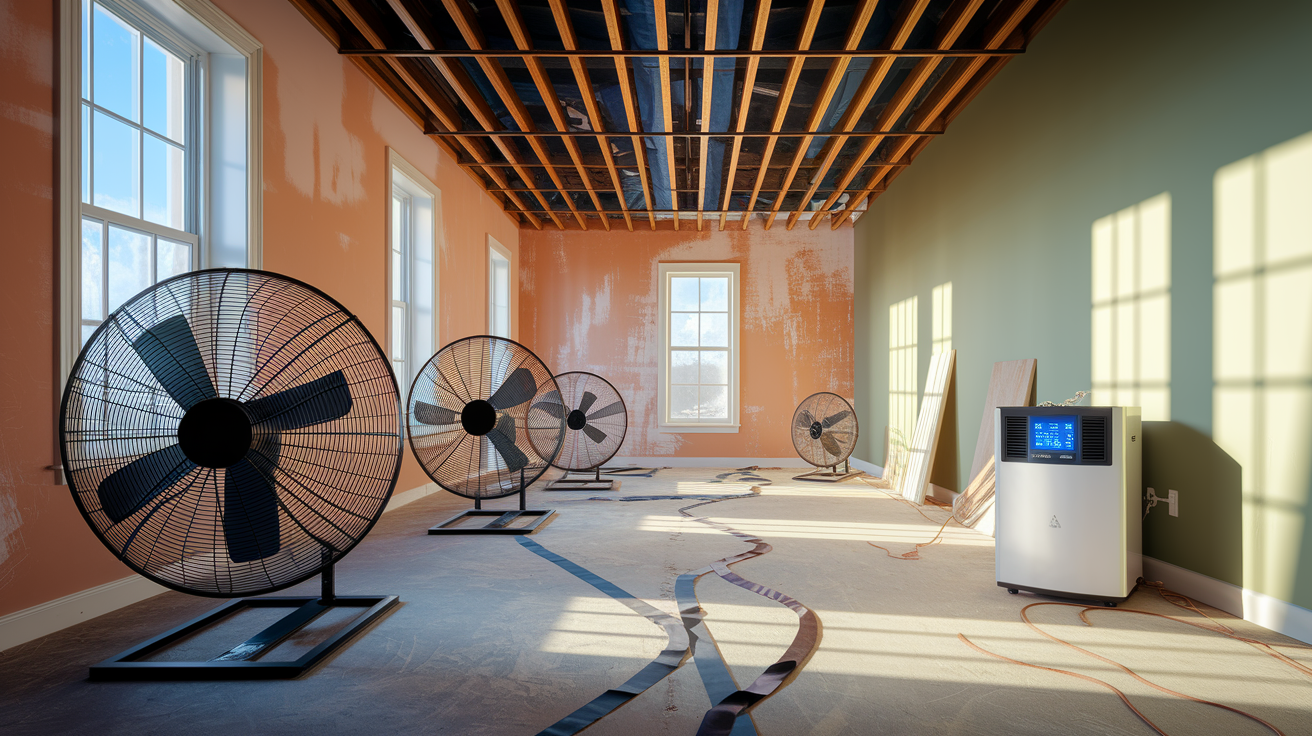
Drying Steps:
- Remove standing water with wet vacuum or towels
- Position fans to move air across affected walls
- Run a dehumidifier in the space for 48 to 72 hours minimum
- Monitor moisture with a meter until readings return to normal
- Clean wall surfaces with diluted bleach solution (1 to 10 ratio) if mold’s present
- Let surfaces dry completely before sanding or repairs
Timeline matters here. Light surface moisture might dry in 24 to 48 hours with good ventilation. Saturated drywall and studs can take 3 to 5 days with fans and a dehumidifier running continuously. High humidity areas or homes without central air take longer. Don’t trust how things look or feel. Use a moisture meter or wait an extra day past what seems dry enough.
Mold Remediation on Walls After Water Damaged Baseboard Removal

Small mold problems under 10 square feet are DIY manageable if you take proper precautions. Larger colonies or mold inside wall cavities need professionals.
- Wear an N95 mask, gloves, and eye protection during cleanup
- Contain the area with plastic sheeting to keep spores from spreading
- Apply EPA registered mold cleaner or 1 to 10 bleach solution
- Scrub affected surfaces with a stiff brush
- HEPA vacuum the area after surfaces are completely dry
Call professionals when mold exceeds 10 square feet, goes deep into the wall cavity, or if you’ve got health concerns like asthma or immune issues. Water damage from sewage or contaminated sources always needs professional remediation. The health risks from doing it wrong aren’t worth the money you might save.
Prevention starts with proper drying and ventilation. Mold needs moisture, warmth, and organic material. You can’t control the warmth or the drywall and wood studs in your walls, but you can control moisture. Keep humidity below 60% during drying and maintain good airflow until repairs are done.
Repairing Drywall Damage Behind Removed Baseboards
Water exposure and the removal process both leave marks on drywall. Nail holes, cracks, water stained areas, and soft sections all need attention before new baseboards go up.
| Damage Type | Repair Method | Materials Needed |
|---|---|---|
| Nail holes | Fill with spackle, sand smooth | Lightweight spackle, putty knife, sandpaper |
| Small cracks | Fill with joint compound, tape if needed | Joint compound, paper tape, putty knife |
| Water stained areas | Prime with stain blocking primer | Stain blocking primer, paintbrush or roller |
| Soft/damaged sections | Cut out and replace with new drywall | Drywall patch, joint compound, tape, saw |
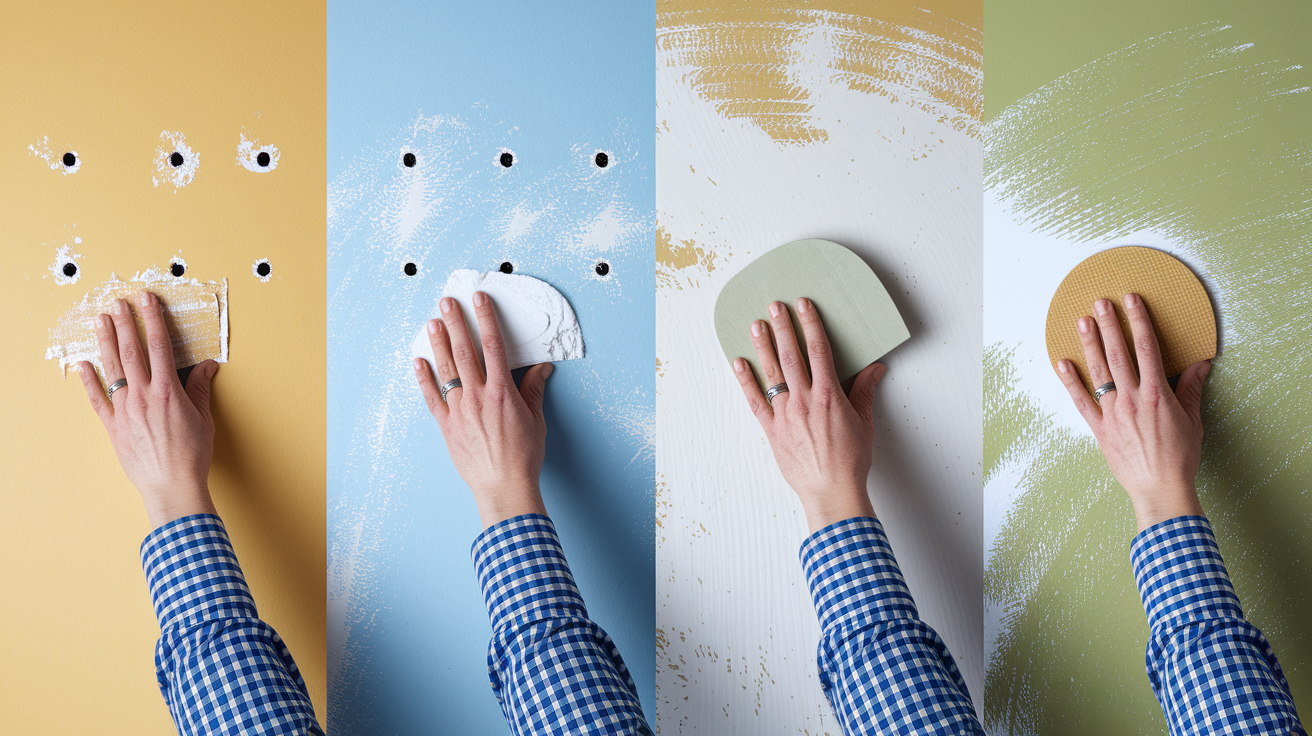
For minor damage, apply spackle to nail holes and small cracks with a putty knife. Let it dry completely, usually 2 to 4 hours depending on thickness. Sand smooth with 120 grit sandpaper until the repair’s flush with the surrounding wall. Prime repaired areas with stain blocking primer before painting.
Drywall needs cutting out and replacing when you find soft spots that compress under finger pressure, extensive mold growth on the surface, or visible structural damage to studs behind the drywall. Don’t patch over serious problems. Cut back to solid material, replace what’s damaged, and do it right.
Removing Nails and Cleaning Baseboard Pieces for Reinstallation
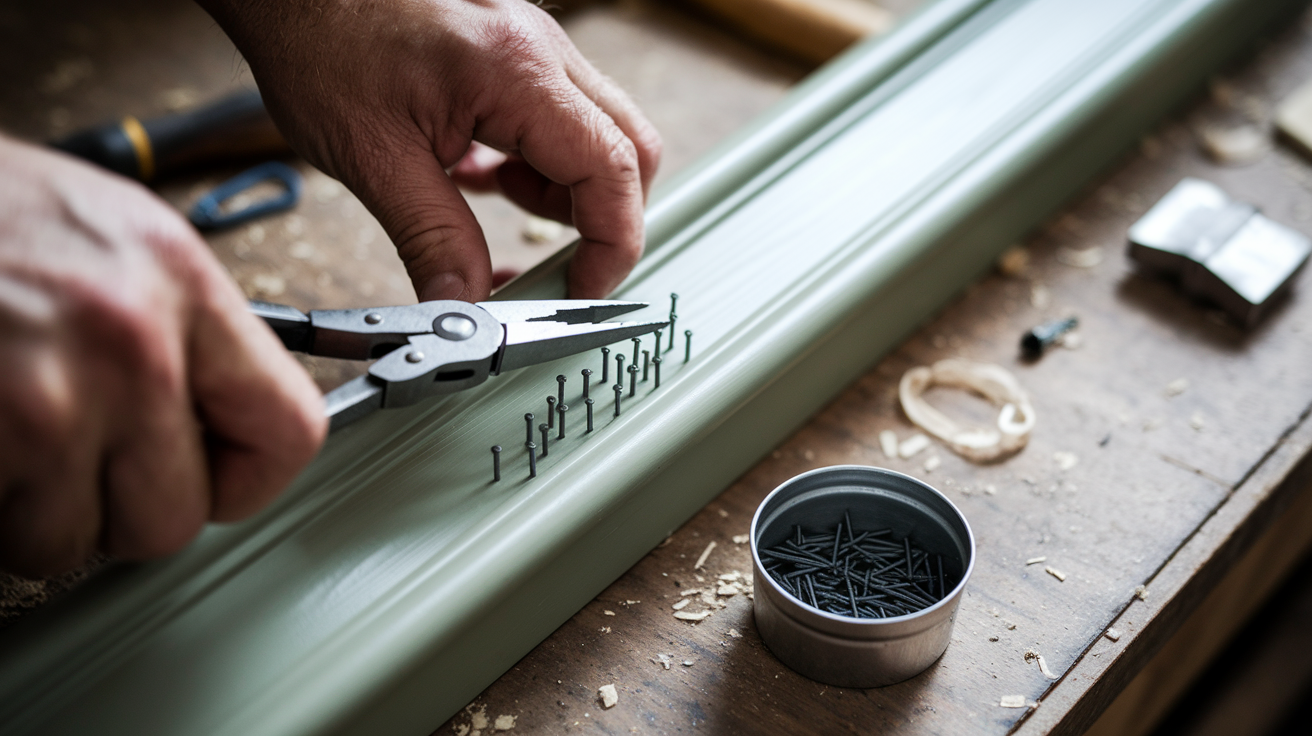
Pull nails from the back side using pliers or a nail puller. Grip the nail point and pull it back through the way it entered. Pulling nails out through the face splits and damages the wood, leaving you with cracked trim showing nail holes on the visible surface.
Clean salvaged baseboards by removing old caulk, adhesive residue, and paint buildup. Use a putty knife to scrape off caulk lines and construction adhesive. Sandpaper (80 to 120 grit) removes paint drips and smooths rough spots. Work carefully around decorative details or routed edges.
Light sanding prepares the surface for touch up painting. Sand just enough to smooth repairs and scuff the existing finish so new paint sticks. Wipe down with a damp cloth to remove dust before priming or painting. If the baseboards were originally painted, a fresh coat before reinstalling gives cleaner results than trying to touch up after. Touch ups always show more than you expect.
Installing New or Repaired Baseboards After Water Damage
Confirm walls and floors are completely dry before installation. Check one more time with a moisture meter or by touch. Starting installation over damp surfaces wastes all the work you just did.
- Measure wall lengths accurately and transfer measurements to the baseboard
- Cut baseboards to length using a miter saw for corner joints
- Pre paint or stain new baseboards before installation
- Apply construction adhesive to the back of the baseboard in a zigzag pattern
- Press firmly against the wall and check for level
- Secure with a finish nailer every 16 inches into wall studs
- Set nails slightly below the surface with a nail punch
Install shoe molding or quarter round next if your baseboards originally had them. Check for gaps between the baseboard and wall, especially along uneven sections. Small gaps up to 1/4 inch can be filled with caulk. Larger gaps might mean wall irregularities needing attention or baseboards that weren’t cut quite right.
Finishing Touches: Caulking, Filling, and Painting Reinstalled Baseboards
Caulk the top edge where baseboards meet the wall using paintable latex caulk. Run a thin bead along the joint, then smooth it with a wet finger for a clean finish. Caulk where baseboards meet flooring in bathrooms, kitchens, and laundry rooms using waterproof caulk to prevent future moisture intrusion.
Fill nail holes with wood filler or spackle depending on whether you’re staining or painting. Wood filler for stained baseboards, spackle for painted ones. Apply slightly more than needed since most fillers shrink as they dry. Allow proper drying time, usually 30 minutes to 2 hours.
Sand filled nail holes lightly with 120 grit sandpaper until smooth and flush with the baseboard surface. Wipe away dust before painting or staining.
Touch up painting or full repainting depends on how well your salvaged baseboards match after cleaning. For new wood baseboards, prime first with quality primer, then apply two coats of paint. This prevents wood tannins from bleeding through and gives better coverage than paint alone.
Waterproofing and Preventing Future Baseboard Water Damage
Prevention costs less than repeated repairs. Most water damage to baseboards comes from preventable sources you can address with routine maintenance and a few inexpensive upgrades.
One round of baseboard removal and replacement teaches you everything you need to know about not wanting to do it again.
Prevention Strategies:
- Schedule annual plumbing inspections to catch leaks early
- Install water detection alarms near appliances, water heaters, and in basements
- Apply waterproof caulk at the floor to baseboard junction in bathrooms and kitchens
- Maintain indoor humidity below 50% using dehumidifiers
- Seal gaps around windows and doors to prevent rain intrusion
- Make sure grading and drainage slope away from the foundation
- Install or repair gutters and downspouts to channel water away from the home
- Address foundation cracks or basement seepage issues promptly
Regular inspection catches problems before they become projects. Check baseboards quarterly in high risk areas like bathrooms, kitchens, laundry rooms, and basements. Look for early warning signs like slight discoloration, paint bubbling, or that distinctive musty smell. Catching damage in the first 48 hours makes the difference between wiping up water and tearing out baseboards.
When to Call a Professional for Water Damaged Baseboard Removal
Some situations go beyond DIY capabilities and trying to handle them yourself creates bigger problems or health risks you shouldn’t take.
Situations Requiring Professionals:
- Extensive mold growth covering more than 10 square feet
- Water damage from sewage or contaminated sources
- Structural damage to wall framing or subfloor
- Historic or custom millwork needing specialized matching
- Electrical hazards near water damaged areas
- Suspected asbestos in older home materials
- Insurance claim requiring professional documentation and estimates
Insurance documentation needs proper procedures. Most policies cover sudden incidents like burst pipes but not long term leaks from deferred maintenance. File your claim quickly, document everything with photos and notes, and get estimates from licensed restoration companies. Your insurance adjuster needs professional assessments to process claims for structural work, mold remediation, or extensive damage.
Professional restoration services follow assessment using moisture meters, complete drying with industrial equipment, and proper mold remediation when needed. Timeline ranges from one to five days depending on damage extent. Historic homes or custom trim may require additional time for material matching. Cost varies based on square footage, damage extent, and what repairs are needed beyond baseboard replacement.
Estimated Timeline and Cost for Baseboard Removal After Water Damage
Timeline and cost vary based on damage extent, room size, and whether you’re doing the work yourself or hiring professionals. Hidden damage, mold presence, and how long water sat before discovery all affect both time and money.
A single room with minor damage caught early might take a weekend for DIY removal, drying, and reinstallation. Whole floor moderate damage with mold remediation can stretch to a week or more once you account for proper drying time.
| Project Scope | DIY Timeline | DIY Cost Range | Professional Cost Range |
|---|---|---|---|
| Single room minor damage | 2 to 3 days | $50 to $200 | $300 to $800 |
| Whole floor moderate damage | 5 to 7 days | $200 to $600 | $1,500 to $4,000 |
| Extensive damage with mold | Not recommended DIY | N/A | $3,000 to $10,000+ |
Factors that increase time and cost include hidden damage behind walls requiring drywall replacement, mold remediation requiring containment and specialized equipment, subfloor replacement if water penetrated through the floor system, custom millwork matching in older or high end homes, and extended drying time requirements in humid climates or homes without central air. Sewage related water damage adds contamination cleanup costs and disposal fees for materials that can’t be salvaged.
Final Words
Removing baseboards after water damage takes patience and the right approach, but it’s manageable when you work methodically through each step.
Score that paint seal completely. Use your wood block to protect the wall. Work slowly along each section.
Check what’s behind those baseboards before you close anything back up. Hidden moisture and mold will cost you more later if you skip that inspection.
Take your time with the finishing work. Proper caulking and complete drying prevent the next round of damage.
You’ve got this.
FAQ
Q: What should you do if water gets under a baseboard?
A: If water gets under a baseboard, shut off the water source immediately, remove the baseboard to expose the wall cavity, extract any standing water, inspect for mold or rot, and run fans and dehumidifiers for 48-72 hours before making repairs.
Q: What is the 7% rule for baseboards?
A: The 7% rule for baseboards refers to installing baseboards at a height equal to 7% of the room’s ceiling height, which helps maintain proper visual proportions and creates balanced trim that complements the room’s overall appearance.
Q: Is a baseboard ruined if it gets wet?
A: A baseboard is ruined if it gets wet only when it shows warping, crumbling wood rot, mold penetration, severe swelling, or structural damage. Solid wood baseboards with minor water exposure caught early can often be salvaged after proper drying.
Q: What is the easiest way to remove baseboards?
A: The easiest way to remove baseboards involves scoring the caulk line with a utility knife, inserting a thin putty knife behind the board, tapping gently with a hammer to create separation, then using a pry bar with a wood block for leverage.
Q: How long should baseboards dry before reinstalling them?
A: Baseboards should dry for a minimum of 48-72 hours with fans and dehumidifiers running before reinstalling them. Use a moisture meter to confirm readings below 16% moisture content to prevent trapping dampness that causes mold growth.
Q: Can you reuse baseboards after water damage?
A: You can reuse baseboards after water damage if they show no warping, rot, or mold penetration. Label each piece on the back, remove all nails, clean off old caulk and adhesive, then store flat in a dry area until reinstallation.
Q: Do you need to remove drywall after removing water-damaged baseboards?
A: You need to remove drywall after removing water-damaged baseboards only if the drywall shows soft spots, extensive mold growth, dark water staining, or structural weakness. Minor surface mold under 10 square feet can be cleaned without cutting drywall out.
Q: What type of caulk should you use on baseboards after water damage?
A: You should use paintable, waterproof caulk on baseboards after water damage, especially where baseboards meet floors in bathrooms and kitchens. Apply along the top edge and smooth with a wet finger for a professional finish.
Q: How do you prevent mold after removing water-damaged baseboards?
A: You prevent mold after removing water-damaged baseboards by drying all surfaces completely with fans and dehumidifiers, maintaining humidity below 50%, applying EPA-registered mold cleaner to affected areas, and ensuring moisture readings return to normal before closing up walls.
Q: Should you replace MDF baseboards that got wet?
A: You should replace MDF baseboards that got wet because MDF absorbs moisture, swells significantly, and does not return to its original shape after drying. Unlike solid wood, MDF loses structural integrity when exposed to water and cannot be salvaged.
Q: What tools do you need to remove water-damaged baseboards safely?
A: You need a sharp utility knife, thin putty knife, flat pry bar, hammer, wood block, pliers, and a bucket for nails to remove water-damaged baseboards safely. Safety gear includes work gloves, safety glasses, dust mask, knee pads, and closed-toe shoes.
Q: How do you remove nails from salvaged baseboards without splitting the wood?
A: You remove nails from salvaged baseboards without splitting the wood by pulling them from the back side using pliers or a nail puller. Grip the nail close to the wood surface and pull straight out to avoid splintering the face.
Q: When should you call a professional for water-damaged baseboard removal?
A: You should call a professional for water-damaged baseboard removal when mold exceeds 10 square feet, water came from sewage, structural damage is visible, electrical components are near water damage, or historic custom millwork requires specialized matching and handling.
