

You don’t remove wet drywall the same way you install dry drywall, and treating it like a simple demo job can contaminate your entire home or land you in the hospital. Wet drywall holds mold spores, bacteria, and sharp hidden fasteners behind a weakened surface that tears unpredictably. This guide walks you through safe assessment of what actually needs removal, the protective equipment that keeps contamination out of your lungs and off your skin, and the step-by-step process for cutting and pulling damaged material without spreading the problem to clean areas.
When to Remove vs. Dry: Assessment Criteria for Wet Drywall

The first 24 to 48 hours after drywall gets wet determines whether you can dry it out or need to rip it down completely. After that window closes, the paper facing and gypsum core have usually absorbed enough moisture that structural integrity is compromised and mold spores are starting to take hold. Speed matters here. Waiting to see what happens almost always makes the problem worse and more expensive.
But timeline alone doesn’t make the decision. The contamination level of the water matters just as much, sometimes more. Water damage gets categorized into three types based on the source, and the category tells you whether drying is even an option or if removal is mandatory no matter how fast you catch it.
Category 1: Clean Water Assessment
Category 1 water comes from clean supply lines. A burst pipe feeding your sink or a leaking water heater supply line. This is the only scenario where salvaging wet drywall is even on the table, and only if you catch it within 24 to 48 hours.
Use a non-penetrating moisture meter on the drywall surface first. If readings are elevated, pull the baseboard and poke a screwdriver through the bottom of the drywall to check if it feels soft and spongy inside. If the drywall is still firm and the moisture hasn’t spread more than 12 inches from the source, you might be able to dry it with dehumidifiers and air movers running continuously.
Check the wall cavity too. Pull off a small section of baseboard and use a penetrating moisture meter to test the studs behind the drywall. If the framing is dry or just slightly damp, and the insulation isn’t soaked, aggressive drying can work. But if more than 48 hours have passed, or if the drywall feels soft when you press on it, removal is the safer call.
Category 2: Gray Water Contamination
Category 2 water has some contamination. Discharge from a washing machine, dishwasher overflow, or a toilet overflow that’s just urine (no solid waste). This water carries bacteria and detergents that get absorbed into the drywall’s porous gypsum core.
Even if you catch it within 24 hours, most Category 2 situations require removal because the contamination doesn’t just dry out. It stays in the material. The paper facing on drywall acts like a sponge for anything dissolved in that water. Trying to dry contaminated drywall in place creates a breeding ground for bacteria and eventually mold, even if you can’t see it yet.
If Category 2 water soaked the drywall for more than a few hours, or if it wicked up the wall more than 6 inches, plan on cutting it out. The health risk from leaving contaminated material behind isn’t worth the cost of a few sheets of drywall.
Category 3: Black Water Mandates Complete Removal
Category 3 water contains sewage, serious biological contamination, or floodwater that’s been sitting and growing bacteria. This includes any backup from a sewer line, river or stream flooding, or even Category 1 or 2 water that’s been standing for more than 48 hours and has started growing microbial contamination.
There is no drying option here. Remove all drywall that contacted Category 3 water immediately, even if it only got wet an hour ago. The contamination level makes the material a health hazard, and trying to salvage it puts everyone in the building at risk for serious illness. Cut at least 12 inches above the highest visible water line because wicking pulls contaminated moisture higher than you can see.
This is also the scenario where you should seriously consider calling a professional restoration company with IICRC certification. They have the containment and disposal procedures to handle contaminated materials safely.
Physical signs that indicate removal is necessary regardless of timeline:
- Soft, spongy, or crumbling texture when you press on the drywall
- Visible mold growth (black, green, white, or brown spots or fuzzy patches)
- Discoloration or water staining extending more than 12 inches from the water source
- Delamination where the paper facing is separating from the gypsum core or bubbling away from the wall
- Persistent musty odor even after the surface appears dry
Moisture meter readings above 17% on drywall surfaces usually mean removal is required. Anything above 20% is definitely too wet to salvage. But trust your judgment on texture and smell too. If the drywall feels wrong or smells off, the meter reading is just confirmation of what you already know. When multiple warning signs are present, or when you’re dealing with anything beyond minor Category 1 water exposure, don’t gamble on trying to save damaged drywall. The cost of replacement is always less than the cost of a mold problem six weeks later.
Safety Protocol and Electrical Hazards Before Starting Removal

Electricity and water create a lethal combination, and that hazard is your first priority before you touch any wet drywall. Turn off power to every circuit that runs through the affected area at the main panel, not just the light switches in the room. Water can travel behind walls and soak electrical boxes you can’t see. Label the breakers you shut off with tape so nobody flips them back on while you’re working. If you’re not certain which circuits serve the wet area, shut off power to that entire section of the house. Confirm the power is actually off by testing outlets and switches with a voltage tester before starting any work. Also identify and shut off the water source completely. If a supply line is still leaking even slowly, you’re just adding moisture while trying to remove it.
Wet drywall, especially if it’s been damp for more than 24 hours, can harbor mold spores that become airborne the second you start cutting and pulling material. Mold exposure causes allergies, asthma, and respiratory irritation, and disturbing moldy drywall without proper protection spreads spores throughout your entire home. Improper mold removal can contaminate areas that were never wet to begin with. The protective equipment you use isn’t optional. It’s the difference between a controlled removal and a whole house contamination problem.
| Equipment Type | Specification | Purpose |
|---|---|---|
| Respirator | N95 minimum, P100 or half-face for visible mold or Category 2/3 water | Filters mold spores, dust, and airborne contaminants during cutting and removal |
| Gloves | Nitrile or heavy-duty rubber, not cloth or leather | Protects hands from contaminated water, sharp edges, and mold contact |
| Eye Protection | Safety glasses or goggles with side shields | Prevents debris and contaminated dust from entering eyes during cutting |
| Protective Clothing | Disposable coveralls or clothing you can discard after work | Prevents contamination of regular clothing and skin contact with mold or bacteria |
| Footwear | Rubber boots or shoes you can clean and disinfect | Protects feet from standing water and prevents tracking contamination to clean areas |
| Cutting Tools | Utility knife with fresh blades, drywall saw, or reciprocating saw | Cuts through wet drywall cleanly with control |
| Prying Tools | Flat pry bar, cat’s paw, or wonder bar | Removes drywall from studs without damaging framing |
| Containment Materials | 6-mil plastic sheeting, duct tape, zipper door kit | Isolates work area and prevents dust and spore spread to rest of home |
Critical safety verification steps required before beginning removal:
- Verify electrical power is completely shut off to affected circuits using a voltage tester on outlets and switches
- Confirm water source is shut off and no active leaking is occurring in the work area
- Assess contamination category (1, 2, or 3) and upgrade protective equipment if dealing with anything beyond clean water
- Check structural stability by looking for sagging ceilings, bulging walls, or cracks that indicate framing damage requiring professional evaluation
- Confirm adequate ventilation with windows open and exhaust fans running to pull contaminated air out of the work space
- Set up plastic sheeting barriers and sealed entry/exit points to isolate the work area from the rest of the home
When you’re dealing with Category 3 water (sewage or flood contamination), visible mold covering more than 10 square feet, or structural concerns like sagging framing, stop and call an IICRC certified restoration professional. Those scenarios require upgraded containment, specialized protective equipment, and experience that goes beyond typical DIY capability. The health risks and potential for making the problem worse aren’t worth the money you’d save doing it yourself.
Containment Setup and Cross Contamination Prevention

Wet drywall can start growing mold within 24 to 48 hours, and once you start cutting into it, you’re releasing whatever spores have already formed. The drywall paper facing becomes a growth medium when it’s damp, and disturbing it without containment sends spores floating through your entire home, contaminating areas that never got wet. Proper containment isn’t about being overly cautious. It’s about preventing a bigger problem than you started with.
Sequential containment preparation steps:
- Remove all standing water first using a wet vacuum, pump, or towels to extract pooling water from floors
- Shut down the HVAC system completely at the thermostat and at the air handler power switch to prevent contaminated air from circulating through ductwork
- Install plastic barrier sheeting from floor to ceiling around the entire work area, taping edges tightly to walls with duct tape or contractor’s tape
- Cover the floor with 6 mil plastic sheeting, overlapping seams by at least 12 inches and taping all seams flat to prevent tripping
- Remove all furniture from the work area completely, or if removal isn’t possible, cover items with two layers of plastic sheeting taped at all edges
- Install a zipper door kit in the plastic barrier at your entry/exit point to allow movement in and out without breaking containment
- Set up ventilation equipment with exhaust fans in windows directing contaminated air outside and away from other windows or air intakes
- Verify negative air pressure if visible mold is present by holding a tissue near the zipper door seam and checking that it pulls inward toward the work area
The HVAC system is a contamination highway if you leave it running. Supply and return vents in the work area will pull mold spores and drywall dust into the ductwork, then distribute it throughout your home every time the system cycles on. Seal supply and return vents in the containment area with plastic sheeting and tape before you start cutting. If the work extends over several days and you need climate control, use a standalone space heater or fan, not the central system.
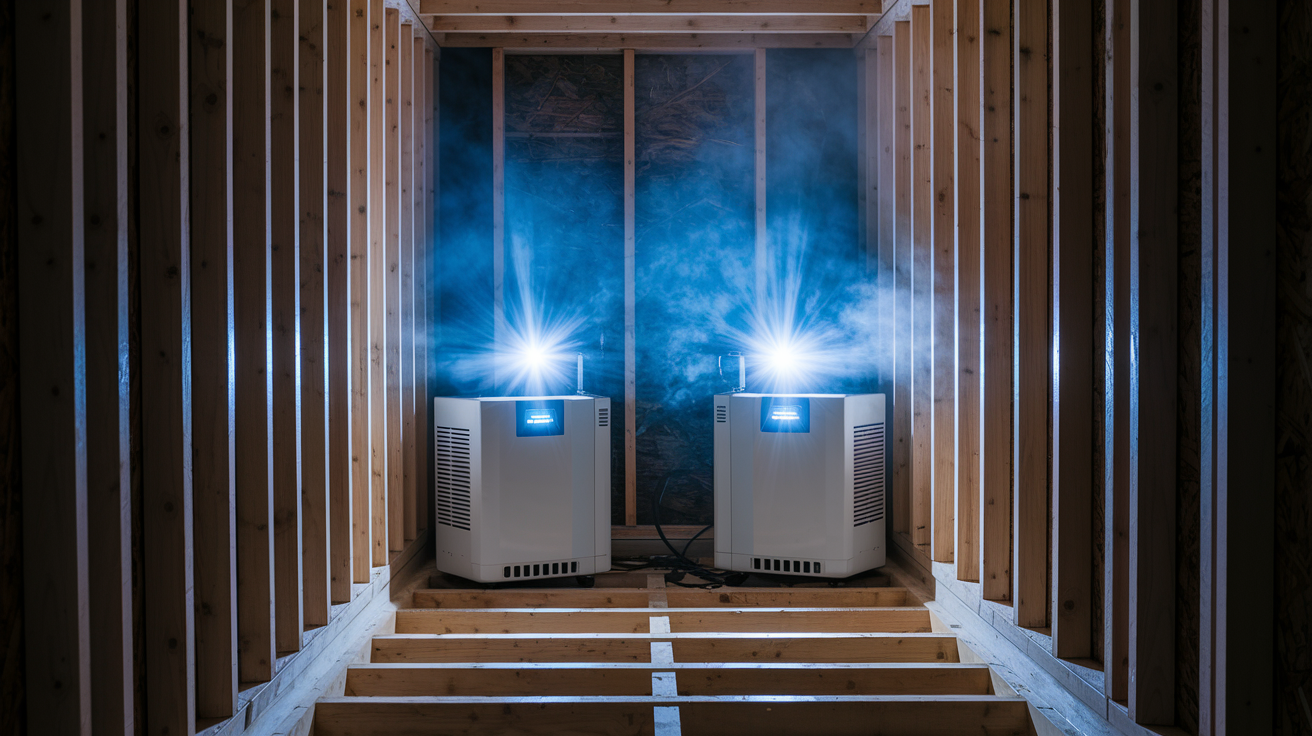
Ventilation direction matters. Windows in the work area should have box fans facing outward, exhausting contaminated air outside. Don’t just open windows without fans. That creates unpredictable airflow that can push spores deeper into your home. If you’re working with visible mold or Category 2 or 3 water damage, consider renting a negative air machine with HEPA filtration. These units actively pull air from the room and filter it before exhausting outside, creating negative pressure that prevents contaminated air from escaping the work area.
Apply an antimicrobial solution to exposed surfaces in the containment zone before starting removal if any visible mold is present. This knocks down active spore release during the disturbance. Mix according to manufacturer directions and spray surfaces lightly, don’t soak them.
When visible mold covers more than 10 square feet, or when you’re dealing with Category 3 contaminated water, upgrade to double layer plastic barriers with an airspace between layers. This is also the point where you should reconsider whether professional remediation is a better choice. If you see heavy mold growth, smell a strong musty odor even after initial drying, or if anyone in the home has respiratory issues or compromised immunity, the containment requirements and health risks move beyond straightforward DIY territory.
Inspecting Structural Components Before Drywall Removal

Wet drywall is just the visible problem. The framing, insulation, and systems behind it can be soaked too, and you won’t know until you look. Moisture weakens wood, collapses insulation, and creates hidden mold growth inside wall cavities that continues long after the drywall is replaced if you don’t catch it now.
Before you start ripping down full sheets, pull off baseboard trim and cut a small inspection hole near the floor in an inconspicuous spot. Shine a flashlight inside and look at what you’re dealing with. This prevents tearing out an entire wall only to discover you needed a different removal strategy or professional help for structural damage.
Use a penetrating moisture meter to test the wood studs through the inspection hole or directly after pulling a small section of drywall. Push the pins into the wood at multiple depths. Readings above 19% in framing lumber mean the wood is too wet and needs more drying time before you close it back up. Readings above 25% indicate serious saturation that may require removing more drywall to increase airflow for drying, or in severe cases, replacing framing members that have started to rot.
Look for soft or darkened areas on the wood studs, especially at the bottom plate where water pools. Press a screwdriver tip into the wood. If it sinks in easily or the wood feels spongy, that’s rot and the framing needs replacement before you install new drywall. Don’t cover up rotted framing. It only gets worse hidden behind new walls.
Check insulation on exterior walls and any walls that contain insulation for sound dampening. Fiberglass and cellulose insulation lose all R value when they get soaked, and they hold moisture for weeks even with dehumidifiers running. Wet insulation becomes a liability, creating a permanent damp environment inside the wall cavity that grows mold you can’t see.
If the insulation is wet, plan to remove it. Pull back enough drywall to access the full height of wet insulation, typically cutting the drywall 2 to 4 feet up from the floor depending on how high the water wicked. Wet insulation comes out in soggy clumps. Bag it immediately in contractor bags and get it out of the house.
Electrical wiring and plumbing inside wet walls need attention too. Water can corrode wire connections and cause short circuits even after everything dries. Look for discolored or corroded wires, damaged wire nuts, or any signs of arcing or burning. If wiring is present in the wet cavity and shows any damage, stop and call a licensed electrician before proceeding. Water damage around plumbing can hide pinhole leaks or corroded joints that will fail later if you don’t address them now.
If the wet wall is load bearing, which you can often identify by walls that run perpendicular to floor joists or that sit directly above a basement beam, pay extra attention to the bottom plate and first few feet of studs. Load bearing walls that develop rot need engineered solutions and temporary support during repair. That’s outside DIY scope and requires a contractor with structural experience.
Step by Step Wet Drywall Removal Process

Start your cuts well beyond the visible damage. Water wicks through drywall and insulation farther than the stains show. Plan to remove at least 12 inches past any discoloration, soft spots, or moisture meter readings above normal. Cutting too conservatively means you’ll be back doing this again when hidden dampness grows mold behind your new drywall.
Complete removal sequence for wet wall drywall:
- Mark cut lines on the wall 12 to 24 inches beyond all visible damage using a pencil and level to keep lines straight and vertical
- Score the face paper along the cut lines firmly with a utility knife to prevent tearing paper beyond where you want the cut to stop
- Cut through the drywall with a utility knife in multiple passes, starting shallow and gradually cutting deeper until you’re through the back paper layer
- Remove screws in the damaged section using a drill or impact driver, or cut around embedded screws with a reciprocating saw if screw heads are corroded and won’t back out cleanly
- Pry the cut section carefully away from the studs using a flat pry bar, starting at a cut edge and working gradually across the section
- Work from top to bottom for better control and to prevent large pieces from falling unexpectedly and creating dust clouds
- Inspect the exposed wall cavity for wet insulation, moisture on framing, hidden damage, or signs of mold growth on the back side of removed drywall
- Carry cut sections immediately to the staging area and bag them without dragging them through clean areas of the home
Ceiling drywall removal requires extra caution because gravity works against you. Wet ceiling drywall can weigh three times as much as dry material, and large sections can come down suddenly. Cut ceiling drywall into smaller sections than you would for walls, roughly 2 feet by 2 feet maximum. Have a helper ready to support sections as they come loose. Wear eye protection and a dust mask rated for mold spores because debris falls directly onto you when working overhead.
Support ceiling sections from below as you cut the last edge free. A simple T shaped brace made from scrap 2x4s works. Position it under the section and wedge it between the floor and ceiling before completing the final cut. This gives you control over when and how the section comes down instead of having it drop on your head.
| Removal Challenge | Solution Technique |
|---|---|
| Corroded screws won’t back out | Cut around screw heads with reciprocating saw or oscillating multi-tool rather than forcing stripped screws |
| Drywall crumbles when prying | Use wider pry bar to distribute force, or cut sections smaller for easier removal without levering |
| Hitting electrical wiring or plumbing | Stop immediately, expose the line completely, and reroute cutting path around fixtures or call appropriate tradesperson |
| Adhesive or construction glue on back of drywall | Cut drywall into smaller sections and tap firmly from front with rubber mallet while prying to break adhesive bond gradually |
| Mold visible on back of removed section | Double bag the section immediately without shaking or scraping, upgrade respiratory protection before continuing, consider expanding removal area |
When you encounter screws that are rusted tight or stripped, don’t waste time fighting them. A reciprocating saw with a metal cutting blade can slice through screw shanks in seconds. Cut just deep enough to sever the screw between the drywall and the stud, then pull the drywall free. You’ll need to remove the remaining screw shanks from the studs before installing new drywall, but that’s easier to deal with when the damaged material is already out.
Proper Disposal Methods for Water Damaged Materials
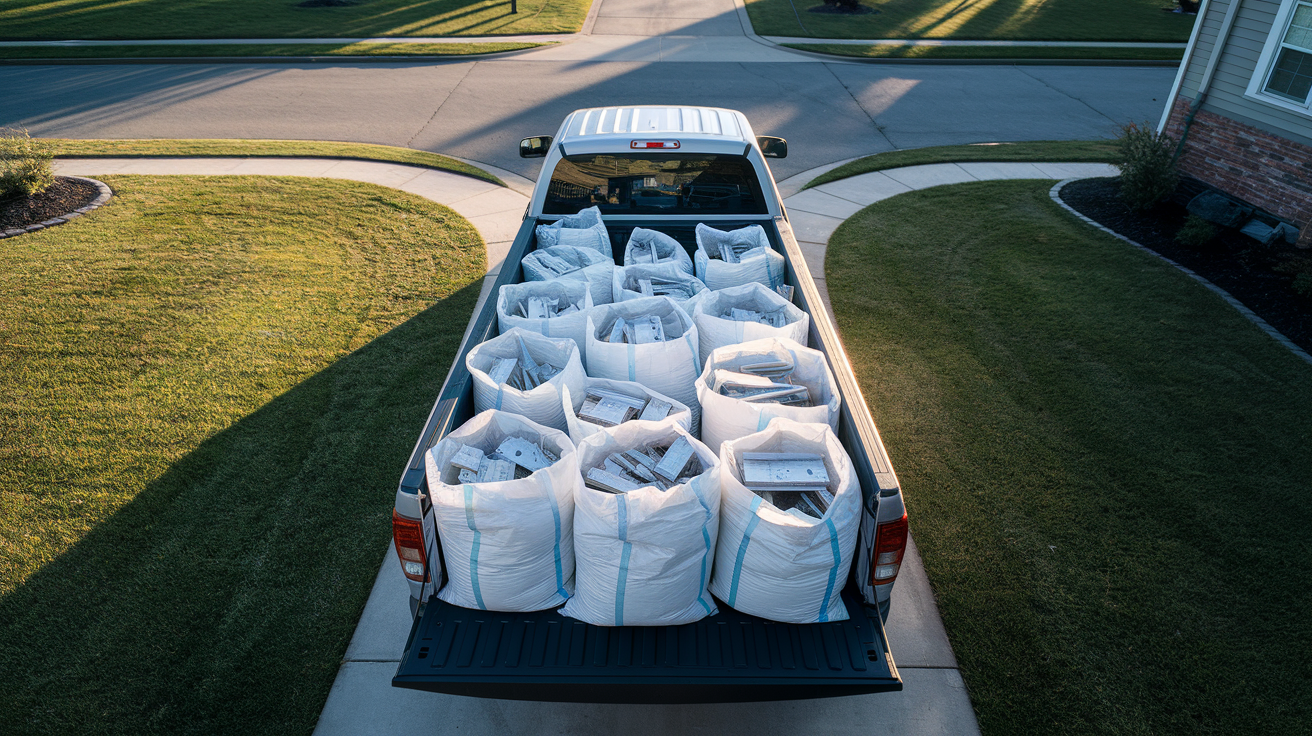
Water damaged drywall is construction debris, but contaminated materials require more careful handling than standard demolition waste. Category 2 and Category 3 water damage creates materials that can spread bacteria and mold if handled carelessly. Double bag these materials in heavy duty contractor bags or wrap sections tightly in plastic sheeting before moving them through your home to the disposal area.
Wet drywall gets heavy fast. A 4×8 sheet can double in weight when saturated. Cut removed sections into manageable pieces that you can safely carry, usually no larger than 2 feet by 3 feet. Load bags and wrapped sections into a trailer or pickup truck bed lined with plastic sheeting to prevent contaminated water from dripping during transport.
Check your local landfill requirements before loading up. Many municipal facilities have specific drop off areas or procedures for water damaged construction materials, especially if mold is visible. Some require materials to be wrapped or bagged to contain dust and spores. Call ahead to confirm accepted materials and any fees. A few areas classify certain contaminated materials as special waste requiring disposal at designated facilities rather than standard construction debris landfills.
Remove bagged materials from your property the same day you pull them out if possible. Leaving bags of wet, moldy drywall sitting in your garage or driveway just moves the contamination problem without solving it. The bags will continue to smell, and they can leak or tear, spreading the issue. If you must store materials temporarily before disposal, keep them completely outside and away from windows, doors, and HVAC intakes. Cover the pile with a tarp to keep rain from making them heavier and prevent bags from deteriorating.
Wet insulation removed from wall cavities requires the same immediate removal approach. Fiberglass insulation that’s been soaked loses all its R value permanently and can’t be dried and reused. Bag it as you remove it and get it to the disposal site quickly. The longer it sits, the more it smells and the greater the chance moisture continues spreading mold spores.
Drying and Preparing the Cavity for Replacement Drywall
Rushing to close up wet framing is how you end up with mold growing inside your walls six months later. Just because the surface of a stud feels dry to your hand doesn’t mean the wood is ready for new drywall. Moisture trapped in framing creates the perfect conditions for hidden mold that you won’t discover until it smells or spreads into the new drywall you just installed.
| Material | Target Moisture % | Drying Method |
|---|---|---|
| Wood Framing (Studs/Plates) | Below 16%, ideally 12-14% | Dehumidifier plus air movers positioned for airflow through cavity, 3-5 days minimum |
| Concrete/Masonry Block | Below 4% with specialized concrete meter | Extended dehumidification 7-14 days, concrete dries slowly from interior outward |
| Plywood/OSB Subfloor | Below 14% | Air movers directed at surface, dehumidifier, may require removing finished flooring for access |
| Metal Studs | Surface dry, no standing water in channels | Air circulation and dehumidification, dries faster than wood but check for rust |
Set up dehumidifiers and air movers in the exposed cavity and run them continuously for a minimum of three to five days. Position air movers to create circulation that moves through the wall cavity, not just across the front of it. Angle one or two fans into the cavity and position exhaust fans in windows to pull humid air out of the space.
Check moisture levels with a penetrating moisture meter every 24 hours. Test at multiple locations, including bottom plates where water settles, mid height on studs, and at the top plate. Test both surface readings (pressing the meter flat against the wood) and deep readings (pushing pins into the wood at different depths). All readings need to be below 16% before you install new drywall. If some areas are still reading high while others have dried, give the whole cavity more time. Closing up mixed moisture levels causes the wet areas to spread moisture into materials you thought were dry.
The back side of the exterior wall sheathing (the plywood or OSB behind the studs) needs attention too. If moisture soaked through the drywall and reached the sheathing, that layer takes longer to dry because it has less air exposure. Check it with your moisture meter by reaching through the stud spaces. High readings on sheathing mean you need more air circulation and more drying time, possibly a full week or longer depending on humidity levels.
Once moisture readings are consistently below target levels for 24 hours, treat exposed framing with an antimicrobial or mold inhibiting primer rated for structural wood. Spray or brush it onto all exposed wood surfaces according to manufacturer instructions. This adds a layer of protection against any remaining mold spores and prevents new growth during the rebuild process. Let the treatment dry completely before starting drywall installation.
Pay attention to the studs themselves while the cavity is open. If you see any black or gray discoloration that wasn’t visible during your initial inspection, test those areas with a screwdriver. Soft spots mean rot has started and that stud section needs to be cut out and replaced before closing the wall. Better to catch it now than after new drywall is up.
Special Considerations for Older Homes and Hazardous Materials
Homes built before 1980 can contain asbestos in drywall joint compound, especially in textured ceilings and walls with decorative finishes. Asbestos was commonly added to joint compound until the late 1970s to improve workability and strengthen seams. When you cut or remove drywall from these homes, you risk releasing asbestos fibers into the air, which is a serious long term health hazard that causes lung disease and cancer.
If your home was built before 1980 and you’re planning to remove wet drywall, especially textured or heavily finished surfaces, the safe approach is to have the material tested before you start cutting. Asbestos testing labs can analyze a sample for around $25 to $50, and results come back within a few days. Take a small chip of the drywall or textured finish, seal it in a plastic bag, and send it to a certified lab. If the test comes back positive for asbestos, stop immediately and hire a licensed asbestos abatement contractor to handle the removal. DIY removal of asbestos containing materials is illegal in many jurisdictions and puts your health at serious risk.
Lead paint is another hazard in pre 1978 homes. When water damage requires removing drywall, you’re likely cutting through and disturbing layers of old paint. Sanding, scraping, or creating dust from lead paint releases toxic lead particles that are especially dangerous to children and pregnant women. Lead testing kits are available at hardware stores for quick field testing, or you can send paint chip samples to a lab for definitive results.
Warning signs requiring professional hazardous material testing before DIY removal:
- Home built before 1980, especially if textured surfaces or multiple layers of wall finish are present
- Popcorn ceiling texture in the work area, which often contains asbestos
- Previous renovations left unexposed sections of older building materials that may contain hazardous substances
- Strong chemical odor during removal that doesn’t match typical mold or mildew smell
Local building codes in many cities require permits and inspections for major water damage repairs, especially when structural framing or more than 100 square feet of drywall is being removed. Some jurisdictions also require licensed contractors to handle any removal or remediation involving Category 3 water, visible mold over certain thresholds, or confirmed hazardous materials. Call your local building department before starting work to verify whether permits are required for your scope of work. Working without required permits can affect insurance claims, home resale, and create liability if future problems develop.
Cost Comparison: DIY Removal Versus Professional Services
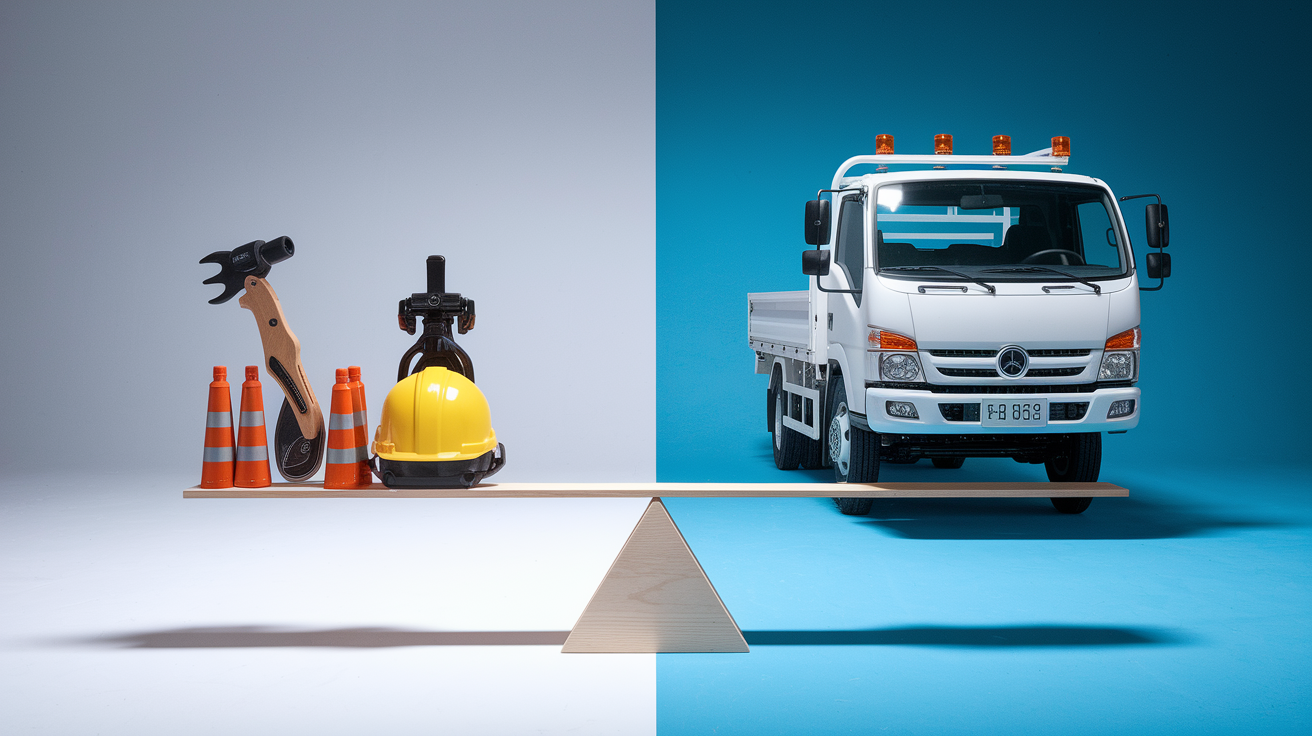
Cost matters, but it’s not the only factor that should drive the decision between DIY removal and hiring professionals. Water damage removal involves health risks, proper containment, and correct assessment of hidden damage that goes beyond the visible problem. The question isn’t just “Can I do this cheaper.” It’s “Can I do this safely and correctly without creating bigger problems.”
| Scenario | DIY Feasible | Professional Recommended | Reason |
|---|---|---|---|
| Category 1 clean water, under 48 hours, less than 50 sq ft | Yes | Optional | Small scope, manageable containment, low contamination risk |
| Category 2 gray water or Category 1 over 48 hours | Possible with proper PPE | Recommended | Contamination concerns require upgraded protection and disposal |
| Category 3 sewage or flood water | No | Required | Health hazards and contamination require professional containment and disposal |
| Visible mold over 10 square feet | No | Required | EPA and industry standards recommend professional remediation above 10 sq ft |
| Structural concerns or sagging framing | No | Required | Safety risks and need for engineering assessment or temporary support |
| Pre-1980 home with textured surfaces | Not without testing | Testing required first | Asbestos risk requires lab testing before any disturbance |
DIY wet drywall removal for a straightforward Category 1 clean water situation typically costs $200 to $500 in equipment and materials. That includes respirator and protective gear, plastic sheeting and containment supplies, moisture meter rental or purchase, dehumidifier and air mover rental for several days, disposal fees at the landfill, and contractor bags and cleaning supplies. If you need to replace insulation, add another $50 to $150 depending on how much wall cavity you’re refilling.
Professional water damage restoration for the same scenario runs $1,000 to $3,000 depending on the amount of drywall affected and regional labor rates. But that service includes proper moisture detection throughout the structure, industrial dehumidification and air movement equipment, complete containment and proper disposal, antimicrobial treatment of affected areas, moisture monitoring to confirm drying is complete, and documentation of the entire process with photos and moisture readings.
The gap narrows when contamination or mold enters the picture. A professional Category 2 or Category 3 cleanup with mold remediation typically costs $2,500 to $7,000+ for a single room. Attempting the same work yourself requires upgraded respiratory protection (P100 or supplied air), professional grade containment with negative air machines, proper antimicrobial treatments, hazardous waste disposal, and the knowledge to identify when hidden damage extends beyond the visible problem. By the time you rent or buy the equipment you need and account for the risk of doing it wrong, the cost advantage of DIY has mostly disappeared.
Insurance claims add another consideration. Most homeowner policies cover sudden water damage but have specific requirements for documentation and mitigation. Professional restoration companies provide detailed reports, photos, and moisture logs that insurance adjusters expect to see. DIY work can complicate claims if you don’t document thoroughly, and some insurance companies apply depreciation or reduced payouts when professionals aren’t involved. Call your insurance company before starting removal to confirm coverage and documentation requirements.
Documentation and Insurance Claim Preparation
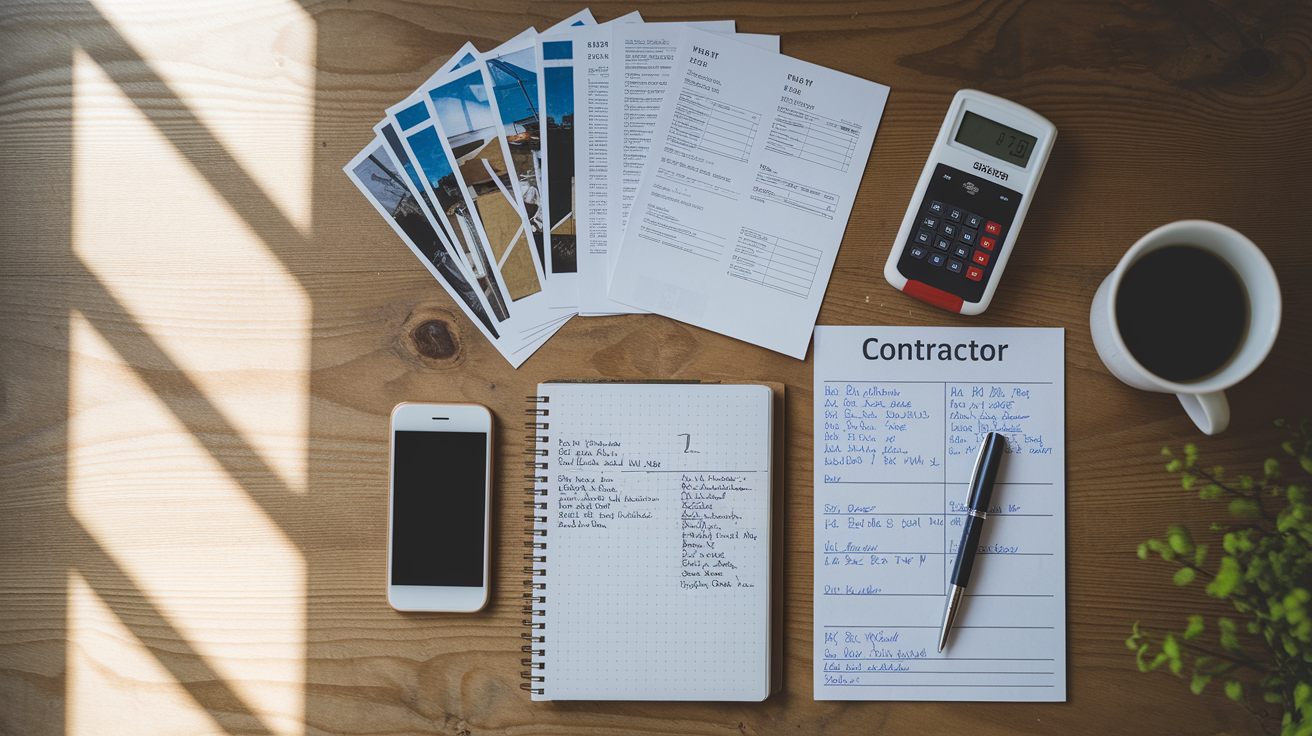
Photograph everything before you start pulling drywall down, during the removal process, and after the cavity is exposed. Insurance companies process claims based on documentation, and the more evidence you have of the extent of damage, the better your position for a fair settlement. Take wide shots showing the overall affected area and close ups of specific damage like water stains, soft drywall, visible mold, and wet insulation.
Essential documentation elements for insurance and records:
- Timestamped photos taken at multiple stages: initial discovery, before starting removal, during removal with cavity exposed, after drying is complete
- Moisture meter readings recorded daily with location notes, dates, and meter type noted for reference
- Measurements of affected areas including square footage of drywall removed and linear footage of baseboard or trim damaged
- Inventory lists of damaged materials removed: number of drywall sheets, bags of insulation, footage of baseboard, damaged personal property
- Copies of any contractor estimates or professional assessment reports even if you complete work yourself
- Daily progress notes describing what work was completed, what equipment was running, and any new discoveries or complications
Create a simple log in a notebook or phone app. Each day you work on the project, note what you did, how many hours equipment ran, what moisture readings showed, and what materials you removed or disposed of. This running record helps reconstruct the timeline if questions come up later during the claim process or during resale.
Save receipts for everything: equipment rental, moisture meters, protective gear, plastic sheeting, cleaning supplies, disposal fees, and antimicrobial treatments. Even small purchases add up, and insurance companies typically reimburse for necessary mitigation supplies. Organize receipts in a folder or envelope labeled with the date of the water damage incident and the claim number once you open one.
If you’re getting estimates from contractors even though you plan to do the work yourself, keep those quotes. They establish reasonable cost benchmarks for the repairs and demonstrate you investigated professional options. Some insurance policies have clauses that reduce payouts if you choose DIY over professional work, so having quotes in hand gives you negotiating leverage if the adjuster’s estimate comes in low.
Take video walkthrough footage in addition to still photos. A two minute video panning slowly across the damage, zooming in on problem areas, and narrating what you’re seeing creates a comprehensive record that’s harder to dispute than photos alone.
Final Words
Removing wet drywall safely comes down to quick assessment, proper containment, and methodical work. Shut off power first, determine your water category, and set up containment before cutting anything. Use the right respiratory protection, especially if you’re past that 24-48 hour window where mold starts showing up.
Work in controlled sections, verify moisture readings in the framing before closing anything back up, and document everything with photos and notes. If you hit black water, asbestos concerns, or structural damage that makes you pause, stop and bring in a licensed pro.
You’ve already handled the hard part by getting the water out and making the call to remove compromised materials. Take your time with the drying phase, and you’ll set yourself up for a solid, mold-free repair that actually lasts.
FAQ
How is wet drywall removed safely?
Wet drywall is removed by first shutting off power and water, setting up containment with plastic sheeting, scoring cut lines 12-24 inches beyond visible damage, cutting through the drywall with a utility knife, and carefully prying sections from studs while immediately bagging debris.
How quickly does mold grow on wet drywall?
Mold grows on wet drywall within 24-48 hours of moisture exposure, which makes speed critical when deciding whether to dry or remove materials. This tight timeline means you need to start assessment and action within the first day after water damage occurs.
Should wet drywall be removed or dried?
Wet drywall should be removed if it has been wet for more than 48 hours, feels soft or crumbly, shows visible mold growth, was exposed to contaminated water, or shows delamination. Clean water exposure caught within 24 hours may allow successful drying instead of removal.
Is breathing drywall dust harmful during removal?
Breathing drywall dust during removal is harmful because it can contain mold spores, bacteria from contaminated water, and fine particles that irritate lungs. Always wear at minimum an N95 respirator, and upgrade to a P100 respirator if visible mold is present or water was contaminated.
What moisture meter reading means drywall must be replaced?
A moisture meter reading means drywall must be replaced when readings exceed 17-20% moisture content, when readings don’t drop after several days of drying, or when penetrating meter readings show studs and framing remain saturated above 16% even after surface appears dry.
How far beyond visible damage should drywall be cut?
Drywall should be cut 12-24 inches beyond visible water stains and damage to ensure all affected material is removed, because moisture wicks through drywall and damage extends further than discoloration shows. Always cut to the center of the nearest stud for proper backing when installing replacement panels.
What water contamination category requires complete drywall removal?
Category 3 water contamination requires complete drywall removal regardless of timeline because it contains sewage, flooding, or black water with serious health hazards that make salvaging impossible. Category 2 gray water typically requires removal even within 48 hours due to bacterial contamination.
How long does exposed framing need to dry before installing new drywall?
Exposed framing needs to dry for a minimum of 3-5 days with dehumidifiers and air movers running before installing new drywall, and moisture meter readings must show wood framing below 16% and masonry below 12% at multiple locations throughout the cavity.
When does wet drywall removal require professional help instead of DIY?
Wet drywall removal requires professional help when visible mold covers more than 10 square feet, water is Category 3 sewage or flood contamination, the home was built before 1980 (asbestos risk), structural damage is visible, or standing water contacted electrical components.
What safety equipment is required before removing wet drywall?
Safety equipment required before removing wet drywall includes an N95 or P100 respirator, waterproof gloves, eye protection, long sleeves and pants, rubber boots, and electrical circuit verification that power is off to the affected area and water source is shut down.
How should removed wet drywall be disposed of?
Removed wet drywall should be double-bagged immediately if contaminated or moldy, taken directly outside to a staging area, and disposed of according to local construction debris regulations within 24 hours. Category 2 and 3 materials require separate containment to prevent contamination spread.
What hidden damage should be checked before removing drywall?
Hidden damage that should be checked before removing drywall includes wet insulation that must be replaced, moisture in wall studs using a penetrating meter, wood rot or softness in framing, electrical wiring location and condition, and plumbing lines that may need repair.
